

SVG to 3D Model: Convert Vector Graphics Into 3D
Turning a flat, two-dimensional design into a three-dimensional object used to be a complex process reserved for seasoned 3D artists. Today, thanks to a variety of accessible tools, anyone can convert vector graphics, like SVGs, into 3D models. Whether you're a graphic designer looking to add a new dimension to your work, a product designer prototyping a new concept, or a hobbyist exploring the world of 3D printing, the ability to transform a vector to 3d model is a powerful skill. In this article, we'll explore several platforms that make this conversion possible, including specialized online converters like Hyper3D's Vecto3D, comprehensive design software such as Adobe Illustrator with Project Neo, and other dedicated tools.
How to Convert an SVG to a 3D Model
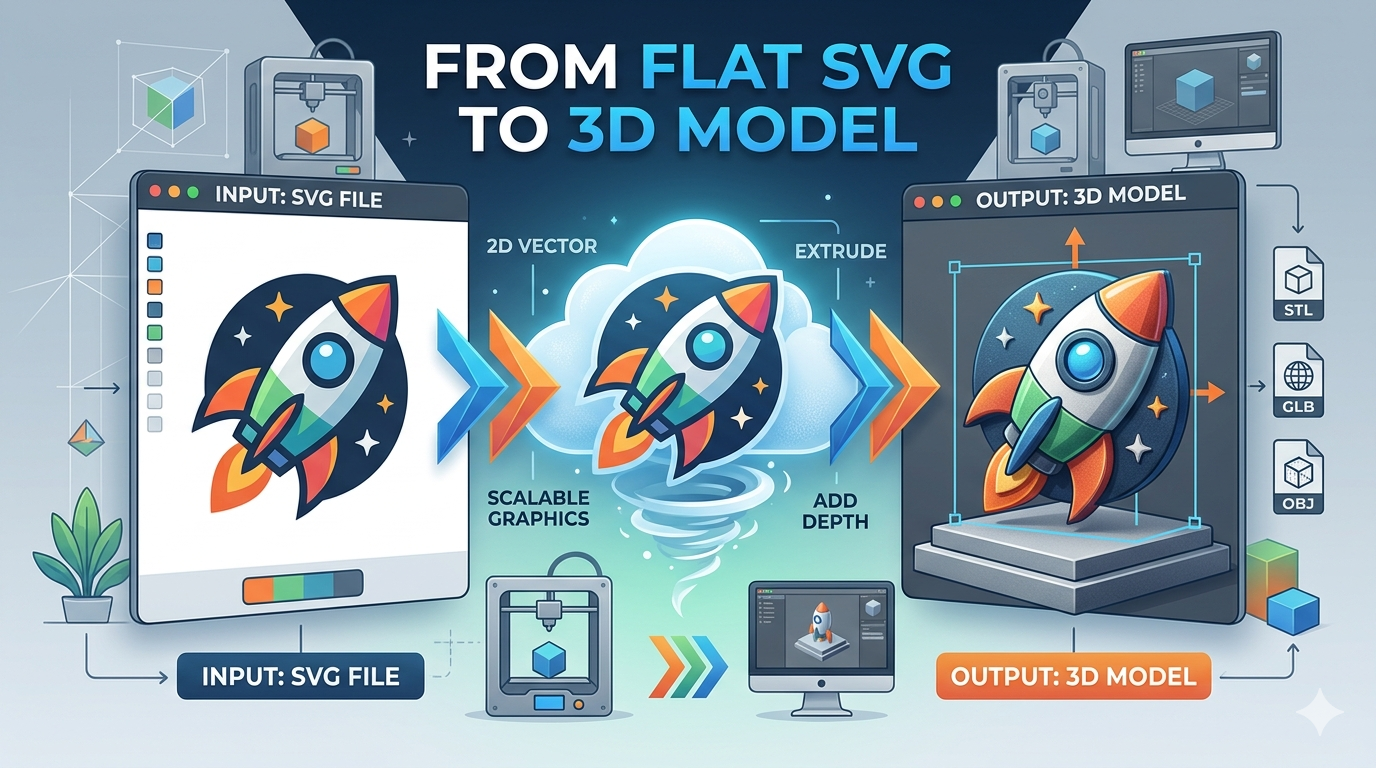
The process of converting an SVG file into a 3D model generally involves a few key steps, regardless of the tool you choose. It starts with your 2D vector graphic, which is then extruded to give it depth. From there, you can often refine the model by adjusting materials, lighting, and other properties to achieve your desired look. The final step is exporting the 3D model in a format suitable for your needs, such as STL for 3D printing or GLB for use in web applications.
Using an Online Vector to 3D Converter
For those who want a quick and straightforward solution, online converters are an excellent choice. Hyper3D's Vecto3D is a great example of a tool that simplifies the process of turning a vector to 3d model. You simply upload your SVG file, and the tool automatically generates a 3D model. This is particularly useful for creating 3D logos, icons, or other graphics without the need for complex software. Many online converters also offer options for basic customization, such as adjusting the extrusion depth and material properties. If you're looking for a similar experience with raster images, you might also be interested in an image to 3D converter.
Leveraging Design Software for 3D Conversion
If you're already working within a design ecosystem like Adobe Creative Cloud, you can use tools like Adobe Illustrator in conjunction with Project Neo to create 3D models from your vector designs. This approach offers a high degree of control and allows for a more integrated workflow. You can create your vector graphic in Illustrator, send it to Project Neo to add depth and dimension, and then bring it back into Illustrator as a 3D object. This is ideal for designers who want to maintain a consistent look and feel between their 2D and 3D assets.
My First-Hand Experience with SVG to 3D Converters
To get a real sense of how these tools work, I decided to test a few of them with a simple SVG logo. My goal was to see how easy it was to get a decent-looking 3D model without spending a lot of time tweaking settings.
Hyper3D's Vecto3D
My first stop was Hyper3D's vector to 3D converter. The interface was clean and intuitive. I uploaded my SVG, and within seconds, a 3D model appeared in the viewer. I was impressed by the quality of the initial conversion. The edges were clean, and the extrusion was uniform. I played around with the depth and material settings, which were easy to understand and apply. The whole process took less than five minutes, and I was able to download the model in several formats, including GLB and USDZ. For anyone who needs to quickly generate a vector to 3d model from an existing graphic, this tool is a fantastic option.
Adobe's Project Neo
Next, I tried Adobe's Project Neo. As someone who uses Illustrator regularly, I was curious to see how it integrated with my existing workflow. The process was a bit more involved than with Vecto3D, but it also offered more creative control. I was able to import my SVG directly into Project Neo and use a variety of tools to manipulate the 3D shape. The integration with Adobe Fonts was a nice touch, allowing me to easily create 3D typography. While it took a bit longer to get the hang of, the ability to fine-tune every aspect of the model was a major advantage. This is a great choice for designers who want to create highly customized 3D assets.
Other Tools
I also explored a few other online converters. While most of them were able to convert my SVG to a 3D model, the quality of the results varied. Some produced models with jagged edges or other artifacts that would require cleanup in another program. However, for simple shapes and quick mockups, these tools can still be useful. It's worth trying a few to see which one works best for your specific needs.
Objective Comparison of SVG to 3D Tools
After testing several options, it's clear that there's no single
"best" tool for converting a vector to 3d model. The right choice depends on your specific needs and workflow.
Hyper3D Vecto3D
- Pros: Incredibly fast and easy to use, excellent for quick conversions, produces high-quality models with clean topology, offers multiple export formats.
- Cons: Limited customization options compared to full-featured 3D software.
- Best for: Graphic designers, marketers, and anyone who needs to quickly create 3D versions of logos, icons, and other vector graphics.
Adobe Project Neo
- Pros: Deep integration with Adobe Illustrator, offers a high degree of creative control, powerful tools for manipulating 3D shapes and text.
- Cons: Steeper learning curve, requires a Creative Cloud subscription.
- Best for: Professional designers and artists who are already invested in the Adobe ecosystem and need to create highly customized 3D assets.
Other Online Converters
- Pros: Many are free to use, can be a good option for simple conversions.
- Cons: Quality can be inconsistent, may produce models that require cleanup, limited features and export options.
- Best for: Hobbyists and those who only need to perform occasional, simple conversions.
Frequently Asked Questions about SVG to 3D Conversion
What is the best SVG to 3D converter?
As we've discussed, the "best" converter depends on your needs. For speed and ease of use, Hyper3D's Vecto3D is a top contender. For maximum creative control, Adobe's Project Neo is an excellent choice. It's always a good idea to try a few different options to see which one you prefer.
Can I convert any SVG to a 3D model?
For the most part, yes. However, very complex SVGs with many overlapping paths or intricate details may not convert perfectly. For best results, it's a good idea to simplify your SVG as much as possible before converting it. This might involve merging paths, removing unnecessary points, and ensuring that all shapes are closed.
What are the advantages of using a vector to 3D model converter?
The main advantage is speed and efficiency. Instead of building a 3D model from scratch, you can use your existing 2D designs. This is a huge time-saver, especially for creating 3D logos, typography, and other graphic elements. It also allows designers with limited 3D modeling experience to create professional-looking 3D assets.
How do I prepare my SVG file for 3D conversion?
To ensure a smooth conversion, make sure your SVG file is clean and well-organized. This includes ungrouping all elements, converting text to paths, and making sure there are no open paths. The simpler and cleaner your SVG, the better your 3D model will be.
What are the common issues when converting SVG to 3D?
Common issues include artifacts, broken geometry, and incorrect scaling. These problems often arise from complex or poorly constructed SVG files. If you encounter issues, try simplifying your SVG and running it through the converter again. You can also explore other Hyper3D tools like the text to 3D model generator for different creative options.
Conclusion
The ability to convert a vector to 3d model opens up a world of creative possibilities. Whether you're a seasoned designer or just starting, the tools available today make it easier than ever to bring your 2D designs to life in 3D. From the lightning-fast conversions of Hyper3D's Vecto3D to the deep creative control of Adobe's Project Neo, there's a solution out there for every workflow. So go ahead, give it a try, and see what you can create! Don't forget to explore other powerful Hyper3D tools like Rodin for generative AI and OmniCraft for format conversion to round out your 3D toolkit.
A Deeper Dive into the SVG to 3D Workflow
To provide a more comprehensive understanding, let's walk through a more detailed workflow for converting a complex vector graphic into a 3D model. For this example, we'll use a fictional brand logo with multiple layers and colors.
Step 1: Preparing the SVG
The first and most critical step is preparing the SVG file. A clean SVG will result in a clean 3D model. I opened the logo in a vector editor and made sure to:
- Separate Layers: Each color in the logo was on its own layer. This is important for applying different materials to different parts of the 3D model later on.
- Convert Text to Paths: All text elements were converted to paths to ensure they would be rendered correctly in 3D.
- Simplify Paths: I used the vector editor's simplification tool to reduce the number of anchor points in the paths without sacrificing the overall shape. This helps to create a more optimized 3D model.
- Check for Open Paths: I made sure all paths were closed. Open paths can cause problems during the extrusion process.
Step 2: The Conversion Process
With the SVG prepped, I tested the conversion in both Hyper3D's Vecto3D and Adobe's Project Neo.
- With Vecto3D: I uploaded the multi-layered SVG. The tool was able to recognize the different layers and allowed me to apply different colors to each part of the model. The real-time preview was incredibly helpful for visualizing the final result. The entire process, from upload to download, took only a few minutes.
- With Project Neo: The process was more hands-on. I imported each layer of the SVG as a separate object. This gave me granular control over the extrusion depth and positioning of each element. I could, for example, make the main logo text thicker than the accompanying graphic elements. This level of control is a significant advantage for creating more dynamic and visually interesting 3D models.
Step 3: Post-Conversion Refinements
Once the initial 3D model was generated, I spent some time refining it.
- In Hyper3D: The material options were straightforward but effective. I was able to choose from a variety of presets, including matte, glossy, and metallic finishes. The lighting adjustments were also simple to use and had a significant impact on the final look of the model.
- In Project Neo: The refinement options were much more extensive. I could create custom materials, adjust the lighting with more precision, and even add textures to the model. The ability to see the model in a realistic environment with shadows and reflections was a huge plus.
Expanding the FAQ Section
Can I animate the 3D models I create from SVGs?
Yes, you can! Once you've exported your 3D model in a format like GLB or FBX, you can import it into a 3D animation program like Blender or Cinema 4D. From there, you can rig the model and create animations. Some online platforms are also starting to offer basic animation features.
What are the best practices for creating SVGs for 3D conversion?
Beyond the preparation steps mentioned earlier, it's also a good idea to think about how the 2D shapes will translate to 3D. Avoid very thin lines or small details, as they may not be visible or may cause issues during the conversion. It's also helpful to work with a limited color palette, as this will make it easier to apply materials to the 3D model.
How does the vector to 3d model process differ from photogrammetry?
Photogrammetry is the process of creating a 3D model from a series of photographs. It's a great technique for creating realistic models of real-world objects. The vector to 3d model process, on the other hand, is about creating 3D models from 2D vector graphics. It's a more stylized approach that's ideal for creating logos, icons, and other graphic elements in 3D.