Auto Rigging vs Manual Rigging: Pros & Cons
Rigging is one of those steps in the 3D pipeline that can feel like a real bottleneck. You??e got your model ready, and you??e excited to bring it to life, but first, you have to build the entire digital skeleton and control system. For years, manual rigging was the only way, a painstaking process demanding deep technical knowledge. Today, we have options, with auto rigging tools on platforms like Mixamo, AccuRIG, and even integrated into software like Blender with Rigify, promising to do the heavy lifting for you. But what?? the real story in the debate of auto rigging vs manual rigging? Is one definitively better?
The short answer is: it depends. Both methods have their place in a modern workflow. The choice between them comes down to your project?? specific needs, your timeline, and your own skill level. Let's break down the pros and cons of each in the great auto rigging vs manual rigging debate to help you decide which approach is right for you.
What is Rigging Anyway?: Auto Rigging Vs Manual
Before we dive into the auto rigging vs manual rigging comparison, let's quickly clarify what rigging is. Think of a 3D model as a digital sculpture. It has form and texture, but it can?? move on its own. Rigging is the process of creating a virtual skeleton, or ??ig,??inside the model. This skeleton is made of a hierarchy of bones and joints. Once the rig is in place, you ??kin??the model to it, which means you bind the model's mesh (its surface) to the bones. This way, when you move a bone in the rig, the corresponding part of the model deforms and moves with it, allowing for animation.
A good rig is the foundation of believable animation. It needs to provide animators with intuitive controls to create a full range of motion, from broad actions to subtle expressions.
Auto Rigging: The Need for Speed
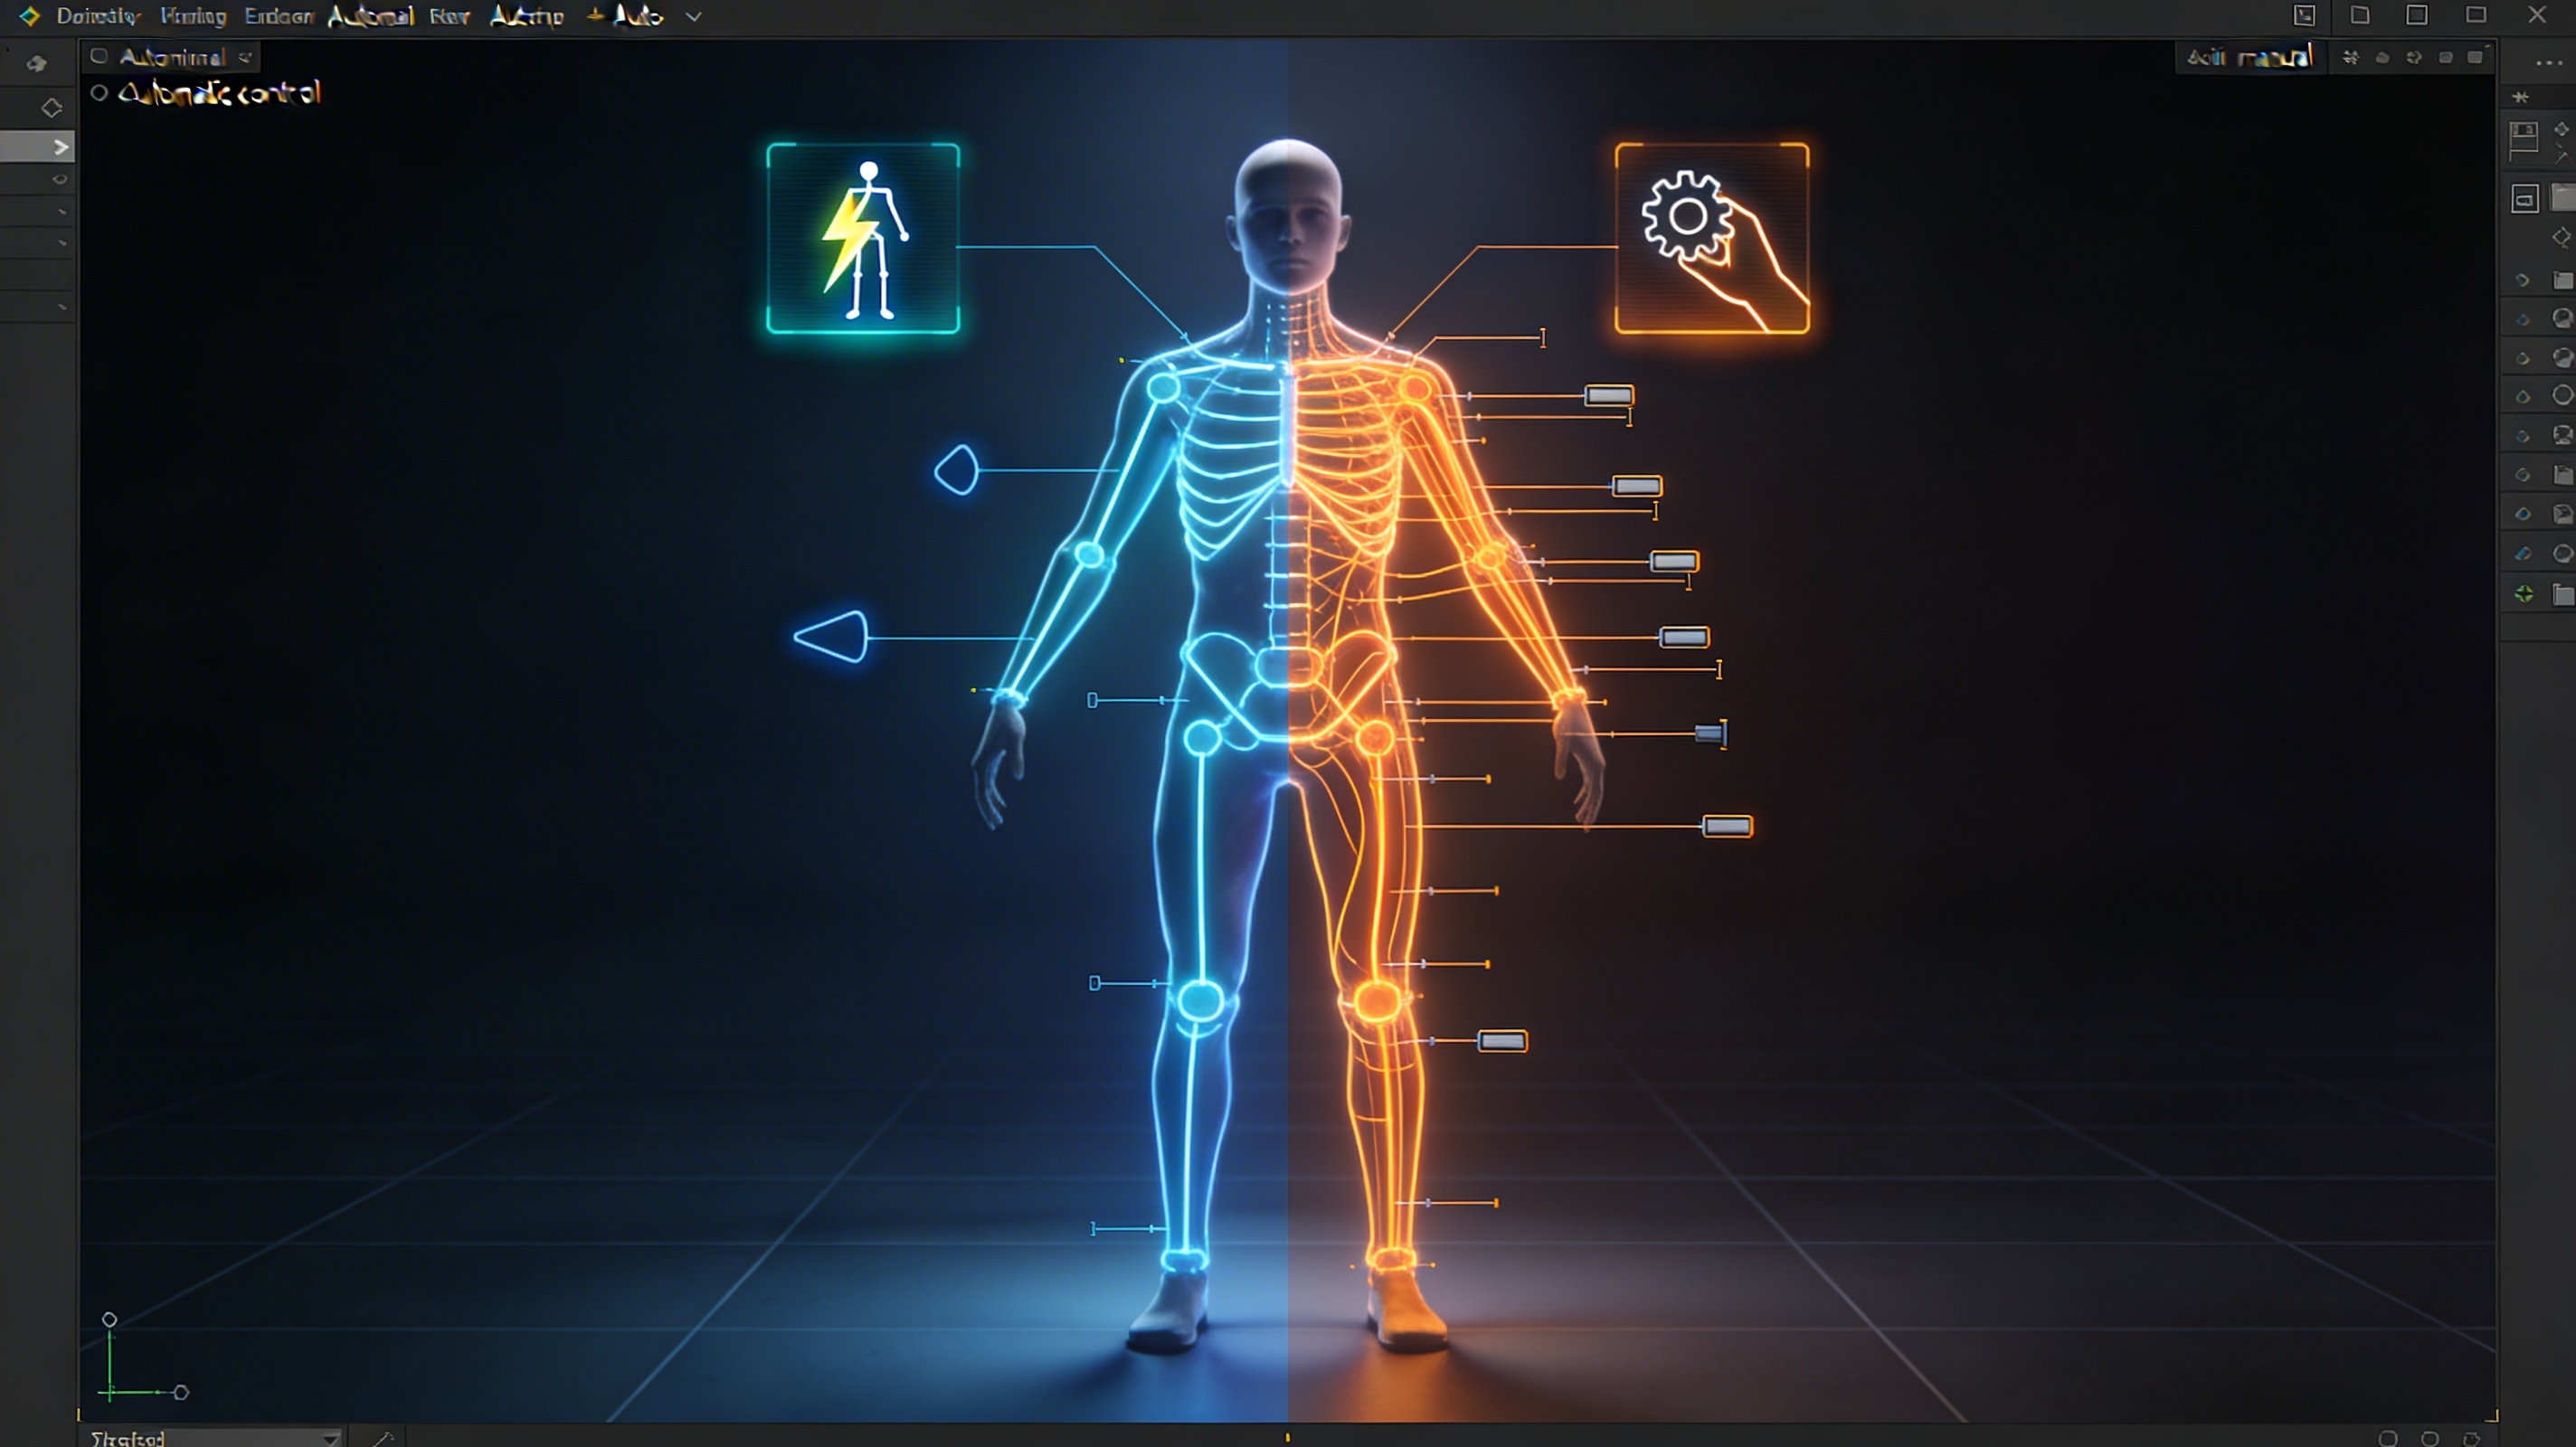
Auto rigging uses algorithms to automatically generate a rig for a 3D model. You typically upload your model, mark a few key points like the chin, wrists, and knees, and the tool builds the skeleton and skins the model for you. It?? designed to be a fast and accessible solution.
The Upside of Auto Rigging
The most obvious advantage is speed. What could take a professional rigger days to do manually can often be accomplished in minutes with an auto-rigging tool. This efficiency is a massive benefit for projects with tight deadlines or for animators who need to quickly prototype movements.
It's also incredibly beginner-friendly. You don't need to be a technical artist to use an auto rigger. This accessibility opens up the world of 3D animation to more creators. For indie developers or small teams, the cost savings can be significant, as it reduces the need to hire a specialized rigger.
The Downside of Auto Rigging
However, that speed comes at a cost. The biggest drawback of auto rigging is the lack of control. The rigs are generated based on standard templates, which work well for typical bipedal characters but struggle with anything unconventional. If you have a creature with six arms or a unique fantasy character, an auto rigger will likely fail or produce a rig that?? barely usable.
Even with standard models, the quality can be inconsistent. You might get strange deformations or weighting issues that require manual cleanup, which can sometimes take as long as rigging it from scratch. The generated control schemes are also generic and may not be what an animator would prefer for a specific performance.
Manual Rigging: The Path to Precision
Manual rigging is the traditional, hands-on approach. A rigger builds the entire skeleton bone by bone, creates custom controls for the animator, and meticulously paints the skin weights to ensure smooth and realistic deformations. It?? a craft that combines technical skill with an artistic eye.
The Strengths of Manual Rigging
The primary advantage of manual rigging is total control. You can build a rig that is perfectly tailored to the model?? specific topology and the animator?? needs. This allows for incredibly nuanced and high-quality animation. For complex characters in professional film or game productions, manual rigging is the industry standard for a reason.
It allows for the creation of custom solutions for unique challenges. Whether it?? a complex facial rig for subtle expressions or a mechanical rig for a transforming robot, manual rigging provides the flexibility to build whatever you can imagine. This level of detail is something auto riggers just can't match.
The Challenges of Manual Rigging
The most significant drawback is the time and expertise required. Manual rigging is a slow, methodical process that can take days or even weeks for a single character. It also requires a deep understanding of anatomy, kinematics, and the technical aspects of the 3D software you're using.
This expertise comes at a cost. Experienced riggers are highly skilled professionals, and their work can be a significant expense in a production budget. For smaller projects or individual creators, manual rigging can be a major barrier.
My First-Hand Experience
I recently worked on a project that involved creating a short animated sequence with several characters. For one of the background characters, a simple humanoid, I used an auto-rigging tool. The process was incredibly fast. I had a usable rig in under ten minutes. However, I did notice some minor issues with the shoulder deformation that I had to go back and fix manually. For a character that was mostly in the background, it was a perfectly acceptable trade-off.
For the main character, however, I needed a much more expressive and custom rig. I spent the better part of a week building a manual rig. It was a challenging process, but the result was a rig that was a joy to animate. I had custom controls for everything from the character's breathing to the individual curls of their hair. This level of control simply wouldn't have been possible with an auto rigger.
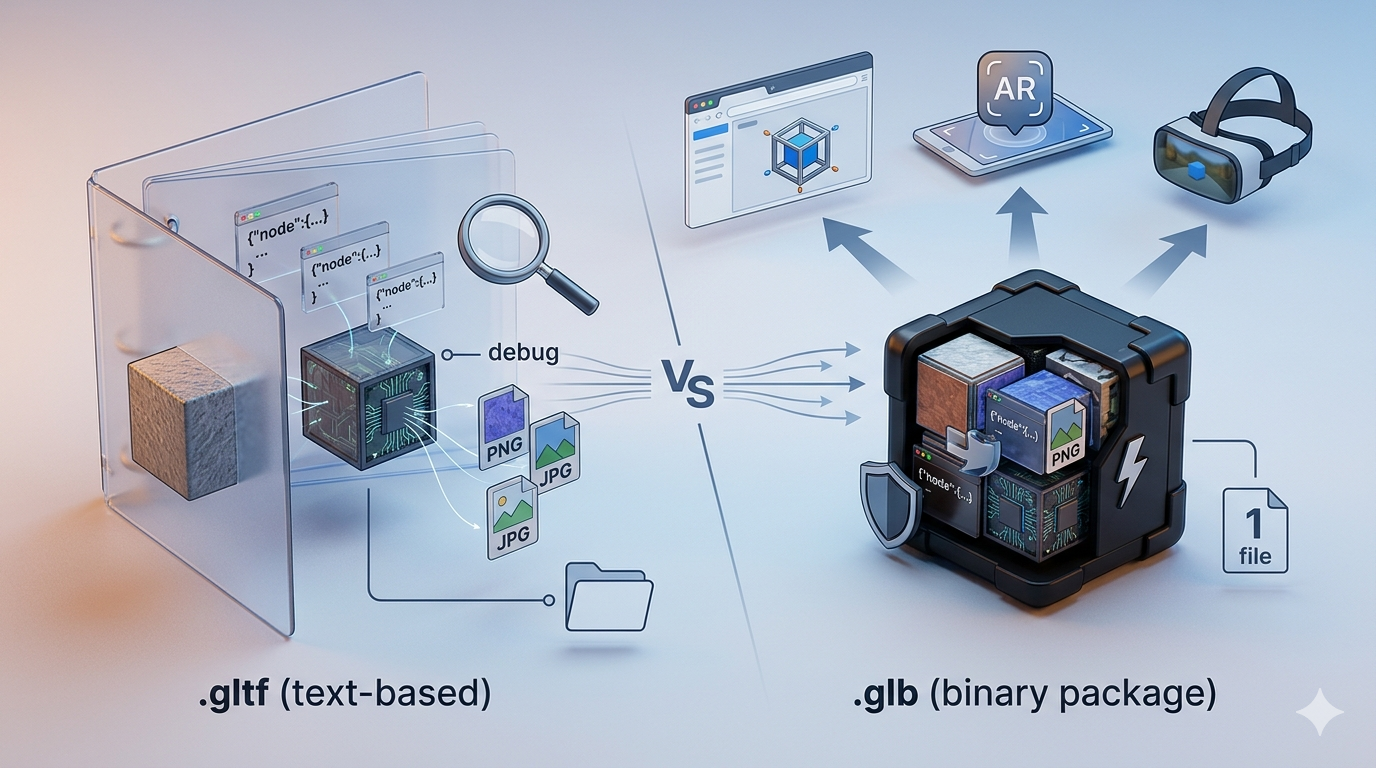
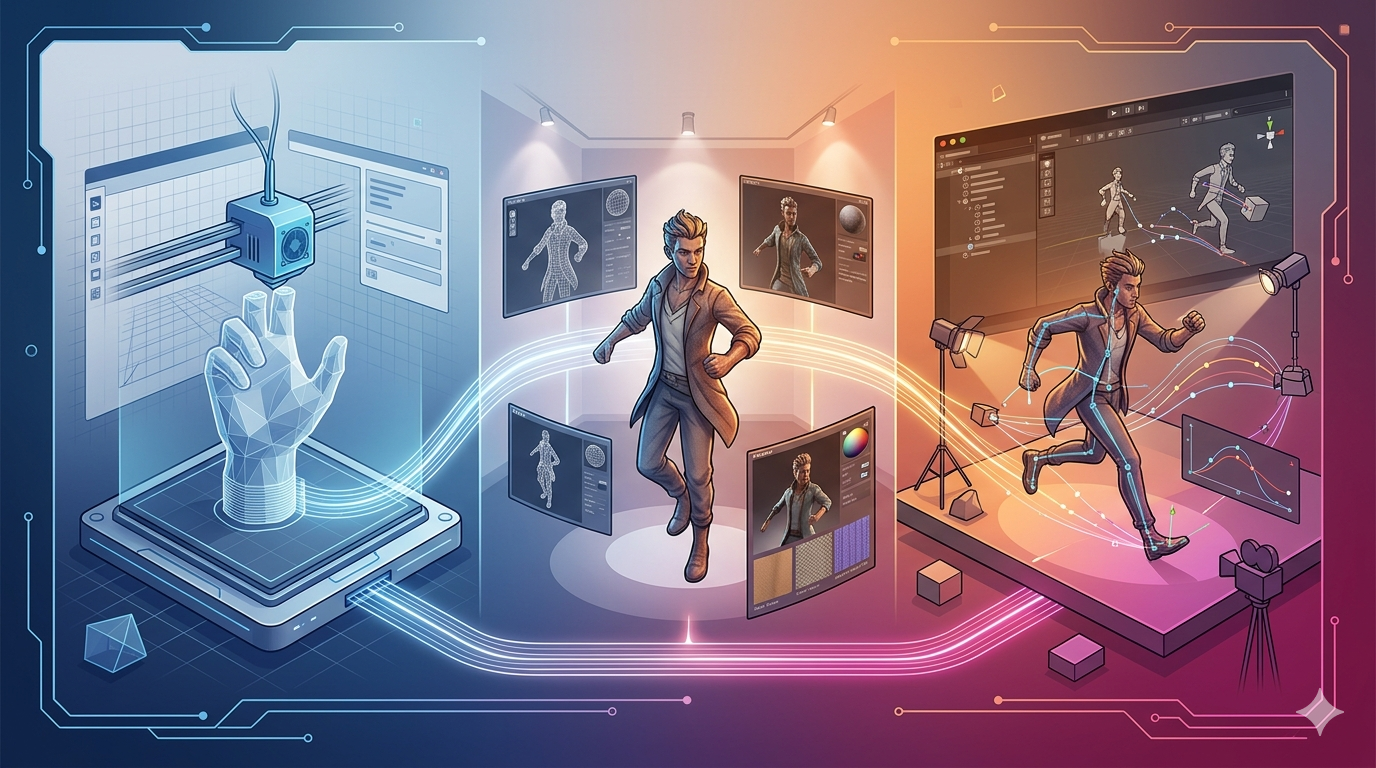
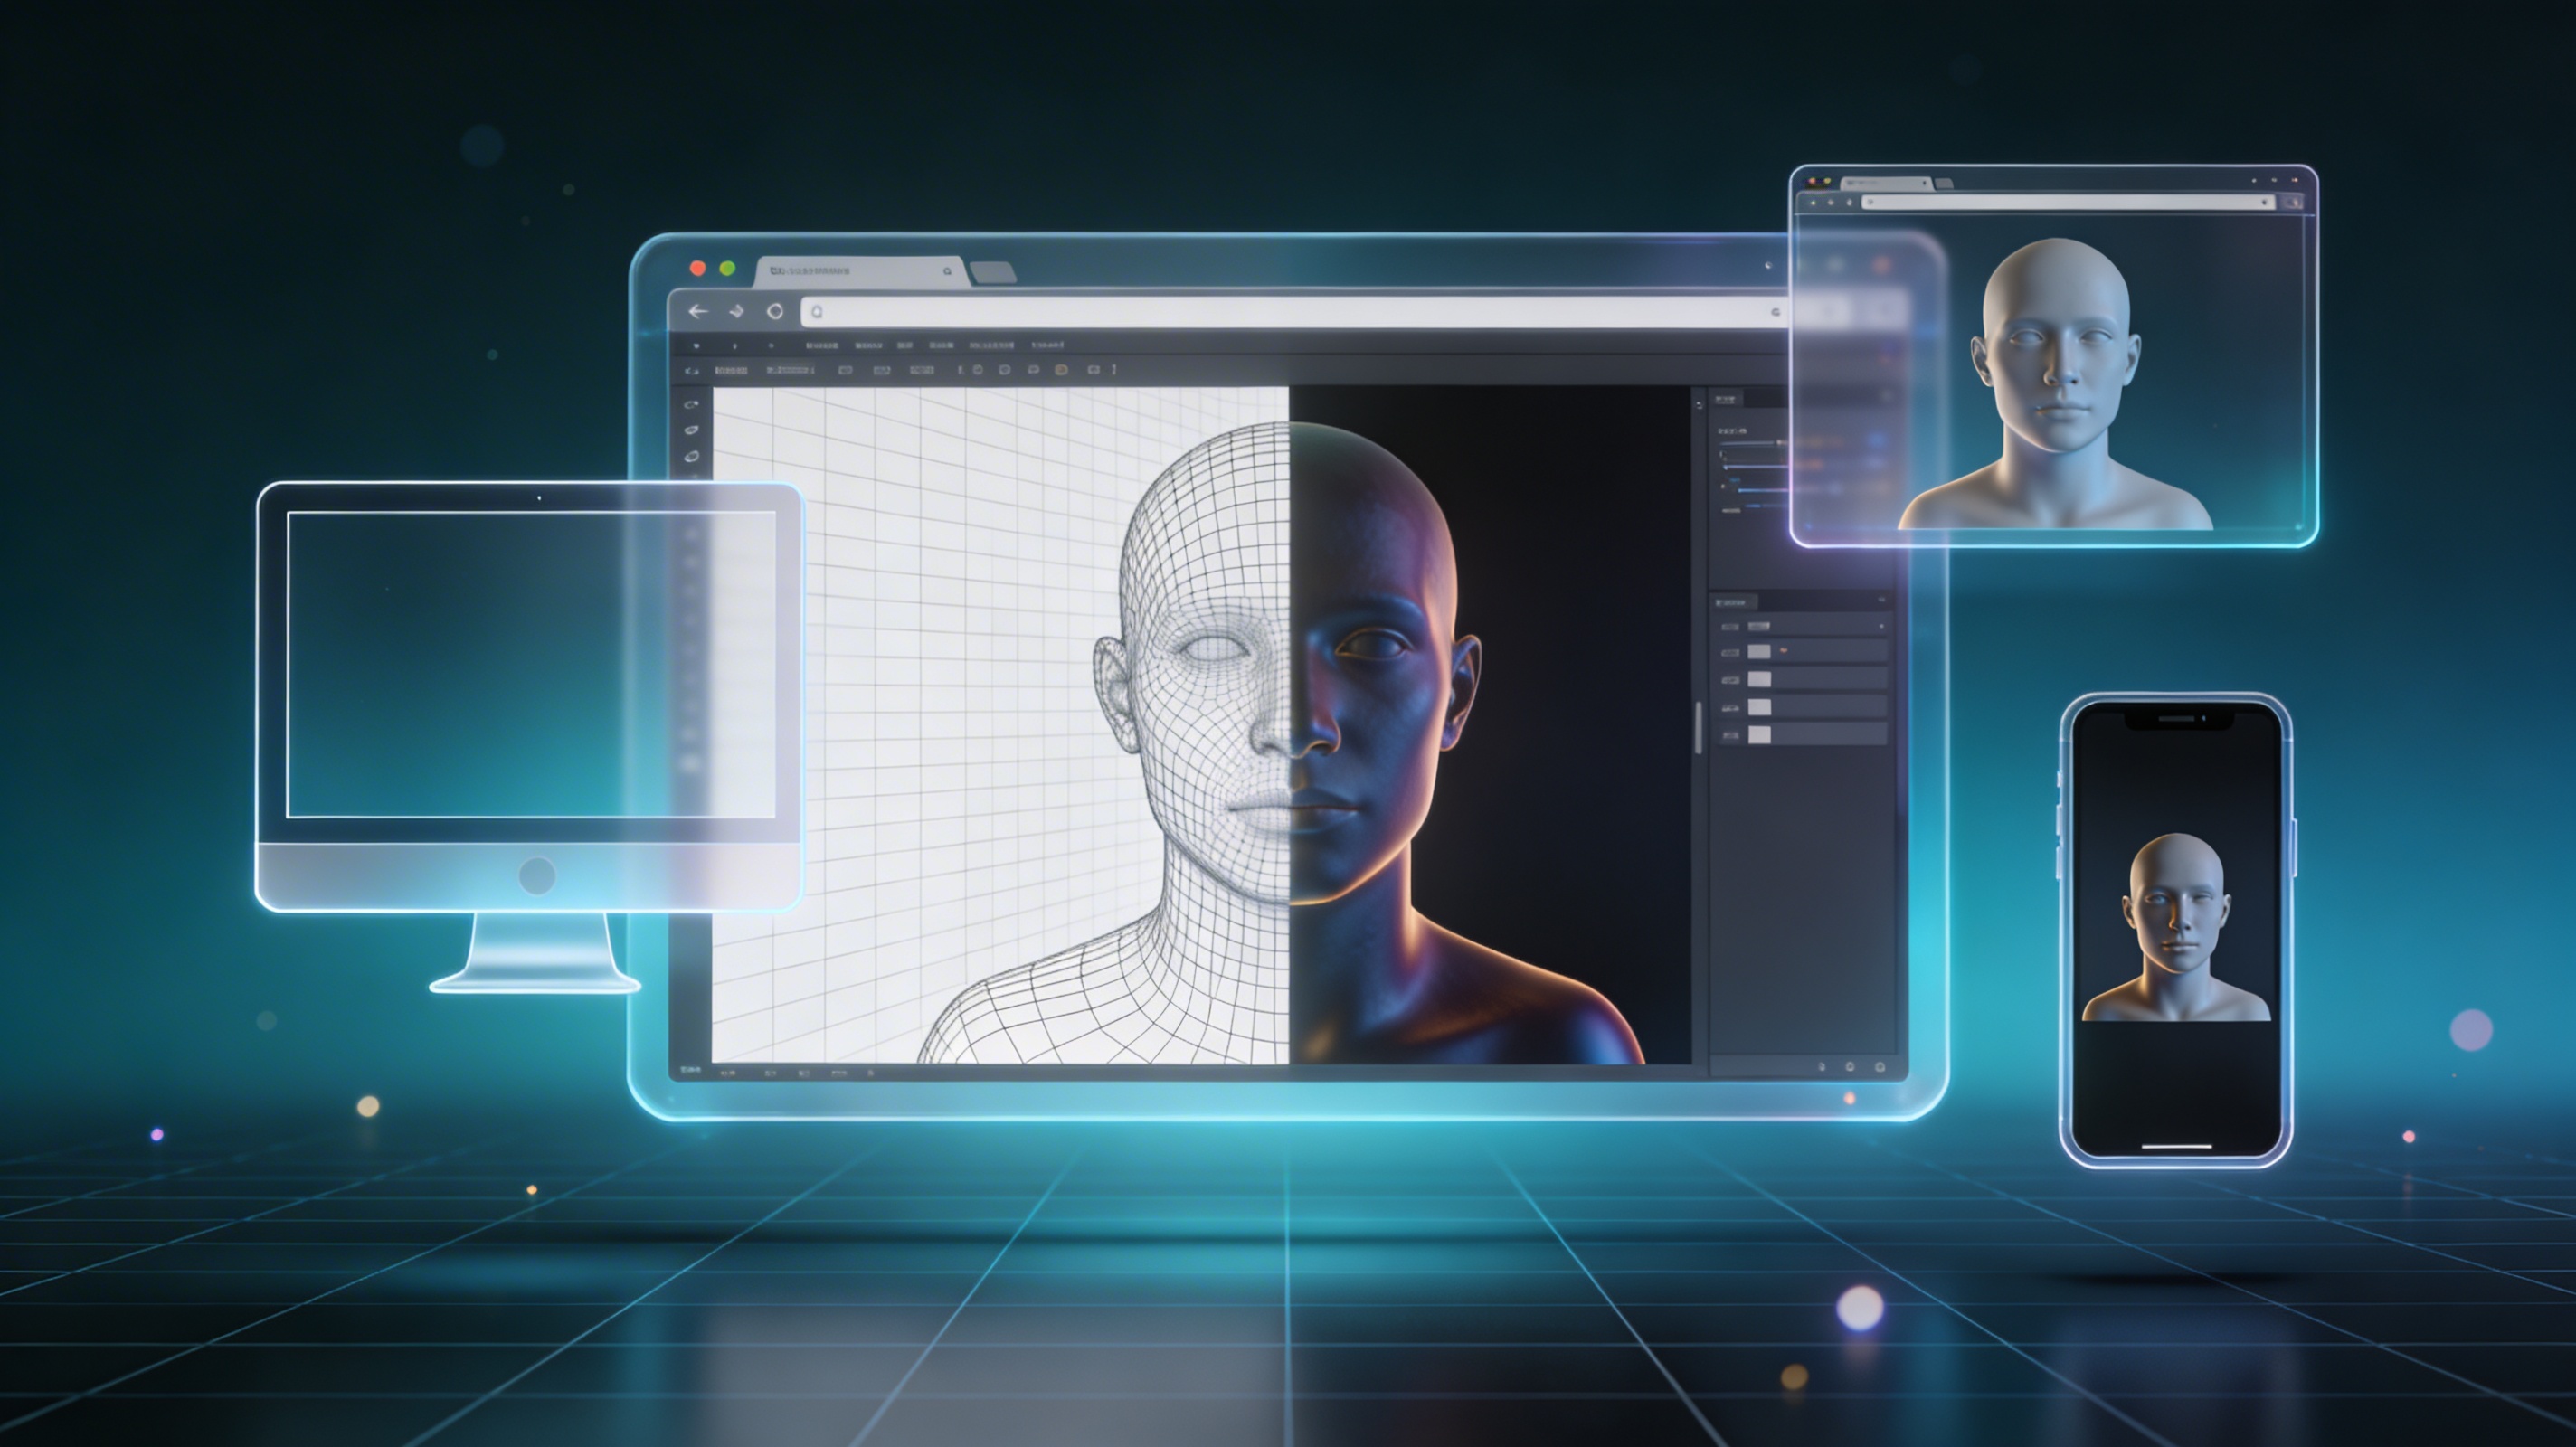
I've also been exploring some of the newer AI-powered tools. I used an AI 3D model generator to create a base mesh for a creature, and then used an AI animation tool to quickly generate some test animations. The results were impressive and showed how these tools can be integrated into a professional workflow. For creating a digital double of myself, ChatAvatar was a fantastic starting point. I also used an image to 3D tool to create some props from concept art, and the AI 3D model editor to clean them up. These tools are blurring the lines between manual and automated processes. I was able to export my models in FBX and GLB formats, which were easy to import into my animation software.
Auto Rigging vs. Manual Rigging: A Direct Comparison
| Feature | Auto Rigging | Manual Rigging |
|---|---|---|
| Speed | Minutes | Days to weeks |
| Cost | Low (often free or subscription-based) | High (requires a skilled professional) |
| Ease of Use | Beginner-friendly | Requires significant expertise |
| Customization | Very limited | Complete control |
| Quality | Can be inconsistent, may require cleanup | High quality, tailored to the model |
| Best For | Prototyping, background characters, standard bipeds, tight deadlines | Main characters, complex creatures, high-end productions, unique models |
FAQ: Your Rigging Questions Answered
The auto rigging vs manual rigging question comes up a lot, so here are answers to some of the most common queries.
Is auto rigging good enough for professional work?
It can be, for specific use cases. It's often used for background characters, pre-visualization, or in pipelines where speed is more critical than perfect deformation. However, for hero characters in major productions, manual rigging is still the standard.
How long does it take to learn manual rigging?
Manual rigging has a steep learning curve. It can take months to learn the basics and years to master. It requires dedication and a lot of practice.
Can I combine auto and manual rigging?
Absolutely. A common workflow is to use an auto rigger to get a base rig quickly and then manually refine it. This can be a great way to save time while still achieving a high level of quality.
What are the best auto-rigging tools for beginners?
Mixamo is a great free option for beginners. AccuRIG is another popular choice. If you're using Blender, the built-in Rigify add-on is a powerful tool to learn.
Does Hyper3D offer auto-rigging solutions?
Hyper3D's suite of tools, including its AI animation tool, simplifies the process of bringing characters to life. While not a traditional auto rigger in the sense of generating a complex control rig, it automates much of the animation process, working with models you can generate and edit with tools like the AI 3D model generator and the AI 3D model editor.
Auto Rigging vs Manual Rigging: The Right Tool for the Job
Ultimately, in the auto rigging vs manual rigging discussion, the choice isn't about which is better, but which is the right tool for your specific needs. Auto rigging is a powerful ally for speed and accessibility, while manual rigging remains the gold standard for quality and control. As AI continues to advance, we'll likely see even more powerful hybrid workflows that combine the best of both worlds. The key is to understand the strengths and weaknesses of each approach and to choose the one that will help you bring your creative vision to life most effectively.