# How to Animate a 3D Model: Step-by-Step for Beginners
Animating a 3D model can seem complex, but with the right tools, it's more accessible than ever. Whether you're using traditional software like Blender or exploring newer AI-powered platforms, the fundamental steps are similar. This article will walk you through the process of bringing your 3D creations to life, from rigging your model to exporting the final animation. We'll cover different methods, including using an AI animation tool for quick results.
Understanding the Basics of 3D Animation: How To Animate A 3D Model
Before diving into the practical steps of how to animate a 3D model, it's helpful to understand a few key concepts in 3D animation. These are the building blocks of how to animate a 3D model, regardless of the software you use.
What is Rigging?
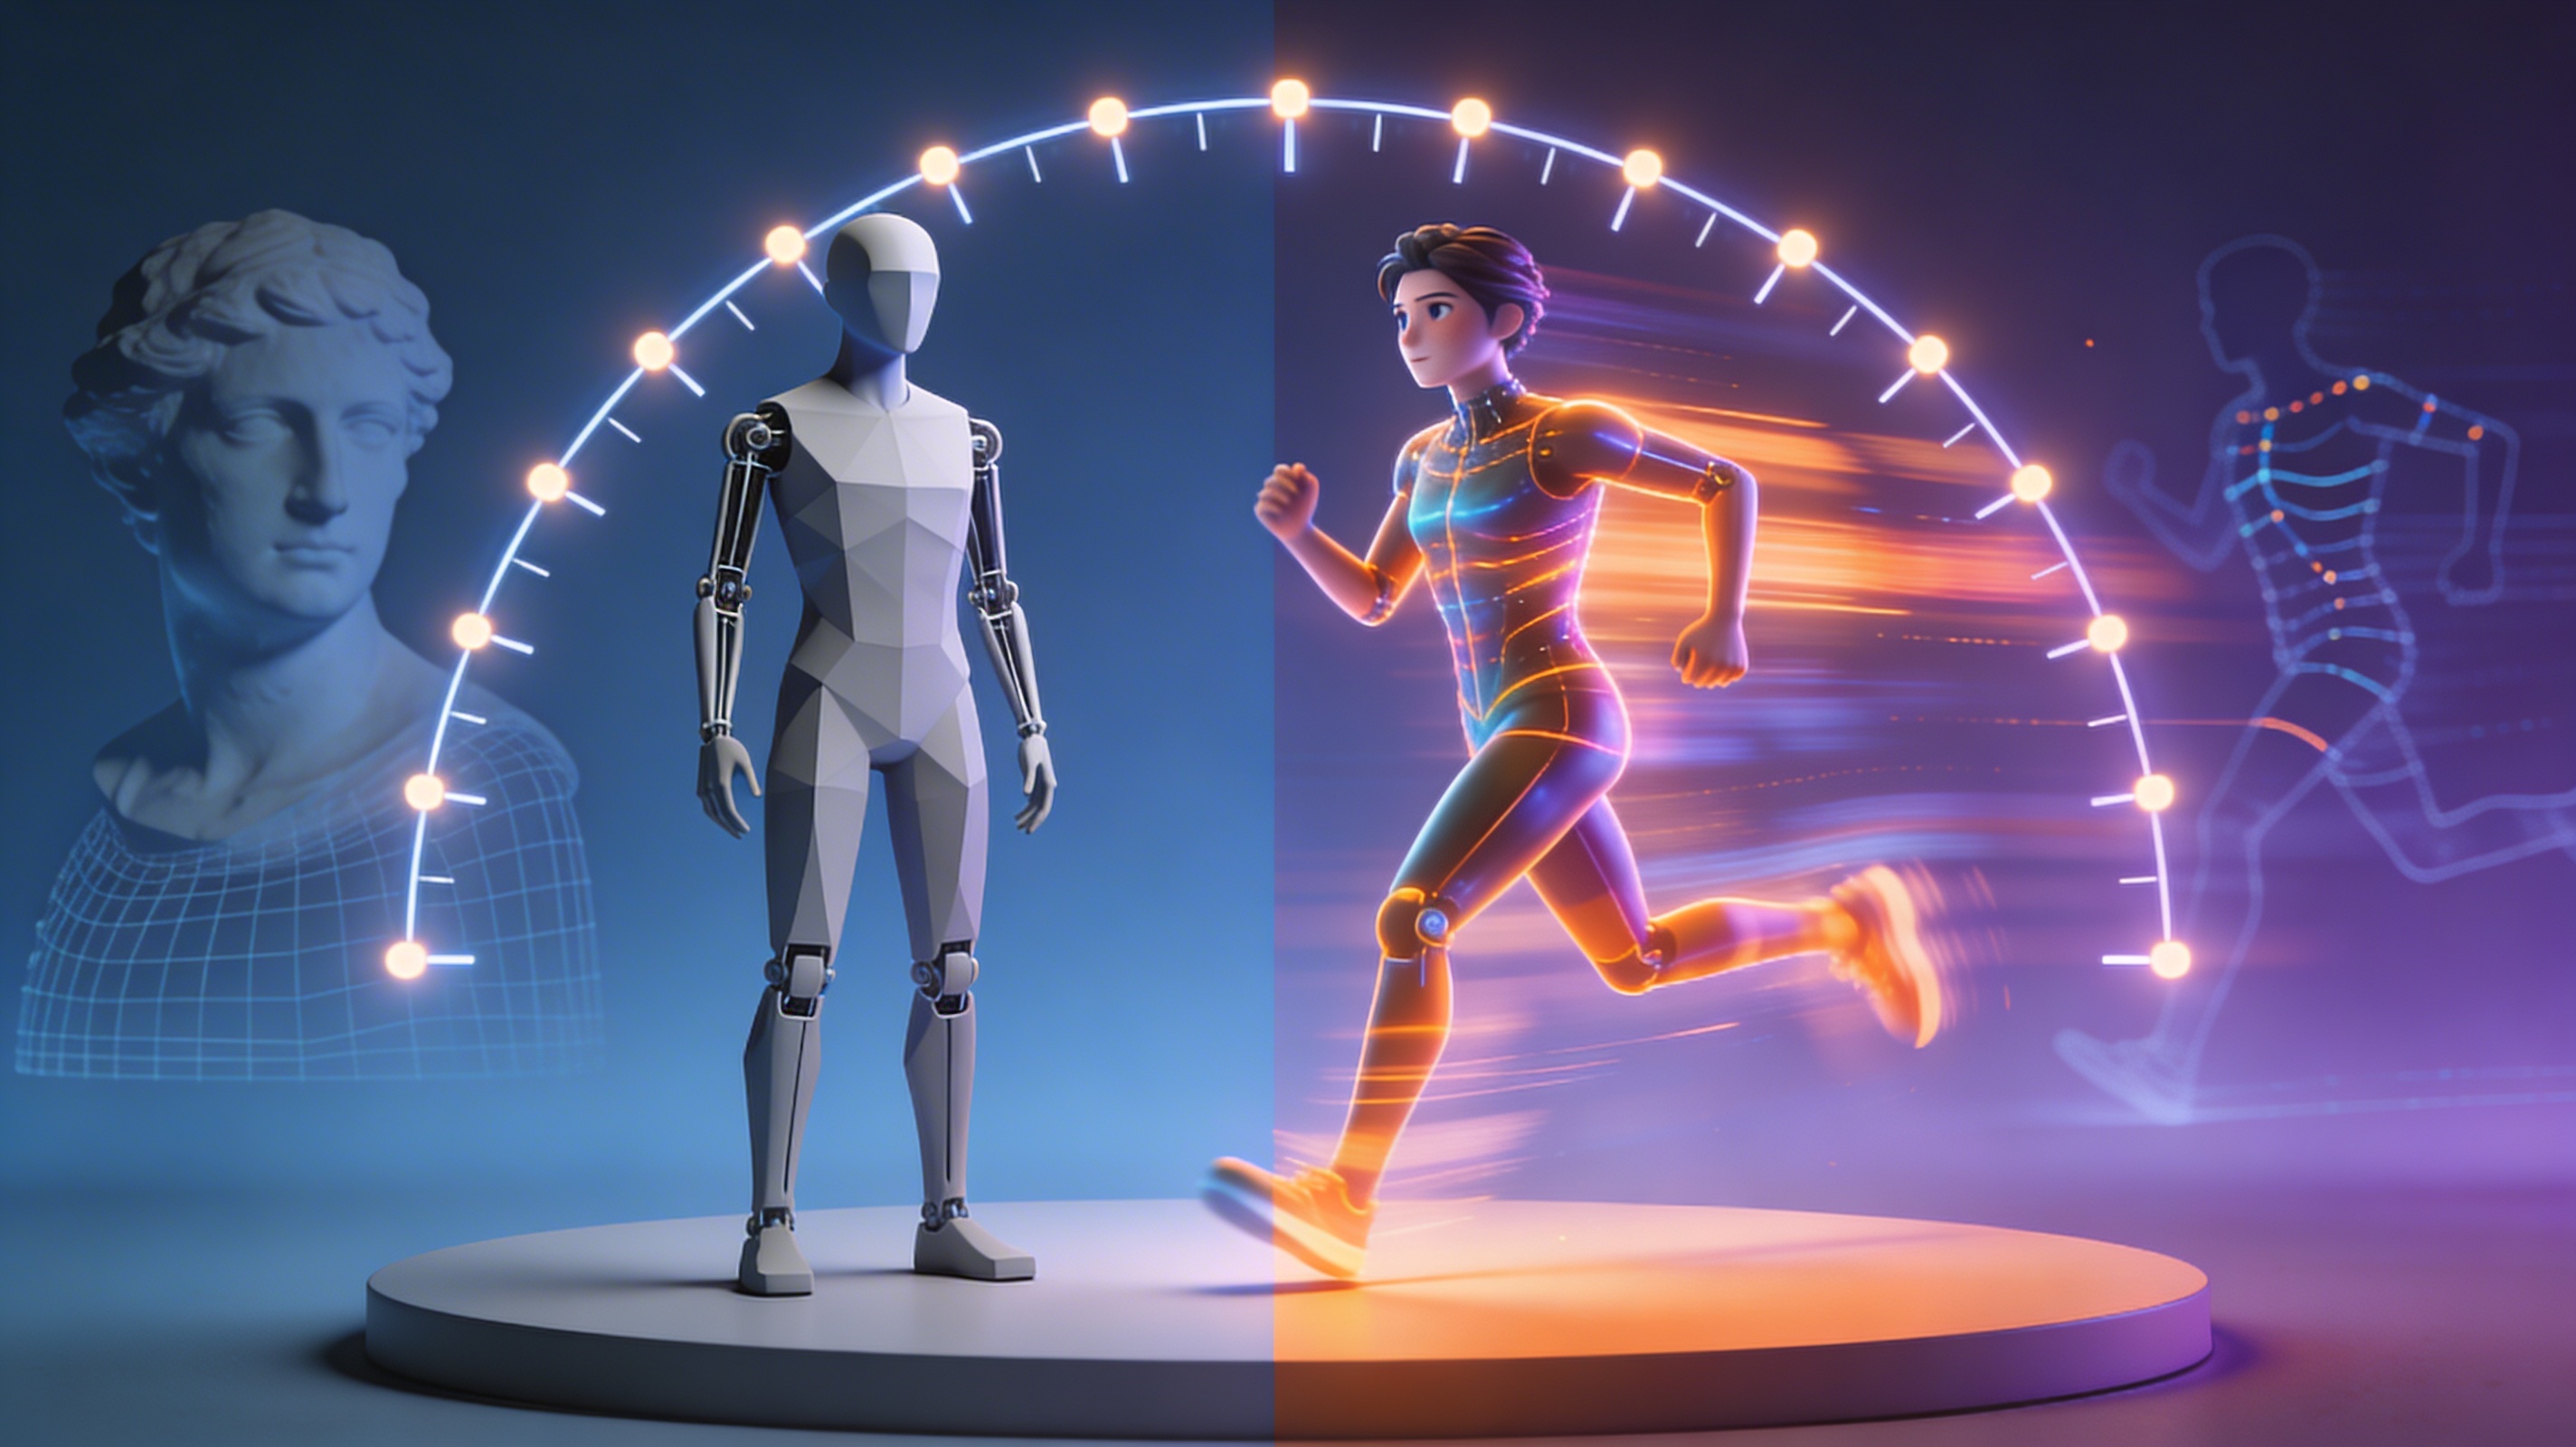
Rigging is the process of creating a digital skeleton for your 3D model. This skeleton, or "rig," is what allows you to move and pose your character. Think of it as the bones and joints that control the movement of a puppet. A good rig is essential for creating believable and fluid animations.
Keyframes and Timeline
The timeline is where you'll orchestrate your animation. Keyframes are markers on the timeline that define the starting and ending points of a movement. For example, to make a character wave, you would set a keyframe for the initial position of the arm, and another keyframe for the final position. The software then interpolates the movement between these keyframes, creating the animation.
Animation Principles
Even with advanced software, understanding the basic principles of animation will make your work more dynamic and engaging. Concepts like "squash and stretch," "anticipation," and "timing" are fundamental to creating animations that feel alive. While we won't go into detail on all of them here, they are worth studying as you progress in your animation journey.
How to Animate a 3D Model: A Step-by-Step Guide
Now, let's get into the practical steps of how to animate a 3D model. We'll cover both a traditional workflow and an AI-powered approach.
Traditional Animation Workflow
This workflow is typical for software like Blender, Maya, or 3ds Max.
1. Modeling and Rigging
Before you can animate, you need a 3D model. You can create your own using modeling software or download one from an online marketplace. Once you have your model, the next step is rigging. As we discussed, this involves creating a skeleton that will allow you to pose and move your model. Many online models come pre-rigged, which can save you a lot of time.
2. Posing and Keyframing
With your model rigged, you can start creating poses. In your animation software, you'll move the bones of the rig to create different poses. For each key pose, you'll set a keyframe on the timeline. The software will then generate the in-between frames, creating the illusion of movement.
3. Refining the Animation
Once you have your basic animation blocked out, you can refine it by adjusting the timing and spacing of your keyframes. This is where you can apply the principles of animation to make your movements more believable. You can also use graph editors to fine-tune the animation curves for even more control.
AI-Powered Animation with Hyper3D
For a faster and more automated approach, you can use an AI animation tool like the one offered by Hyper3D. This is a great option for beginners or for those who want to create animations quickly.
1. Upload Your Model
Start by uploading your 3D model to the Hyper3D platform. You can use a model you've created yourself or one you've made with our AI 3D model generator. Hyper3D supports various formats, so you can easily import your creations. If your model is in a different format, you can use a 3D format converter to prepare it.
2. Choose an Animation
Hyper3D offers a library of pre-made animations that you can apply to your model. Simply select the animation you want to use, and the AI will automatically apply it to your character. This is a huge time-saver, as you don't have to manually rig and animate your model.
3. Customize and Export
Once you've applied an animation, you can customize it to fit your needs. You can adjust the timing, and other parameters to create a unique animation. When you're happy with the result, you can export your animated model in various formats, including GLB, FBX, and USDZ.
My First-Hand Experience Animating a 3D Model
To get a real feel for the process, I decided to animate the same character model using a couple of different methods. I started with a simple humanoid model I created using an image to 3D tool.
First, I tried the traditional route with Blender. The rigging process was definitely a learning curve. I spent a good few hours just placing the bones correctly and setting up the inverse kinematics for the legs. Once the rig was done, creating a simple walk cycle took another couple of hours of setting keyframes and tweaking the curves in the graph editor. The level of control is incredible, but it's a very manual and time-intensive process. For a beginner, it can feel a bit overwhelming.
Next, I uploaded the same model to Hyper3D's AI animation tool. The experience was night and day. The platform automatically rigged the model for me. From there, I just browsed the animation library and applied a walking animation. The whole process took about five minutes. The quality was surprisingly good for an automated tool. While it didn't offer the same granular control as Blender, for quickly getting a character moving, it was incredibly efficient.
I also experimented with creating a talking animation using our ChatAvatar tool. I uploaded a head model, and the tool generated a realistic talking animation from just an audio file. This is a specialized but powerful way to handle facial animation, which is notoriously difficult to do manually.
Objective Comparison: Animation Tools
When it comes to how to animate a 3D model, there are several tools available, each with its own strengths and weaknesses. Here's an objective look at some of the most popular options to help you decide which is right for you.
Blender
Blender is a free and open-source 3D creation suite. It's a powerhouse that can handle everything from modeling and rigging to animation and rendering.
- Pros:
- Completely free to use.
- Offers a full professional 3D pipeline.
- Extremely powerful and customizable.
- Large and active community for support and tutorials.
- Cons:
- Steep learning curve for beginners.
- The animation process is very manual and time-consuming.
- Can be overwhelming with its vast feature set.
Best for: Aspiring professional animators, students, and anyone who wants deep control over every aspect of the animation process.
DeepMotion's Animate 3D
Animate 3D by DeepMotion is a browser-based AI tool that generates 3D animations from video files. You upload a video of a person moving, and the AI creates a corresponding 3D animation.
- Pros:
- Incredibly fast way to create realistic human motion.
- No need for special suits or hardware; just a regular video.
- Supports custom character uploads.
- Features like face and hand tracking add to the realism.
- Cons:
- Relies on having good video reference.
- Less control over the final animation compared to traditional methods.
- The free plan has limitations on animation length and features.
Best for: Game developers, indie creators, and anyone who needs to create realistic human animations quickly without a mocap studio.
Mixamo
Mixamo is a free online service from Adobe that provides a library of ready-to-use 3D characters and animations. It also has an automatic rigging tool.
- Pros:
- Completely free to use.
- Large library of high-quality animations.
- The auto-rigging tool is fast and works well for standard humanoid models.
- Very easy to use, even for absolute beginners.
- Cons:
- Limited to the animations available in the library.
- The auto-rigger can struggle with non-standard or complex models.
- No options for editing or customizing the animations within Mixamo.
Best for: Beginners, game jammers, and anyone who needs to quickly add animations to a character without any prior animation experience.
Hyper3D's AI Animation Tool
Our own AI animation tool is designed for speed and ease of use, integrating smoothly with the Hyper3D ecosystem.
- Pros:
- Extremely fast and easy to use.
- Automatically rigs and animates your model in minutes.
- Integrates with other Hyper3D tools like the AI 3D model generator and 3D format converter.
- Good for a wide range of animation styles, not just realistic motion.
- Cons:
- Less manual control than traditional software like Blender.
- The animation library is still growing.
Best for: Beginners, users of the Hyper3D ecosystem, and anyone who wants to create animations quickly and easily without a steep learning curve.
Frequently Asked Questions
What is the easiest way to animate a 3D model for a beginner?
For a complete beginner, the easiest way to animate a 3D model is to use an AI-powered tool like Hyper3D's AI animation tool or a service like Mixamo. These platforms automate the most complex parts of the process, like rigging, and provide a library of pre-made animations that you can apply to your model with just a few clicks.
Can I animate a 3D model for free?
Yes, absolutely. Blender is a professional-grade 3D software that is completely free and open-source. It has a full suite of animation tools. Additionally, services like Mixamo are free to use. Many AI animation tools, including Hyper3D's, offer free plans that are perfect for getting started.
How long does it take to animate a 3D model?
This depends heavily on the complexity of the animation and the method you use. A simple walk cycle could take a few hours to create manually in Blender for a beginner. With an AI tool, you could apply a pre-made walk cycle in a matter of minutes. For a professional-quality, feature-length film, animation can take teams of people years to complete.
Do I need to know how to draw to be a 3D animator?
While traditional drawing skills can be helpful for storyboarding and concept art, they are not a strict requirement for 3D animation. 3D animation is more like puppetry, where you are posing and moving a digital character. A good understanding of movement, timing, and posing is more important than drawing ability.
What are the most common file formats for animated 3D models?
The most common file formats for animated 3D models are FBX, GLB, and USDZ. FBX is a versatile format that is widely supported by game engines and 3D software. GLB is the standard format for web-based 3D and AR applications. USDZ is a format developed by Apple for AR experiences on iOS devices. Hyper3D's 3D format converter can help you convert between these formats.