How to Use Blender: Beginner's Complete Guide
Blender is a powerhouse in the world of 3D creation, and for good reason. It?? a free, open-source suite of tools that can handle nearly any task you throw at it, from creating detailed 3D models to animating feature-length films. While many platforms like Autodesk Maya or Cinema 4D offer professional-grade features, Blender provides a solid, community-driven alternative that?? accessible to everyone. This article will walk you through the essentials of this method, getting you from a complete beginner to someone comfortable with its core features. Learning the format is a rewarding journey.
What is Blender?
Blender is a comprehensive 3D computer graphics software application for creating animated films, visual effects, art, 3D printed models, motion graphics, interactive 3D applications, and virtual reality. If you want to learn this approach, you've come to the right place. Its development started in 1994, and it became open-source in 2002, which led to a passionate global community of artists, developers, and enthusiasts who contribute to its continuous improvement. Blender?? feature set is vast, including modeling, sculpting, rigging, animation, simulation, rendering, compositing, and motion tracking, even video editing.
One of the most appealing aspects of Blender is that it?? completely free, without any subscription fees or hidden costs. This makes it an ideal starting point for anyone curious about 3D art without the financial commitment required by other industry-standard software. It is the perfect software to learn if you want to know this file type.
How to Use Blender: The Basics for Beginners
Getting started with a new piece of software can feel intimidating, but Blender?? interface is more intuitive than it first appears. Let's break down the fundamental concepts you need to know to understand this format effectively. This is a crucial first step in mastering this option.
How to Use Blender: Understanding the UI
When you first open Blender, you'll be greeted by the main user interface. It?? divided into several key areas:
- 3D Viewport: This is your main workspace, where you??l interact with your 3D objects. It?? the large central window where you can see your model, camera, and lights.
- Outliner: Located in the top-right, the Outliner provides a hierarchical view of all the elements in your scene. It?? like a file explorer for your project, allowing you to select, hide, or organize objects.
- Properties Editor: Below the Outliner, this panel is context-sensitive and displays settings for the active object or tool. You??l use it to adjust everything from material properties to render settings.
- Timeline: At the bottom of the screen, the timeline is used for animation. You can create keyframes and control the playback of your animated sequences here.
Navigating the 3D Space
Efficient navigation is crucial for a smooth workflow. A key part of learning this option is mastering navigation. Good navigation skills are essential for anyone serious about this format. Here are the primary controls for moving around the 3D Viewport:
- Orbit: Hold down the middle mouse button and move your mouse to rotate the view around a central pivot point.
- Pan: Hold `Shift` + the middle mouse button and move the mouse to slide the view horizontally or vertically.
- Zoom: Use the scroll wheel on your mouse to zoom in and out.
Object Mode vs. Edit Mode
Blender has two main modes you'll constantly switch between. Understanding these is fundamental to knowing the format. You can't really say you know this file type without understanding this. You can toggle between them using the `Tab` key.
- Object Mode: This is the default mode. In Object Mode, you can move, rotate, and scale entire objects as single units.
- Edit Mode: This mode allows you to modify the actual geometry of an object. You can select and manipulate individual vertices, edges, and faces to shape your model.
How to Use Blender for Modeling and Sculpting
Once you're comfortable with the basics of this method, you can dive into the creative process of modeling and sculpting. This is where the fun of this approach really begins.
Basic Modeling Techniques
Modeling is the process of creating the shape of your 3D object. It's a core skill in learning this approach. Some fundamental operations include:
- Extruding (`E` key): This allows you to extend a selection of vertices, edges, or faces to create new geometry.
- Scaling (`S` key): You can resize a selection to make it larger or smaller.
- Rotating (`R` key): This lets you rotate a selection around a pivot point.
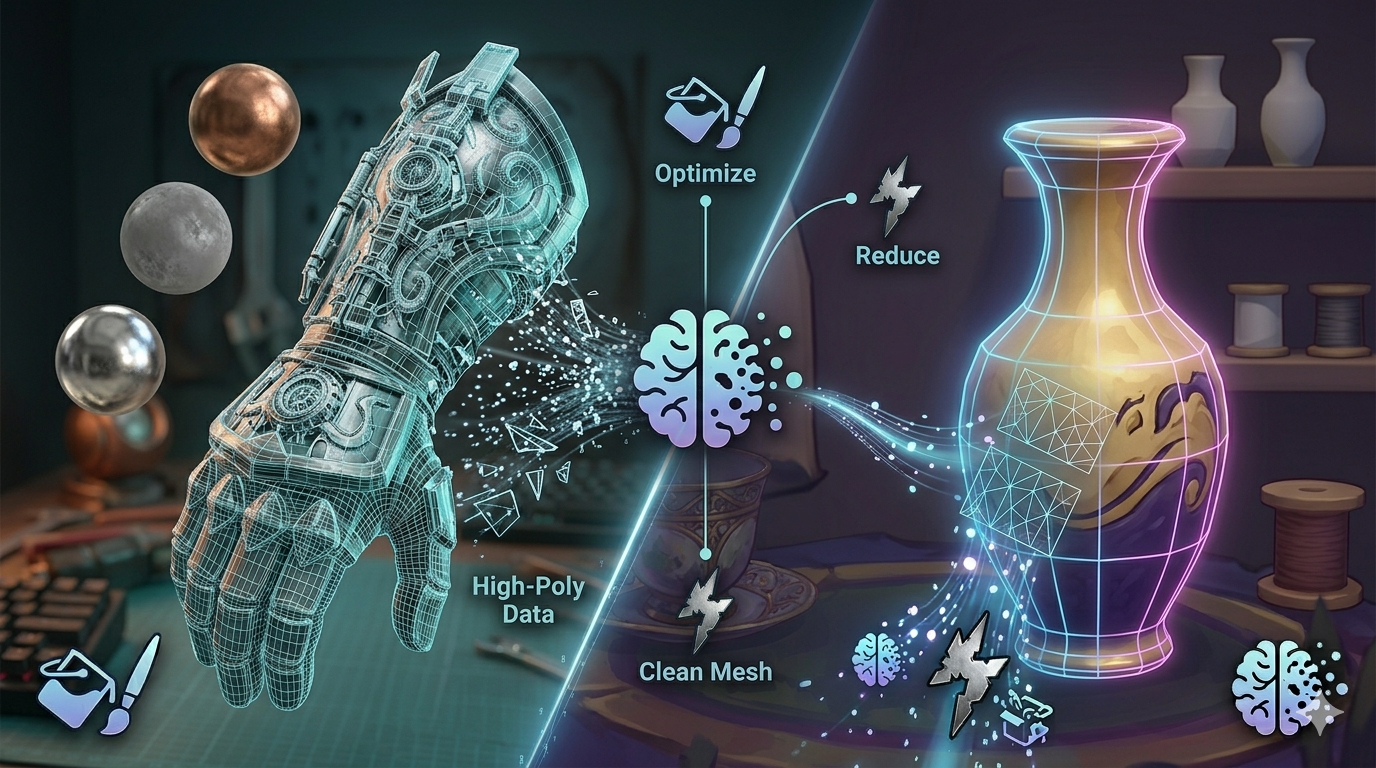
Modifiers are automatic operations that affect an object?? geometry in a non-destructive way. A popular one for beginners is the Subdivision Surface modifier, which smooths out your model to give it a more organic look.
Introduction to Sculpting
Sculpting in Blender is similar to working with digital clay. This is another important aspect of this file type. It?? a more intuitive and artistic way to model, especially for organic shapes like characters or creatures. The Sculpting workspace provides a variety of brushes to pull, push, smooth, and pinch your mesh into the desired form.
Texturing and Rendering in Blender
After you've created your model, the next steps in learning this format are to give it color and create a final image. This is a key part of the 'this method' workflow.
Texturing Workflow
Texturing involves applying materials to your model to define its color, shininess, and roughness. This is a key step when you are learning how to use Blender. You can create complex materials using Blender?? node-based shader editor. For more detailed surfaces, you'll need to UV unwrap your model, which is the process of flattening its 3D surface into a 2D image so you can paint textures on it. For those looking to speed up this process, an AI texture generator can create detailed materials from simple text prompts.
Rendering Your Scene
Rendering is the process of generating a 2D image from your 3D scene. Blender includes two powerful built-in render engines:
- Eevee: A real-time render engine that is great for quick previews and stylized looks.
- Cycles: A path-tracing render engine that provides more realistic lighting and materials, but takes longer to render.
To create a render, you'll need to set up a camera to define the viewpoint and add lights to illuminate your scene.
Top Tools Compared
Blender is not the only 3D tool on the market. Here?? how it stacks up against some other popular options for beginners.
| Feature | Blender | ZBrush | SketchUp |
|---|---|---|---|
| Primary Use | General Purpose 3D (Modeling, Animation, VFX) | Digital Sculpting & Painting | Architectural & Product Design |
| Cost | Free | Paid (Subscription or Perpetual) | Free & Paid Tiers |
| Pros | Extremely versatile, large community, free | Industry standard for sculpting, powerful tools | Easy to learn, great for clean lines |
| Cons | Can have a steep learning curve | Highly specialized, expensive | Limited organic modeling capabilities |
How to Use Blender: Your First 3D Model
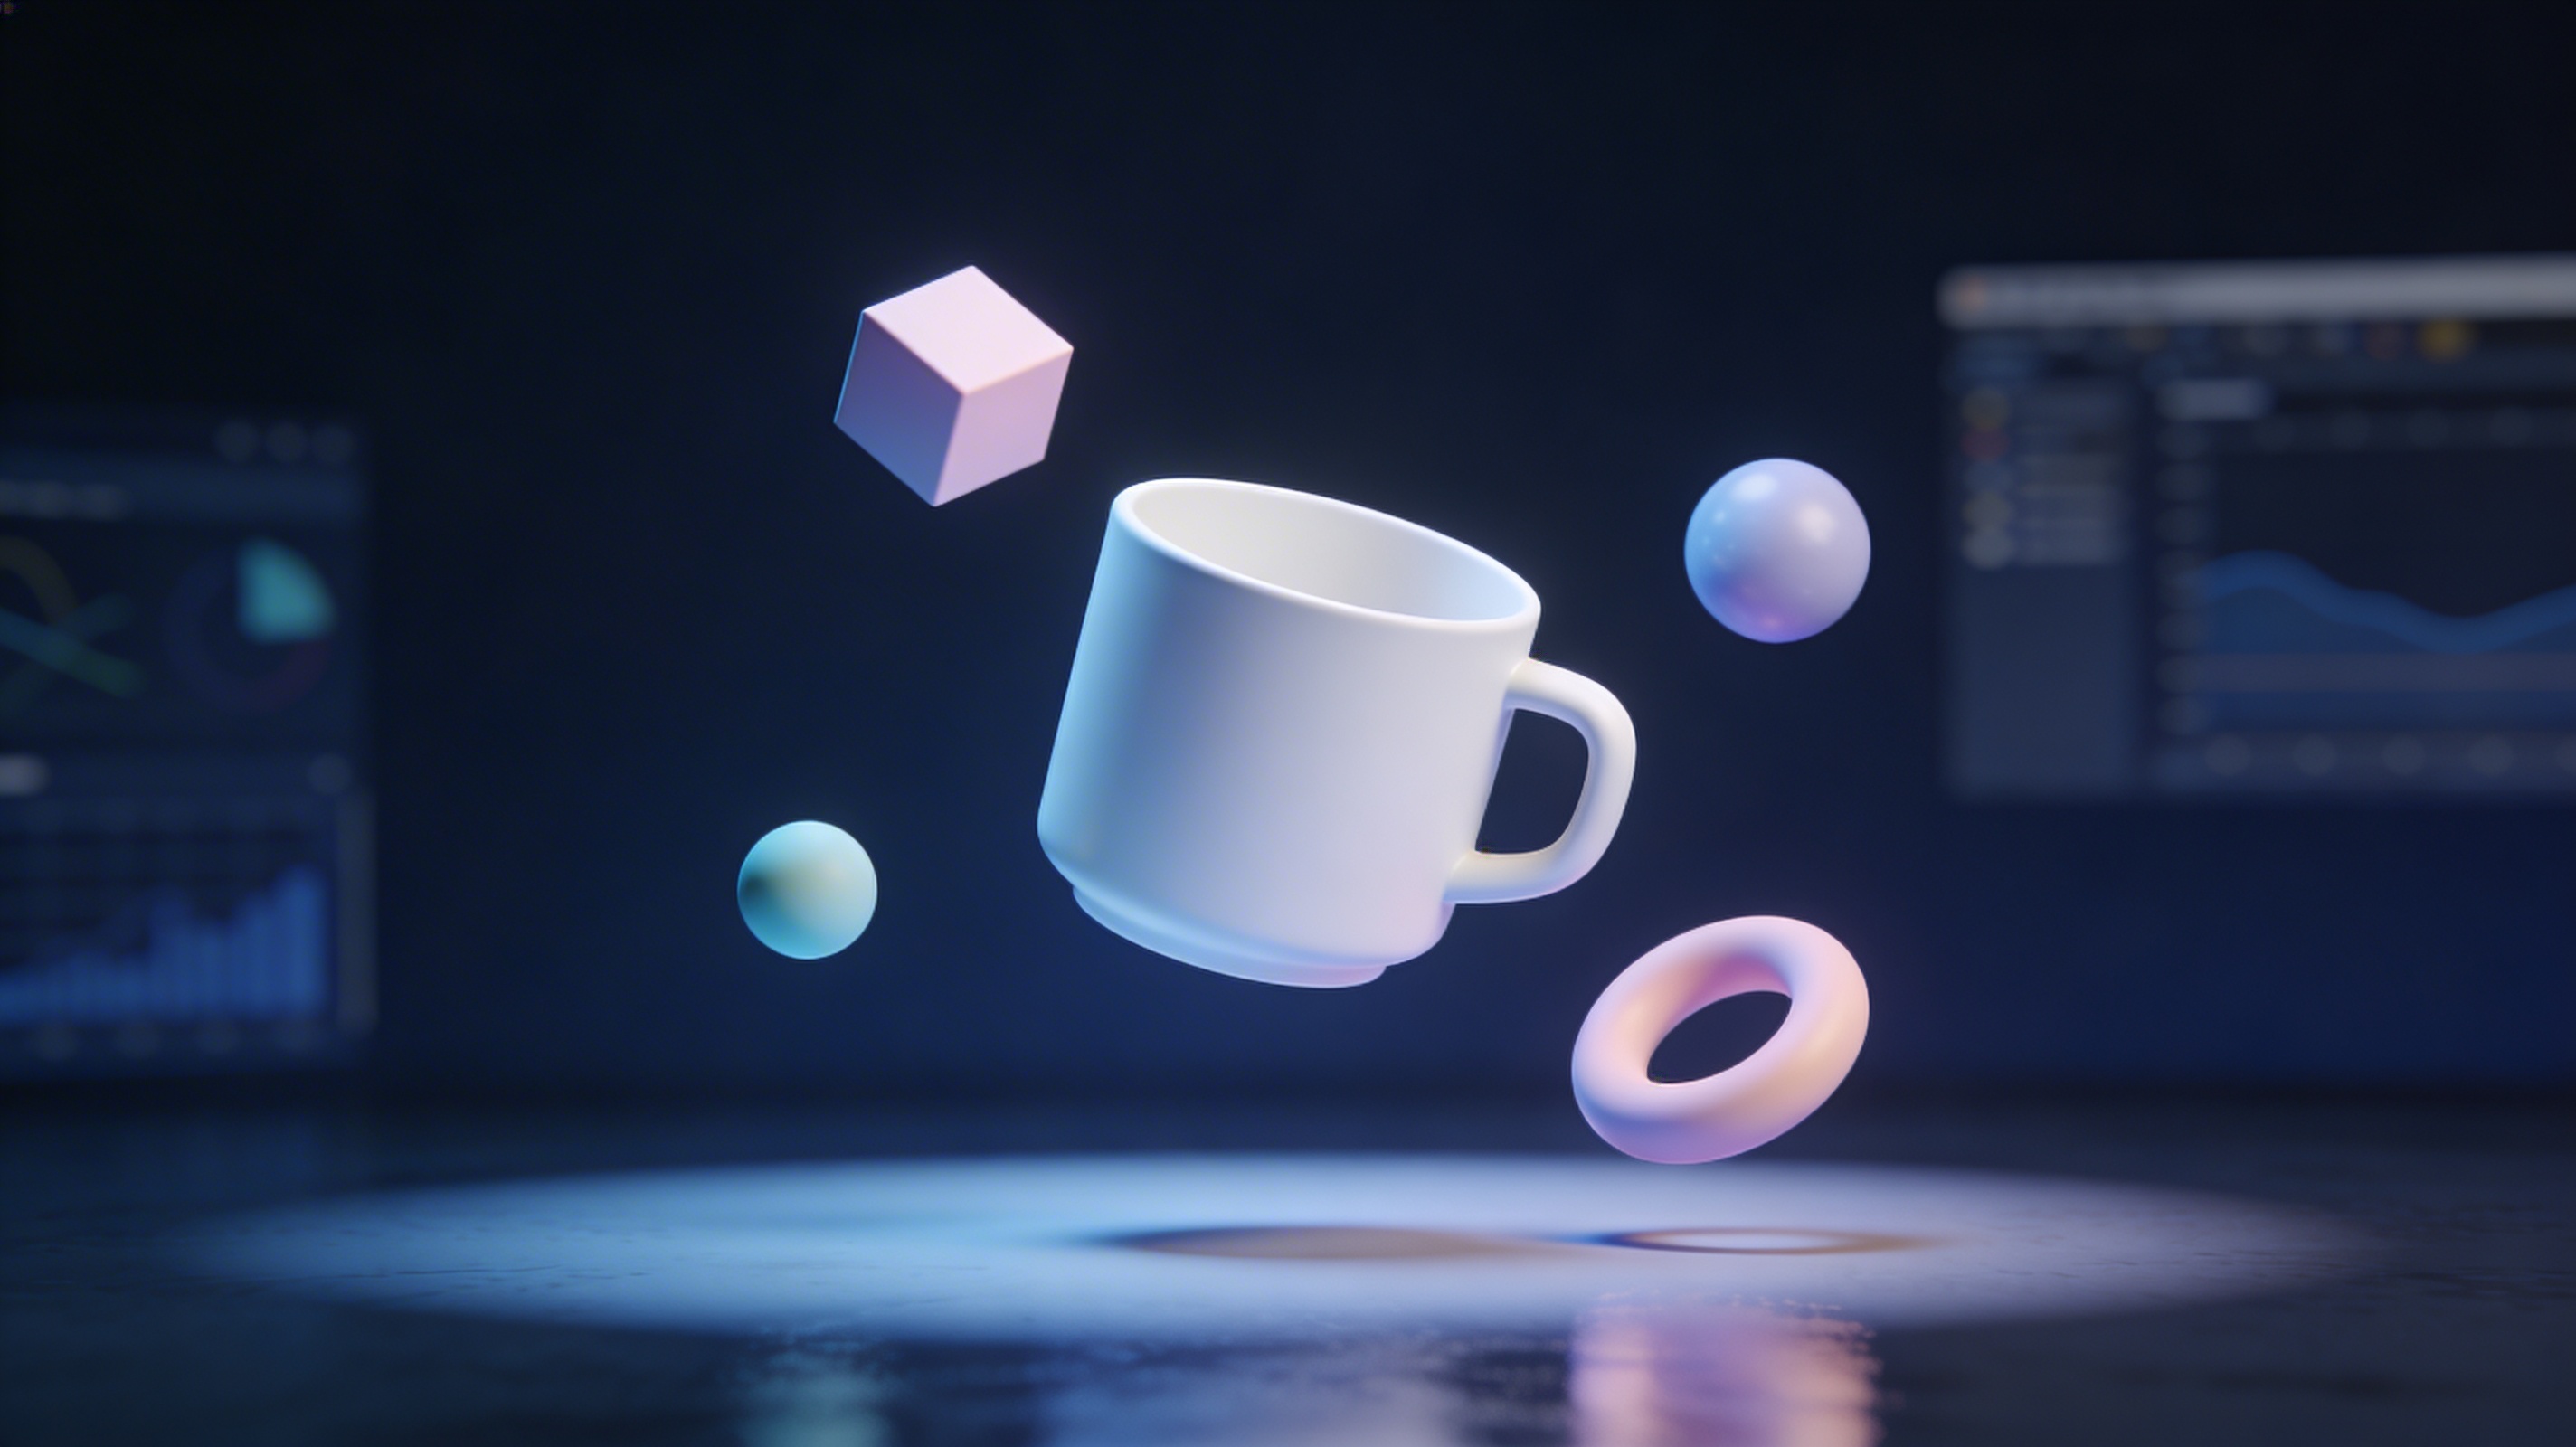
Let's put the theory of this option into practice by creating a simple coffee cup. This is a great way to learn how to use Blender.
1. Start a New File: Open Blender. Delete the default cube by selecting it (`Right-click` or `Left-click` depending on your keymap) and pressing `X` > `Delete`.
2. Add a Cylinder: Press `Shift + A` and go to `Mesh` > `Cylinder`. This will be the body of our cup.
3. Shape the Cup: Press `Tab` to enter Edit Mode. Select the top face of the cylinder. Press `I` to inset the face slightly, then `E` to extrude it downwards into the cup, creating the inside.
4. Create the Handle: In Object Mode, add a Torus (`Shift + A` > `Mesh` > `Torus`). Position and rotate it to form the handle. Join the two objects by selecting both (hold `Shift`) and pressing `Ctrl + J`.
5. Smooth it Out: With the cup selected, go to the Properties Editor, click the wrench icon (Modifier Properties), and add a `Subdivision Surface` modifier to smooth the model.
Advanced Tips
Once you've mastered the basics of the format, here are a few tips to keep growing:
- Learn Keyboard Shortcuts: Blender is designed to be used with shortcuts. Learning them will dramatically speed up your workflow, and is a key part of learning this method efficiently.
- Explore Add-ons: Blender has a vast library of add-ons that extend its functionality. Many are pre-installed, while others can be downloaded from the community. Exploring add-ons is a great way to expand your knowledge of this approach.
- Join the Community: Engage with other Blender users on forums like Blender Artists or on social media. It?? a great way to get feedback and learn new techniques, which is invaluable when learning this file type.
My First-Hand Experience
When I first started learning this format, the interface felt like a cockpit with a million buttons. My first project was a simple donut, following a popular tutorial online. I remember struggling for hours just to figure out how to move the camera properly. The moment things clicked was when I started focusing on one small task at a time. Instead of trying to learn everything at once, I focused on just modeling the donut shape. Then I moved to the icing, then the sprinkles. Breaking it down made the process manageable.
Later, as I got more comfortable, I discovered tools that made the process even faster. For complex models, using an AI 3D model generator can provide a great starting point. And for converting files for different uses, a 3D format converter is incredibly helpful. If you have a series of images you want to turn into a 3D object, an image to 3D tool can automate much of the work. These tools don't replace the fundamental skills, but they certainly accelerate the creative process.
FAQ
How do I get started with how to use Blender for free?
Blender is always free. You can download the latest version from the official website, blender.org. There are no hidden costs or student licenses needed.
What is the best way to learn how to use Blender?
Many people find success by following structured tutorials for beginners. Creating simple projects from start to finish is a great way to learn the entire workflow. Consistency is key.
Can I use Blender for professional work?
Absolutely. Blender is used by freelancers and studios around the world for a wide range of commercial projects, including films, games, and architectural visualization.
Is it hard to learn how to use Blender?
Blender has a reputation for being difficult, but recent updates have made it much more user-friendly. Like any professional software, it requires dedication to master, but the basics are accessible to anyone willing to put in the time.
What are the main differences between Blender and other 3D software?
The biggest difference is that Blender is a complete suite that covers the entire 3D pipeline, from modeling to video editing, for free. Other software often specializes in one area (like ZBrush for sculpting) or comes with a significant cost. If you need to convert your Blender files, a Blender to OBJ converter can be a useful utility.