Normal Baking 3D: Create Detailed Textures from High-Poly Models
Normal baking 3d is a fundamental technique in 3D modeling that allows artists to create highly detailed models without sacrificing performance. This process of faking high-resolution details on a low-polygon model, a core concept of normal baking 3d, is widely used in game development, film, and architectural visualization. While many 3D software suites like Blender, Maya, and Substance Painter have their own tools for normal baking, emerging technologies like Hyper3D's AI texture generator are offering new ways to achieve similar results with less manual effort. This guide will explore the ins and outs of normal baking 3d.
What is Normal Baking?
The Magic of Faking Detail
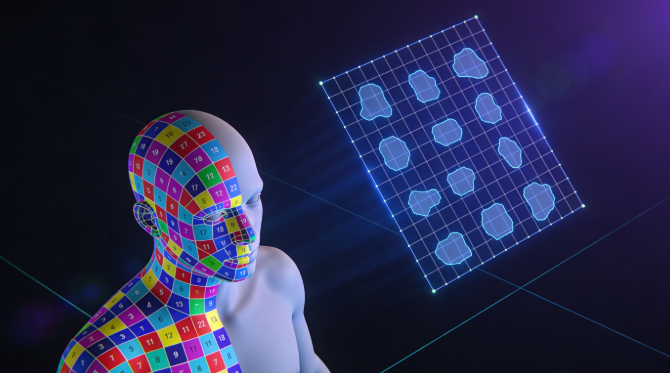
Imagine you have a highly detailed 3D model, a character with intricate armor, or a creature with realistic skin textures. This high-poly model looks amazing, but it's too complex to be used in a real-time application like a game. This is where the magic of this approach comes in. Think of normal baking 3d as creating a rubber stamp of the high-poly model's surface details and applying it to a much simpler, low-poly model. The result of this normal baking 3d process is a model that looks just as detailed as the original, but with a fraction of the polygons.
Normal Maps vs. Other Maps (Bump, Displacement)
When you're new to this approach, it's easy to get confused between normal maps, bump maps, and displacement maps. While they all aim to add detail to a model, they work in different ways.
- Bump maps are the simplest of the three. They are grayscale images that create the illusion of depth by manipulating the shading of a surface. However, they don't actually change the geometry of the model.
- Normal maps are more advanced. They are RGB images where each color channel corresponds to a different axis (X, Y, Z). This allows them to represent the direction of the surface normals, creating much more realistic and detailed lighting effects than bump maps.
- Displacement maps are the most complex. They are also grayscale images, but they actually displace the vertices of the model, creating real geometric detail. This results in the most realistic effects, but it comes at a high performance cost.
How Does Normal Baking 3D Work?
The High-Poly to Low-Poly Workflow
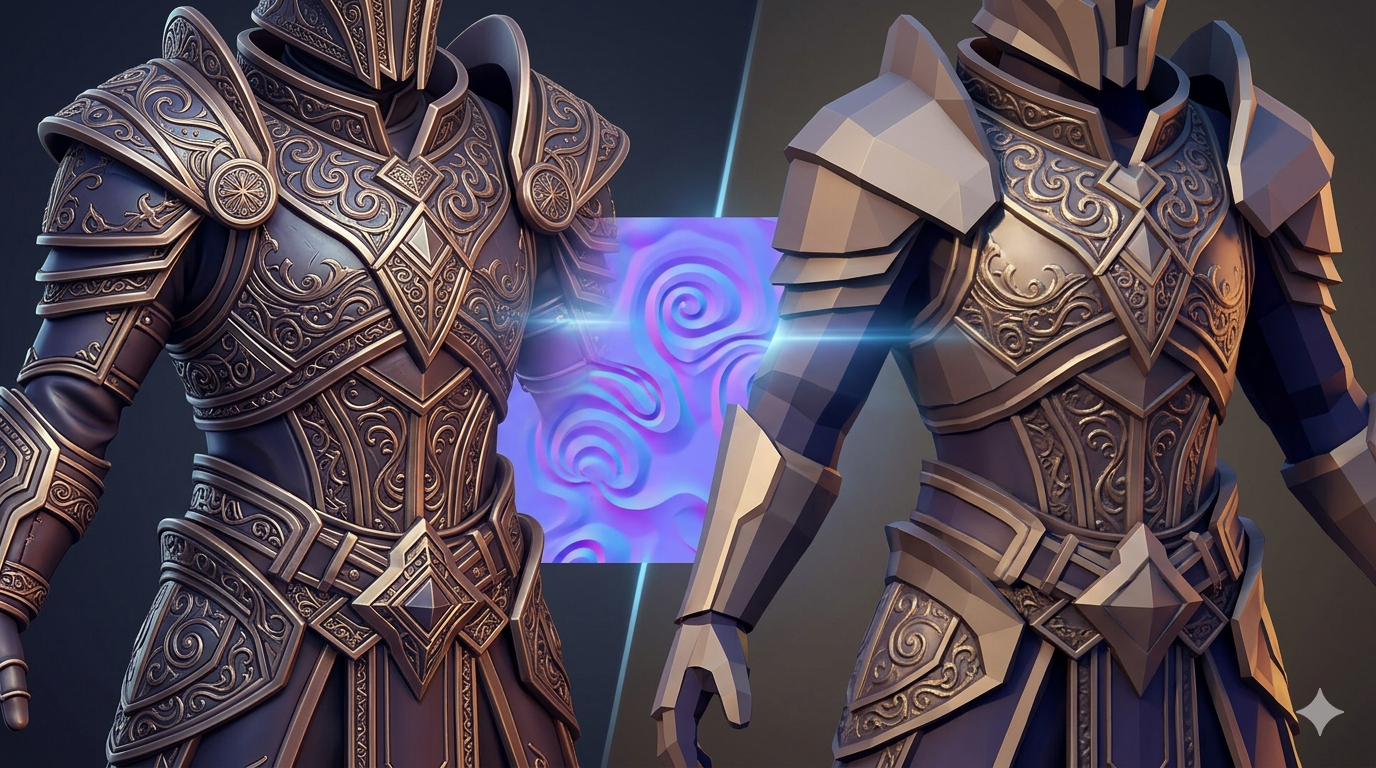
The this approach process starts with two models: a high-poly model with all the intricate details, and a low-poly model that will be used in the final application. The high-poly model can be created through sculpting, traditional modeling techniques, or even by using a 3D scanner. The low-poly model is typically created by retopologizing the high-poly model, which means creating a new, simplified mesh that follows the contours of the original.
UV Unwrapping: The Blueprint for Your Texture
Before you can bake a normal map, you need to create a UV map for your low-poly model. A UV map is a 2D representation of your 3D model's surface, and it tells the baking software how to apply the texture. It's like a blueprint for your texture, and it's crucial to have a clean and efficient UV layout to get a good bake.
Casting Rays: The Baking Process
Once you have your high-poly and low-poly models and a UV map for the low-poly model, you're ready to bake the normal map. The this approach software works by casting rays from the low-poly model to the high-poly model. When a ray hits the high-poly model, it records the direction of the surface normal at that point. This information is then stored in the normal map, creating a texture that can be applied to the low-poly model to simulate the details of the high-poly model.
Top Tools for Normal Baking 3D: A Comparison
There are many tools available for this approach, each with its own strengths and weaknesses. Here's a comparison of some of the most popular options:
Blender: The Free and Powerful Option
- Pros: Blender is a free and open-source 3D creation suite that includes a powerful set of tools for this approach. It has a large and active community, so there are plenty of tutorials and resources available online.
- Cons: Blender can have a steep learning curve for beginners, and its baking workflow can be a bit complex.
Substance Painter: The Industry Standard
- Pros: Substance Painter is the industry standard for texturing and material creation, and it has a very user-friendly and non-destructive this approach workflow. It produces high-quality results and is widely used in the game and film industries.
- Cons: Substance Painter is a subscription-based software, which can be a barrier for hobbyists and small studios.
Marmoset Toolbag: The Baking Specialist
- Pros: Marmoset Toolbag is a real-time rendering and baking tool that is known for its excellent this approach quality and user-friendly interface. It's a great option for artists who want to create high-quality bakes without the complexity of a full 3D suite.
- Cons: Marmoset Toolbag is primarily a baking and rendering tool, so it doesn't have the same modeling and sculpting capabilities as Blender or other 3D software.
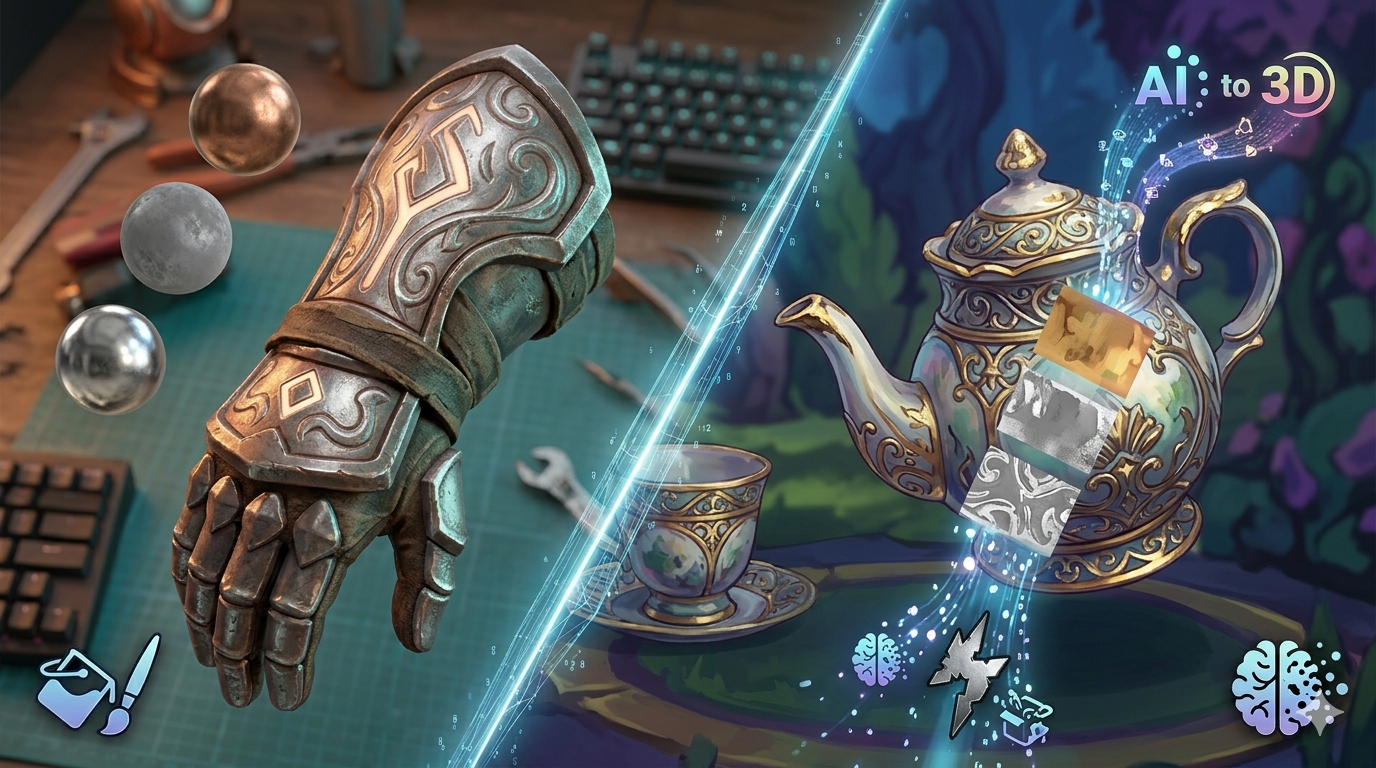
Hyper3D's AI Texture Generator: A New Approach
While not a traditional baking tool, Hyper3D's AI texture generator offers a new way to create detailed textures for your 3D models. Instead of baking a normal map from a high-poly model, you can use AI to generate a texture from a text prompt or an image. This can be a much faster and more intuitive workflow, especially for artists who are not familiar with the technical aspects of normal baking. You can then use the AI 3D model editor to apply and refine the texture on your model.
Step-by-Step Guide to Normal Baking 3D in Blender
1. Prepare your models: Make sure your high-poly and low-poly models are aligned and that the low-poly model has a clean UV map.
2. Create a new image: In the UV/Image Editor, create a new image to bake your normal map to. The resolution of the image will depend on the level of detail you want to capture.
3. Set up the bake settings: In the Render properties panel, go to the Bake tab and set the Bake Mode to "Normals".
4. Select your models: In the 3D View, select the high-poly model first, then the low-poly model.
5. Bake! Click the "Bake" button to start the baking process. Blender will then bake the normal map to the image you created in step 2.
My First-Hand Experience with Normal Baking 3D
I remember the first time I tried normal baking 3d. I was working on a character for a personal project, and I had spent weeks sculpting a high-poly version with intricate details. I was so excited to see those details on my low-poly model, but my first bake was a disaster. The normal map was full of artifacts and seams, and it looked nothing like I had imagined. I spent hours trying to figure out what I was doing wrong, and I eventually realized that my UV map was a mess. I had to go back and re-unwrap my model, but it was a key lesson in my normal baking 3d journey. My second bake was much better, and I was finally able to see my character come to life with all the details I had sculpted. More recently, I've been using the Hyper3D OmniCraft editor for a project, and it's been a great experience. The AI-powered tools make it easy to create and edit 3D models, and the results are impressive.
Advanced Tips for Perfect Bakes
The Importance of a Cage
In normal baking 3d, a cage is a duplicate of your low-poly model that is slightly larger than the original. It's used to control the direction of the rays during the baking process, and it can help to prevent artifacts and get a cleaner bake. You can learn more about creating and using cages in the Hyper3D documentation.
Skew and Tangent Space Issues
Skewed or distorted UVs can cause problems with your normal map, so it's important to have a clean and well-laid-out UV map. Tangent space issues can also cause problems, so it's important to make sure that your baking software and your game engine are using the same tangent space. For more information on our tools, check out the Hyper3D blog.
Baking High-to-Low Poly Details
When baking from a high-poly model to a low-poly model, it's important to make sure that the low-poly model has enough geometry to support the details of the high-poly model. If the low-poly model is too simple, you may lose some of the details in the bake.
FAQ about Normal Baking 3D
What is the difference between a normal map and a bump map?
A bump map is a grayscale image that creates the illusion of depth, while a normal map is an RGB image that represents the direction of the surface normals. Normal maps are more advanced and can create much more realistic lighting effects.
Can I bake a normal map without a high-poly model?
Yes, you can create a normal map from a 2D image or by using a procedural texture. However, the results will not be as realistic as a normal map baked from a high-poly model.
Why are there seams in my normal map?
Seams in a normal map can be caused by a number of factors, including a bad UV map, incorrect bake settings, or tangent space issues.
What is the best software for normal baking 3d?
The best software for this approach depends on your needs and budget. Blender is a great free option, while Substance Painter and Marmoset Toolbag are popular commercial options.
How does normal baking 3d affect performance?
this approach can actually improve performance by allowing you to use a low-poly model with a normal map instead of a high-poly model. This can significantly reduce the number of polygons that need to be rendered, which can lead to a smoother and more responsive experience.
Conclusion
Normal baking 3d is a powerful technique that can help you to create highly detailed 3D models without sacrificing performance. It's a complex process, but with the right tools and techniques, you can create stunning results. And with the rise of AI-powered tools like Hyper3D's AI texture generator, it's becoming easier than ever to create high-quality 3D assets. So why not give it a try? You might be surprised at what you can create.