PBR Materials Explained: A Guide to Physically Based Rendering
Physically Based Rendering (PBR) has become the standard for creating believable and stunning 3D graphics. Whether you're a seasoned 3D artist or just starting, understanding PBR is essential for taking your work to the next level.This article explains what you need to know about PBR materials., from the core principles to practical workflows. While we'll mention how our own AI 3D model generator and AI texture generator fit into the PBR landscape, the principles and tools discussed here are applicable across a wide range of platforms, including Blender, Substance Painter, Unreal Engine, and Unity.
What are PBR Materials?
PBR is a methodology, not a hard set of rules, that aims to simulate how light interacts with surfaces in a way that is more grounded in physics. This approach results in materials that look realistic and consistent under different lighting conditions. There are two primary workflows for creating PBR materials:
- Metal/Roughness: This is the most common workflow, used by tools like Substance Painter and Unreal Engine. It uses a `metallic` map to define which parts of a material are metal and which are not, and a `roughness` map to define how rough or smooth a surface is.
- Specular/Glossiness: This workflow is used by game engines like CryEngine. It uses a `specular` map to define the color of reflections and a `glossiness` map (the inverse of a roughness map) to define the smoothness of a surface.
How PBR Works: The Core Principles
To understand PBR, you need to grasp a few key principles that govern how light behaves in the real world, which is relevant when working with pbr materials.
Energy Conservation
This principle states that an object can't reflect more light than it receives. In PBR, this means that the combination of reflected and absorbed light must equal the total amount of light that hits the surface. This prevents materials from appearing overly bright or glowing unnaturally, which is relevant when working with pbr materials.
Fresnel Effect
The Fresnel effect describes how the reflectivity of a surface changes based on the viewing angle. Surfaces viewed at a grazing angle (i.e., almost parallel to the surface) will reflect more light than surfaces viewed head-on. This is why you can see your reflection in a body of water when you look at it from a distance, but not when you look straight down at it, which is relevant when working with pbr materials.
Microsurface Detail
No surface is perfectly smooth. At a microscopic level, all surfaces have some degree of roughness. This microsurface detail affects how light is reflected. A smooth surface will have sharp, clear reflections, while a rough surface will have blurry, diffused reflections, which is relevant when working with pbr materials.
Top PBR Material Tools Compared
There are many tools available for creating PBR materials, each with its own strengths and weaknesses. Here's a comparison of some of the most popular options:
| Tool | Pros | Cons |
|---|---|---|
| Substance Painter | Industry-standard with a vast library of materials and powerful texturing tools. | Subscription-based and can have a steep learning curve for beginners. |
| Quixel Mixer | Free to use and integrates with the extensive Megascans library. | Less feature-rich compared to Substance Painter. |
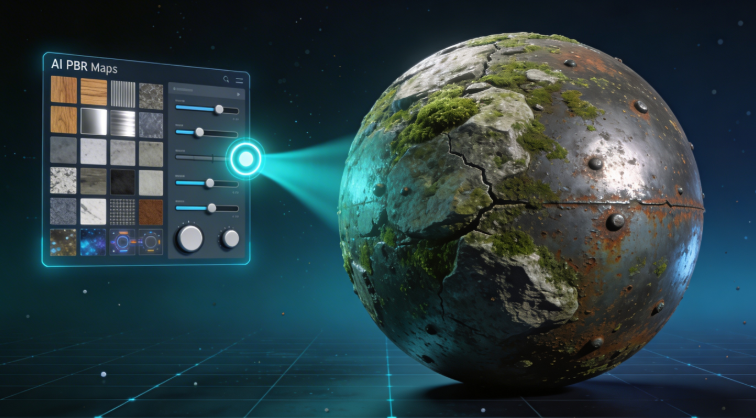
| Hyper3D AI Texture Generator | AI-powered for incredibly fast texture generation. Great for creating unique and stylized materials with minimal effort. | Offers less manual control compared to traditional, hands-on tools. |
Step-by-Step Guide to Creating a PBR Material
Creating a PBR material involves a few key steps, regardless of the software you're using, which is relevant when working with pbr materials.
1. Model Preparation
Before you can start texturing, you need a 3D model with clean UVs. UV mapping is the process of unwrapping a 3D model into a 2D space so that you can apply textures to it. Good UVs are essential for creating high-quality PBR materials.
2. Choosing a Workflow
As mentioned earlier, you'll need to decide whether to use the Metal/Roughness or Specular/Glossiness workflow. For most artists, the Metal/Roughness workflow is the recommended choice due to its widespread adoption.
3. Creating Texture Maps
This is where the magic happens. You'll create a series of texture maps that define the properties of your material.
- Albedo/Base Color: This map defines the base color of your material. It should be free of any lighting information, as that will be handled by the rendering engine.
- Roughness/Glossiness: This map controls how rough or smooth your surface is. In a roughness map, black represents a perfectly smooth surface, while white represents a perfectly rough surface.
- Metallic/Specular: In a Metal/Roughness workflow, the metallic map is a black and white image where white represents metal and black represents non-metal. In a Specular/Glossiness workflow, the specular map defines the color of reflections.
- Normal Map: This map adds surface detail without increasing the polygon count of your model. It's a great way to add fine details like bumps, scratches, and pores.
4. Applying and Tweaking the Material
Once you've created your texture maps, you can apply them to your model in a 3D application like our 3D Model Editor. You may need to tweak the material settings to get the exact look you're going for.
My First-Hand Experience with PBR Tools
As a 3D artist, I've had the opportunity to work with a variety of PBR tools on different projects. For a recent client project, a realistic architectural visualization, I relied heavily on Substance Painter. The level of control it offered was essential for creating the subtle imperfections and variations that made the materials feel real. I spent hours tweaking the roughness and normal maps to get the perfect look for a brushed metal countertop.
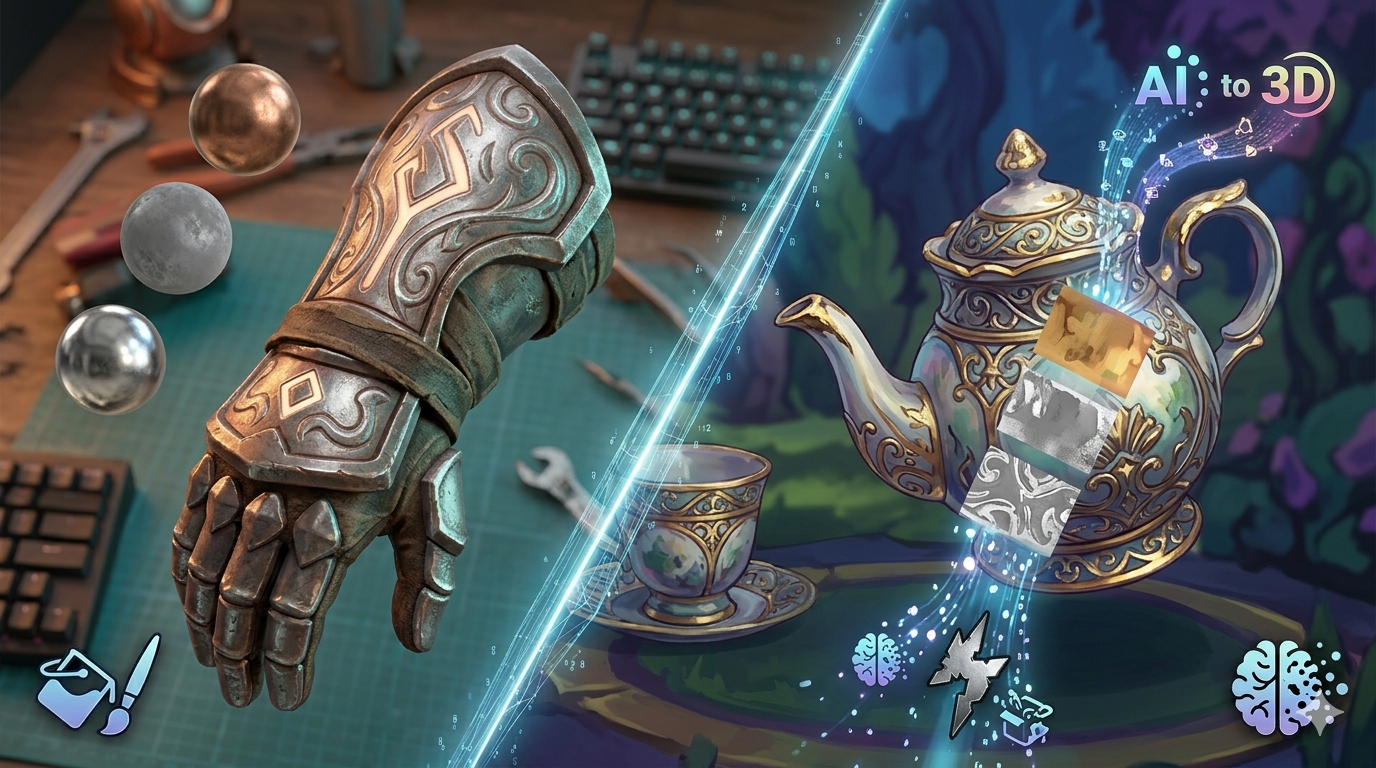
On the other hand, for a personal project, a stylized character, perhaps something from our AI 3D model generator, for a game jam, I turned to the Hyper3D AI texture generator. I needed to create a unique, painterly texture for the character's armor, and I was short on time. With a simple text prompt, I was able to generate a variety of options in minutes. I then took the generated texture into a 2D painting program for some minor adjustments. The speed and creative possibilities of the AI generator were a perfect fit for this project.
Advanced PBR Tips and Tricks
Once you've mastered the basics of PBR, you can start exploring some more advanced techniques.
Understanding IOR (Index of Refraction)
IOR is a value that describes how much light bends when it passes through a transparent material. It's essential for creating realistic glass, water, and other refractive materials.
Creating Emissive Materials
Emissive materials are materials that emit their own light, like a lightbulb or a neon sign. You can create emissive materials by using an emissive map, which defines which parts of your material should glow.
Using Ambient Occlusion (AO) Maps
An AO map is a black and white map that adds subtle contact shadows to your material. It can help to ground your objects in the scene and make them feel more realistic.
FAQ
What is the difference between PBR and traditional rendering?
Traditional rendering methods often rely on artistic interpretation and
hacks to achieve a certain look. PBR, on the other hand, is based on physical principles, which results in a more predictable and consistent look across different lighting conditions.
Is PBR only for realistic styles?
Not at all! While PBR is great for creating realistic materials, it can also be used for stylized art. By pushing the values in your texture maps to their extremes, you can create a wide variety of stylized looks.
Can I use PBR materials in any 3D software?
Most modern 3D software and game engines support PBR workflows. However, the specific implementation may vary from one application to another. You may need to adjust your texture maps or material settings to get the same look in different programs.
Where can I find PBR materials?
There are many great resources for finding PBR materials online. Some popular options include Substance Source, Quixel Megascans, and Poliigon. You can also create your own materials from scratch using the tools and techniques described in this guide.
What are the most important PBR texture maps?
For the Metal/Roughness workflow, the most important maps are Albedo, Roughness, and Metallic. For the Specular/Glossiness workflow, the most important maps are Diffuse, Glossiness, and Specular. A Normal map is also highly recommended for adding surface detail.
Conclusion
Physically Based Rendering has transformed the world of 3D graphics, enabling artists to create more realistic and believable worlds than ever before. By understanding the core principles of PBR and mastering the tools and techniques involved, you can take your own 3D art to new heights. Whether you're creating a hyper-realistic architectural visualization or a stylized game character, maybe even a 3D face from a photo, PBR provides a powerful and flexible framework for creating stunning materials.
Ready to start creating your own PBR materials? Give our AI texture generator a try and see what you can create in minutes. And if you're looking for a complete 3D creation solution, be sure to check out our AI 3D model generator.