Unity Animation: How to Animate 3D Models in Unity
Bringing 3D models to life is a special kind of magic. Whether you're making a character walk, a car drive, or a door open, animation is what breathes life and interactivity into a virtual world. While there are many powerful tools out there for creating 3D animations, from industry-standard software like Blender and Maya to specialized platforms, Unity offers a solid and integrated solution for developers. This article will walk you through the fundamentals of Unity animation, showing you how to get your 3D models moving directly within the engine. We will explore the powerful features of Unity animation.
What is Unity Animation?
At its heart, Unity animation is a system that allows you to change the properties of a GameObject over time. This can be anything from its position, rotation, and scale to more complex properties like the color of a material or the intensity of a light. Unity provides a suite of tools that work together to create, control, and manage these animations. The main components you'll be working with are the Animator, which acts as the brain for your animations; the Animation window, where you'll create and edit the actual animation clips; and Mecanim, Unity's powerful state machine system for managing complex Unity animation logic.
How Does Unity Animation Work?
Understanding how the different parts of Unity's animation system fit together is key to creating compelling Unity animation. Let's break down the core components of Unity animation.
The Animator Component
The Animator component is the bridge between your animation assets and your GameObjects. You attach it to the GameObject you want to animate, and it references an Animator Controller. This controller is what determines which animation clip to play and when, based on the logic you define. Think of the Animator component as the puppet master, pulling the strings of your animated character.
The Animation Window
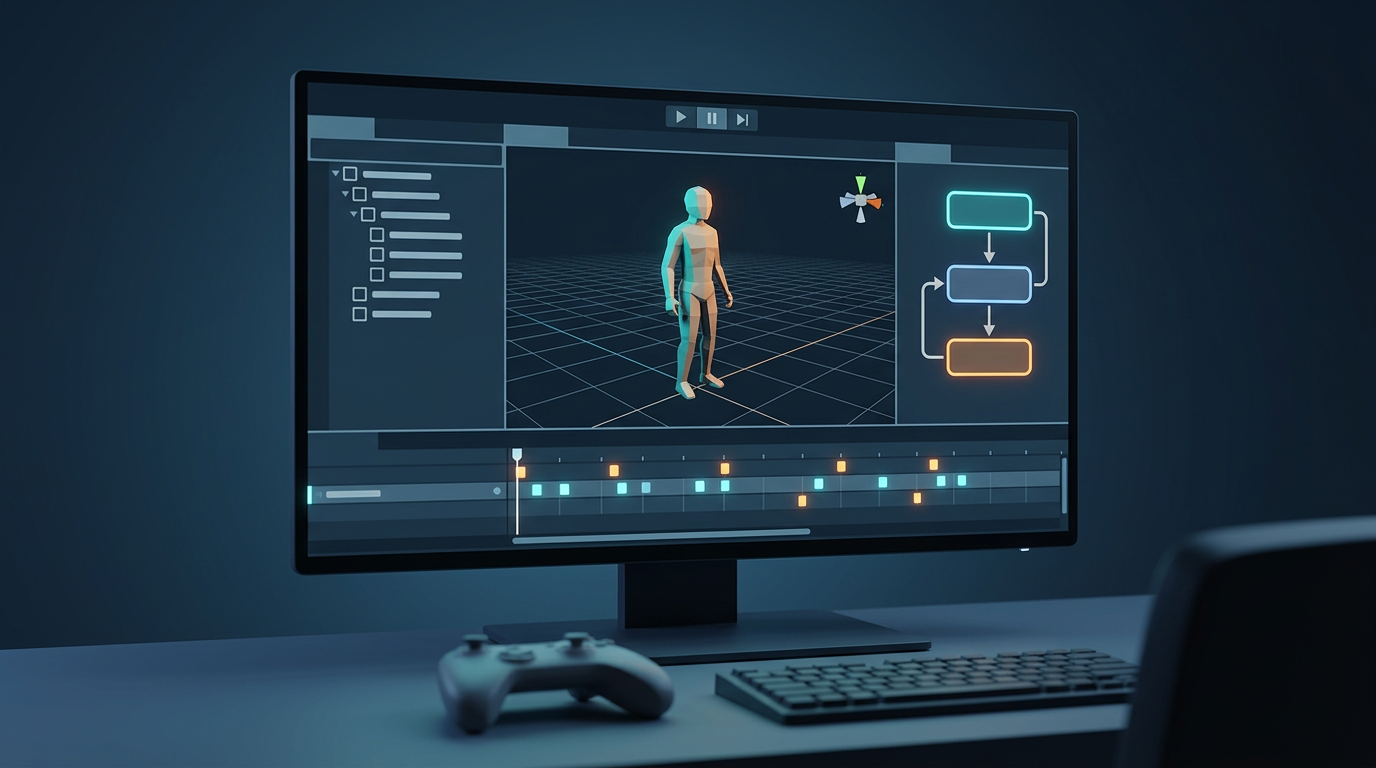
The Animation window is your primary workspace for creating and editing animation clips. Here, you'll work with a timeline and keyframes to define how a GameObject's properties change over time. You can create new clips from scratch, or edit existing ones. It's a powerful tool that gives you precise control over every aspect of your animations, from broad movements to subtle details.
Mecanim and State Machines
Mecanim is Unity's sophisticated animation system that uses a visual state machine to manage your animations. In the Animator window, you can create a graph of states, where each state represents an animation clip (like 'idle' or 'run'). You then define transitions between these states, which are triggered by parameters you set. This allows you to create complex animation logic, such as having a character transition from walking to running when the player presses a button.
Blend Trees for Smooth Transitions
Blend trees are a powerful feature of Mecanim that allow you to blend multiple animations together to create smooth, natural-looking transitions. For example, you could create a blend tree that blends between a walk and a run animation based on the character's speed. This avoids jarring jumps between animations and makes your characters feel more responsive and alive.
Working with Animation Clips
Animation clips are the building blocks of your animations. They can be created directly in Unity's Animation window, or imported from external 3D modeling software. You can also find a wealth of pre-made animations on platforms like the Unity Asset Store and Mixamo. For those looking to streamline the process even further, an AI animation generator can be a great way to get started with rigged models and basic animations.
Top Tools for Unity Animation Compared
While Unity provides a powerful built-in animation system, it's not the only option available. Here's a comparison of some of the most popular tools for creating animations for your Unity projects:
| Tool | Pros | Cons |
|---|---|---|
| Unity's Animation Tools | - Deeply integrated with the engine. - Supports both simple and complex animations. - No need for import/export pipelines. | - Can have a steep learning curve for beginners. - Some advanced features require additional packages. |
| Blender | - Free and open-source. - A complete 3D creation suite with advanced modeling, sculpting, and animation tools. - Large and active community. | - Requires exporting models and animations to Unity. - Can be overwhelming for new users. |
| Mixamo | - Huge library of free, high-quality motion-capture animations. - Extremely easy to use; automatically rigs characters. | - Limited customization options for animations. - Not a complete animation solution. |
| AI Animation Generators | - Incredibly fast for generating rigged models and basic animations. - Can create animations from text prompts or images. - A great starting point for projects. | - Newer technology, so the results can be less predictable. - May not offer the same level of fine-tuned control as traditional tools. |
For those just starting out, using a game 3D model generator can be a great way to get a feel for working with animated models in Unity. And for more advanced users, an AI 3D model generator can be a powerful tool for rapid prototyping and iteration.
Step-by-Step Guide to Animating a 3D Model in Unity
Now, let's get our hands dirty with a practical example. We'll animate a simple 3D model to make it move.
1. Setting up the Scene
First, you'll need a 3D model in your scene. You can either create your own, or use a pre-made one. For this tutorial, we'll assume you have a model ready to go. Once your model is in the scene, select it and add an Animator component in the Inspector window.
2. Creating an Animator Controller
Next, you'll need an Animator Controller. You can create one by right-clicking in the Project window and selecting `Create > Animator Controller`. Name it something descriptive, like "PlayerAnimatorController". Then, in the Inspector for your 3D model, drag the new Animator Controller into the "Controller" field of the Animator component.
3. Creating Animation Clips
Now it's time to create some animations. Open the Animation window by going to `Window > Animation > Animation`. With your 3D model selected, you'll see a "Create" button in the Animation window. Click it to create a new animation clip. Let's make an "Idle" animation first. You can add keyframes to the timeline to create subtle movements, like a breathing animation.
4. Building the State Machine
Open the Animator window by double-clicking your Animator Controller. You'll see a visual representation of your state machine. Drag your "Idle" animation clip into the Animator window. This will create a new state. Now, create another animation clip for a "Walk" animation and drag it into the Animator window as well. Create a transition from the "Idle" state to the "Walk" state, and another transition back. You can then create a boolean parameter, like "IsWalking", to control when the character should transition between these states.
5. Scripting the Animation
Finally, you'll need a script to control the Animator. Create a new C# script and attach it to your 3D model. In the script, you'll get a reference to the Animator component and use it to set the "IsWalking" parameter based on player input. For example, when the player presses the 'W' key, you'll set "IsWalking" to true, and when they release it, you'll set it to false.
My First-Hand Experience with Unity Animation
I've been working with Unity animation for years, and I'm constantly impressed by its power and flexibility. My journey with Unity animation has been a rewarding one. I remember one project where I had to animate a complex mechanical creature with multiple moving parts. Using a combination of the Animation window for the basic movements and Mecanim for the state logic, I was able to bring the creature to life in a way that felt both natural and intimidating. One of the biggest challenges was getting the timing of all the different animations just right, but with Unity's animation curves, I was able to fine-tune every detail until it was perfect. For those who want to quickly convert their models, a 3D format converter can be a lifesaver.
Advanced Unity Animation Tips
Once you've mastered the basics, there are plenty of advanced techniques you can use to take your animations to the next level.
Using Animation Events
Animation Events allow you to call a function in your script at a specific point in an animation. This is incredibly useful for things like playing a footstep sound effect when a character's foot touches the ground, or spawning a particle effect when a weapon is fired.
Root Motion
Root motion is a feature that allows the animation itself to drive the movement of the character, rather than having the movement controlled by a script. This can result in more realistic and fluid character movement, especially for complex animations like climbing or vaulting.
Working with Humanoid Rigs
Unity has a special system for working with humanoid characters. By creating a humanoid rig for your character, you can easily retarget animations from one character to another, even if they have different proportions. This can save you a huge amount of time and effort, as you can reuse animations across multiple characters in your game. If you're looking for a way to turn a 2D image into a 3D model, there are tools available that can help you with that, like an image to 3D converter.
FAQ about Unity Animation
Can I use animations from other software in Unity?
Yes, you can import animations from most 3D modeling software, such as Blender, Maya, and 3ds Max. As long as you export your animations in a format that Unity supports (like FBX), you can easily bring them into your Unity project.
What is the best way to learn Unity animation?
The best way to learn Unity animation is by doing. Start with simple projects and gradually work your way up to more complex ones. There are also plenty of great tutorials and resources available online for Unity animation, including the official Unity documentation and community forums.
How can I make my animations look more realistic?
There are many things you can do to make your animations look more realistic, from studying real-world reference footage to using advanced techniques like inverse kinematics (IK) and blend shapes. It's also important to pay attention to the timing and spacing of your animations, as these can have a big impact on how they are perceived.
Is Unity good for 2D animation?
While Unity is primarily known for its 3D capabilities, it also has a powerful 2D animation system. You can use the same animation tools and techniques to animate 2D sprites as you would for 3D models.
What are some common mistakes to avoid when animating in Unity?
One common mistake is not using a consistent naming convention for your animation clips and parameters. This can make your Animator Controller difficult to manage as your project grows in complexity. Another mistake is not taking advantage of features like blend trees and animation events, which can save you a lot of time and effort in the long run.
Conclusion
Unity animation is a deep and powerful system that can be used to create a wide range of animations, from simple movements to complex character performances. By understanding the core components of the Unity animation system and following the best practices outlined in this article, you'll be well on your way to bringing your 3D models to life with Unity animation. And if you're looking for a little help getting started, don't forget to check out the powerful AI tools available at hyper3d.ai.