

Image to 3D Print: AI-Powered 3D Printing from Photos
Turning a flat, two-dimensional image into a physical three-dimensional object used to be the stuff of science fiction. Today, thanks to advancements in AI and 3D printing, it?? a reality accessible to everyone. Whether you??e a seasoned maker or just starting your 3D printing journey, the ability to transform a favorite photo, a child's drawing, or a company logo into a tangible object opens up a world of creative possibilities. While several platforms and tools can help you achieve this, understanding the process and the nuances of different methods is key to getting the best results.
This article will guide you through the process of converting an image to 3D print, exploring both traditional and modern AI-powered techniques. We'll dig into the specifics of how to turn your image to 3d print. We'll also share some first-hand experience with popular tools and provide tips for achieving a perfect print.
Why Turn a 2D Image into a 3D Print?: Image To 3D Print
The applications of converting an image to 3d print are as vast as your imagination. From personalized gifts to custom prototypes, this technology has something to offer for everyone.
Personalized Gifts and Keepsakes
Imagine turning a cherished family photo into a beautiful lithophane that glows when lit from behind, or transforming a child's drawing into a unique piece of art. The ability to create custom, one-of-a-kind objects makes for truly memorable gifts and keepsakes.
Custom Prototypes and Parts
For engineers, designers, and hobbyists, the ability to quickly create a 3D model from a 2D image can be a big deal. Need a custom part for a project? Sketch it out, take a picture, and convert it into a 3D model ready for printing. This rapid prototyping capability can significantly speed up the design and iteration process.
Artistic Expression and Creativity
Artists and creators can use this technology to bring their digital creations to life. Whether it's a logo, a piece of digital art, or a complex pattern, converting it to a 3D model opens up new avenues for artistic expression. The resulting 3D prints can be used in sculptures, jewelry, and other mixed-media projects.
Methods for Converting Images to 3D Prints
There are two primary methods for converting a 2D image into a 3D model for printing: the traditional, multi-step process and the modern, AI-powered approach.
The Traditional Method: Image to SVG to STL
For a long time, the standard workflow for converting an image to a 3D model involved a two-step process. First, the 2D image (usually a PNG or JPG) was converted into a Scalable Vector Graphic (SVG) file using a vector graphics editor like Adobe Illustrator or the open-source Inkscape. This process, known as tracing, converts the pixel-based image into a series of paths and nodes.
Once the SVG file was created, it was then imported into a 3D modeling program or a dedicated converter to be extruded into a 3D shape and exported as an STL file, the standard format for 3D printing. While this method offers a high degree of control over the final model, it can be complex and time-consuming, requiring a certain level of expertise in both vector and 3D modeling software.
The Modern AI-Powered Method: Direct Image to 3D Model
Recent advancements in artificial intelligence have led to the development of tools that can directly handle the image to 3d print process, bypassing the need for manual tracing and extrusion. These AI-powered platforms, such as Hyper3D's image to 3D model generator, use sophisticated algorithms to analyze the input image and generate a corresponding 3D mesh.
This streamlined approach makes the process of converting an image to a 3D print significantly faster and more accessible to a wider audience. With just a few clicks, users can upload an image and receive a downloadable 3D model, ready for printing.
How to Convert an Image to a 3D Print with AI
Using an AI-powered tool for your image to 3d print project is a straightforward process. Here's a step-by-step guide using Hyper3D's image to STL converter as an example:
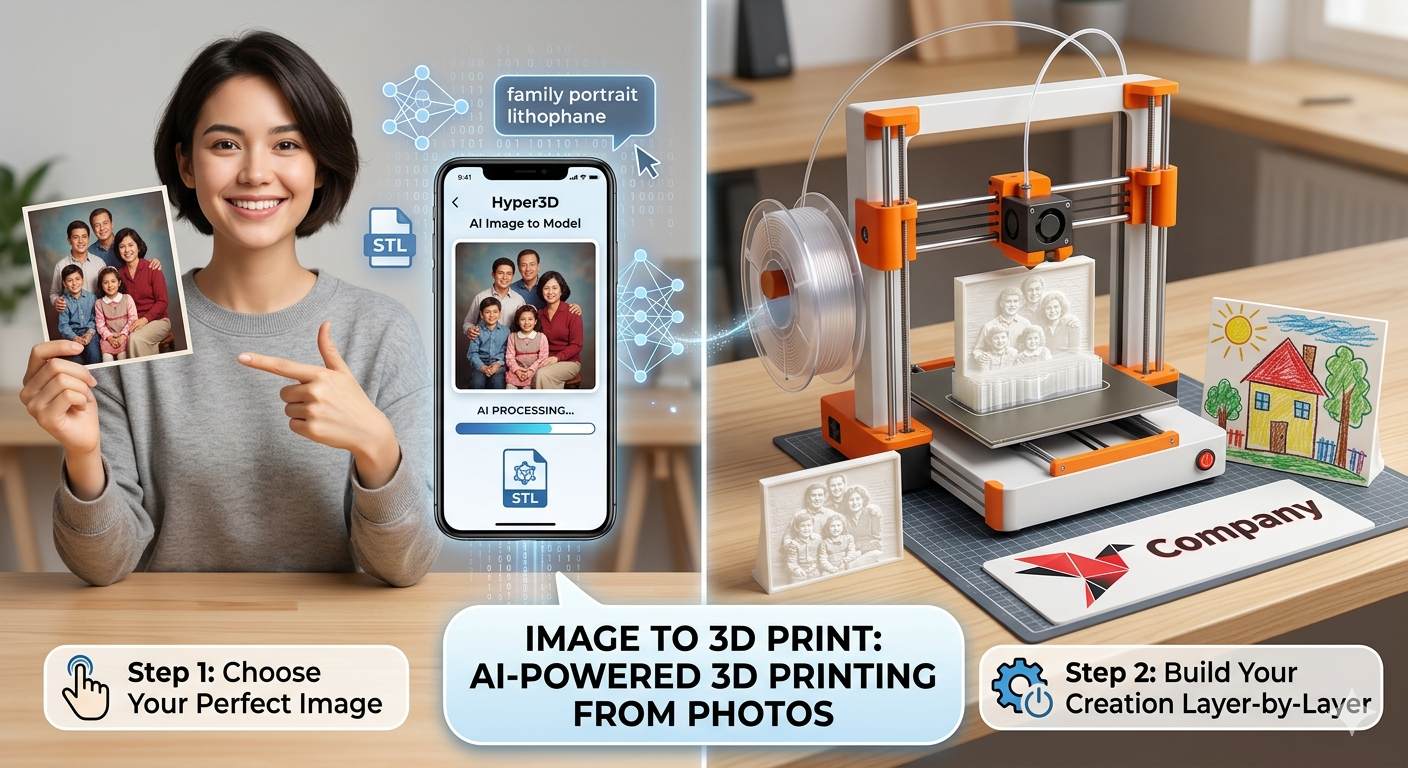
Step 1: Choose the Right Image
The quality of your 3D print starts with the quality of your input image. For the best results, choose an image that is:
- High-resolution: A clear, sharp image will provide more detail for the AI to work with.
- Well-lit and high-contrast: Good lighting and strong contrast between the subject and the background will help the AI to accurately identify the object's contours.
- Simple and focused: An image with a single, clear subject and a plain background will generally produce a cleaner 3D model than a busy, cluttered image.
Step 2: Upload Your Image to an AI Tool
Navigate to an AI-powered image-to-3D-model tool, such as Hyper3D's AI 3D model generator, and upload your chosen image. The platform will then begin to process the image and generate a 3D model.
Step 3: Fine-Tune and Generate
Many AI tools, including Hyper3D, offer options to fine-tune the generation process. You may be able to adjust settings such as the level of detail, the smoothness of the model, and other parameters. Experiment with these settings to achieve the desired look for your 3D model.
Step 4: Download and Prepare for Printing
Once you're satisfied with the generated 3D model, you can download it in a 3D-printable format, such as STL or OBJ. You can then use a 3D format converter if needed. This file can then be imported into a slicing software (like Cura, PrusaSlicer, or Simplify3D), which will prepare the model for your specific 3D printer. The slicer will generate the G-code that tells your printer how to create the object, layer by layer.
My First-Hand Experience: Testing AI Image to 3D Print Tools
To get a better sense of the current state of AI-powered image-to-3D-print technology, I decided to test out a few of the most popular tools on the market. I started with Hyper3D's 3D printing model generator, and then compared it with another well-regarded platform.
My experience with the Hyper3D tool was incredibly smooth. I uploaded a simple black and white logo, and within a minute, I had a high-quality 3D model ready to download. The interface was intuitive and easy to navigate, and I was impressed by the level of detail in the final model. I experimented with the different generation modes and found that the 'Focal' mode produced the most accurate and detailed result for my logo.
Next, I tried a similar tool from another provider. While it also produced a decent 3D model, I found the process to be a bit more cumbersome. The interface wasn't as user-friendly, and there were fewer options for fine-tuning the model. The final result was also not as clean as the one I got from Hyper3D, with some noticeable artifacts and imperfections.
Overall, my experience confirmed that AI has made it incredibly easy to convert images to 3D prints. While different tools may offer varying levels of quality and user experience, the technology has reached a point where anyone can create a 3D model from an image with just a few clicks.
Tips for a Perfect 3D Print from an Image
While AI has simplified the process of converting an image to a 3D model, there are still a few things you can do to ensure a perfect print.
Optimizing Your 3D Model
Before sending your 3D model to the printer, it's a good idea to inspect it in a 3D modeling program like Blender or Meshmixer. These tools will allow you to check for any errors in the mesh, such as holes or non-manifold edges, that could cause problems during printing. You can also use these programs to make further adjustments to the model, such as smoothing out rough surfaces or adding a base.
Choosing the Right 3D Printing Material
The material you choose for your 3D print will have a big impact on the final result. For general-purpose prints, PLA is a great choice as it's easy to work with and comes in a wide variety of colors. For prints that require a high level of detail, resin-based printing (SLA or DLP) is a better option.
Slicer Settings for Optimal Results
Your slicer settings will also play a crucial role in the quality of your print. Pay close attention to settings like layer height (a smaller layer height will produce a more detailed print), infill (the density of the material inside the print), and print speed. It may take some experimentation to find the optimal settings for your specific printer and material.
Frequently Asked Questions (FAQ)
What is the best image to use for 3D printing?
The best images for 3D printing are high-resolution, well-lit, and have a clear subject with a simple background. The higher the contrast between the subject and the background, the better.
Can I 3D print a color photo?
While you can't directly 3D print a color photo in the traditional sense, you can create a lithophane, which is a thin, translucent 3D print that reveals an image when backlit. Some advanced 3D printers can also print in multiple colors, but this is not yet a common feature.
What is a lithophane?
A lithophane is a 3D print of a photo that uses variations in thickness to create a grayscale image. When a light is placed behind the print, the image is revealed in stunning detail.
Do I need to be a 3D modeling expert to do this?
Not at all! Thanks to AI-powered tools like Hyper3D's image to 3D model generator, anyone can convert an image to a 3D print with just a few clicks. No prior experience with 3D modeling is required.
What are the best AI tools for converting images to 3D prints?
There are a number of great AI tools available for converting images to 3D prints. Hyper3D's image to 3D model tool is an excellent choice, offering a user-friendly interface and high-quality results. Other popular options include Meshy.ai and Printpal.io.
Conclusion
The ability to turn a 2D image to 3d print has opened up a new world of creative possibilities. What was once a complex and time-consuming process is now accessible to everyone, thanks to the power of AI. Whether you're looking to create a personalized gift, a custom prototype, or a unique piece of art, the tools and techniques are now at your fingertips. So why not give it a try? Grab your favorite photo, head over to an AI-powered image-to-3D-model generator, and bring your imagination to life.