

HDRI for 3D Rendering: Free Maps and How to Use Them
Creating stunningly realistic 3D renders often comes down to the lighting. Get it right, and your scene comes to life. Get it wrong, and even the most detailed model can look flat and artificial. This is where High Dynamic Range Imaging, or HDRI, comes in. Tools like Blender, Cinema 4D, and specialized platforms like Hyper3D all rely on good lighting to produce convincing results. Using an HDRI map is one of the most effective ways to achieve that realism, bathing your creations in natural light and reflections. This article explores what hdri 3d rendering is, where to find free maps, and how to use them to elevate your work.
What is an HDRI Map?
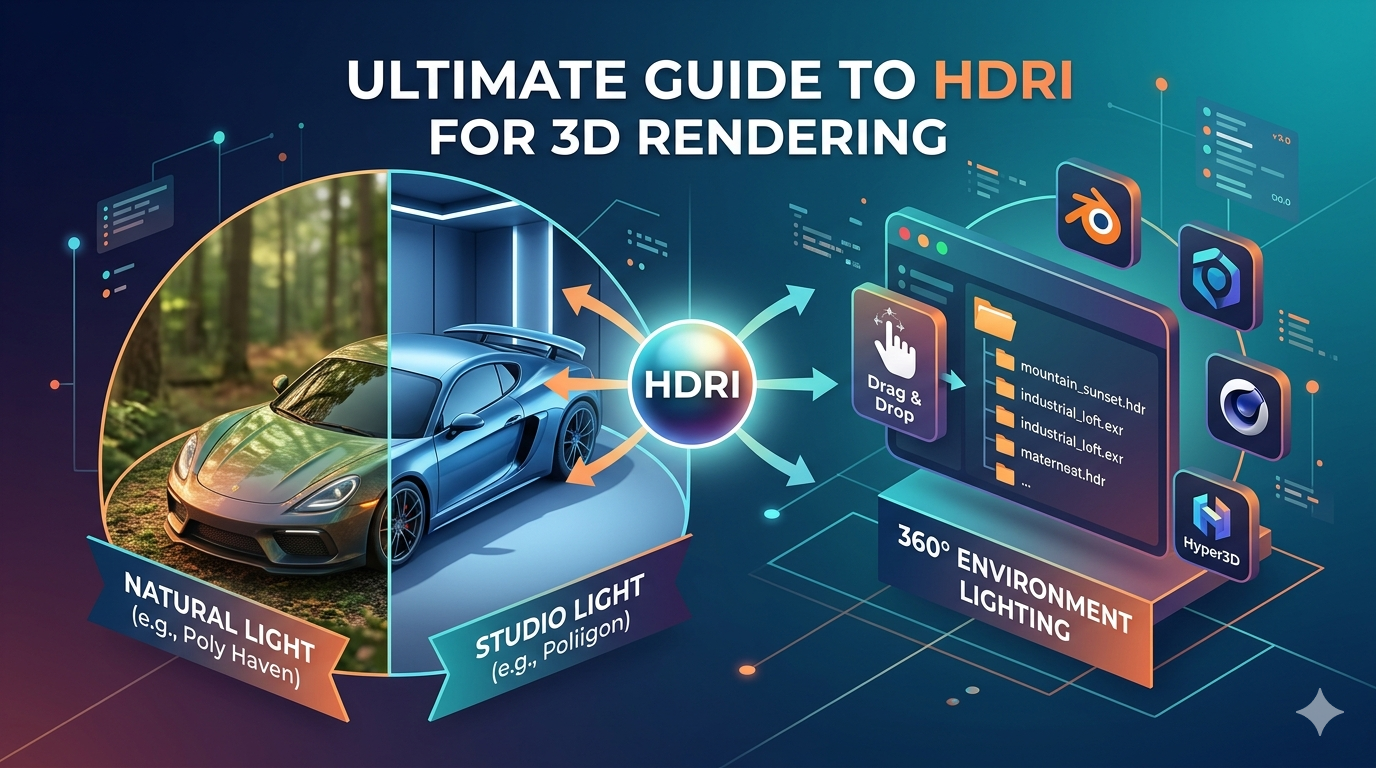
At a basic level, an HDRI is a panoramic, 360-degree photograph that captures the full range of light intensity in a real-world environment. Unlike a standard image (like a JPEG or PNG), which clamps the light and dark values, an HDRI stores a much wider spectrum of light information. This means it captures everything from the dimmest shadows to the brightest direct sunlight in a single file. This is the fundamental concept behind hdri 3d rendering.
When you use an HDRI in a 3D scene, you are essentially wrapping your models in this photographic environment. The 3D software then uses the light data from the image to illuminate the scene. This technique, often called Image-Based Lighting (IBL), is powerful because it simulates the complex and subtle ways light behaves in the real world. Instead of setting up dozens of individual lights manually, a single HDRI can provide rich, nuanced lighting with soft shadows and accurate reflections, making it an essential tool for any photorealistic 3D generator.
Why HDRI Matters for Realistic Renders
The difference between a render with and without an HDRI is night and day. A model lit with basic 3D lights can look sterile, with unnaturally sharp shadows and uniform reflections. The same model lit with an HDRI will have physically accurate lighting that reflects the environment. If your HDRI was shot on a cloudy day in a forest, your object will be lit with soft, diffused light and reflect the surrounding trees. If it was shot in a bright, modern studio, you'll see sharp, clean reflections and highlights. This is the key to making a 3D object feel like it truly belongs in its environment, a core goal of hdri 3d rendering.
Where to Find Free HDRI Maps
Building a library of high-quality HDRI maps is essential for any 3D artist. Fortunately, there are several fantastic resources online that offer extensive collections of free HDRIs. These are perfect for personal projects, practice, and even commercial work, though you should always check the license.
Top Resources for Free HDRIs
- Poly Haven: Formerly known as HDRI Haven, this is arguably the most popular resource for free HDRIs. It offers hundreds of maps at resolutions up to 24k, all with a permissive CC0 license, meaning you can use them for any purpose without attribution.
- HDRMAPS: This site provides a mix of paid and free assets. Their freebies section contains a good selection of high-quality HDRI maps that are great for testing and smaller projects.
- Poliigon: While primarily a paid texture and model service, Poliigon offers a selection of free HDRIs to give artists a taste of their library's quality. These are excellent for professional work.
- HDRI-Skies: As the name suggests, this site specializes in sky environments. You can find a variety of sky conditions, from clear blue skies to dramatic sunsets, in their free section.
A Guide to Using HDRI in 3D Rendering
Integrating an HDRI into your 3D workflow is a straightforward process in most modern 3D software. The exact steps may vary slightly, but the general principle is the same: you load the HDRI file into the environment or world settings of your scene. This is a key step in any hdri 3d rendering workflow.
For example, in Blender, you would go to the World Properties tab, click the color dot next to
Surface, and select "Environment Texture." From there, you can open your downloaded HDRI file. The moment you switch to the rendered view, your scene will be illuminated by the new environment. The process is similar in other applications, where you'll typically find an environment or sky object that you can apply the HDRI texture to.
Choosing the Right HDRI for 3D Rendering
The HDRI you choose has a massive impact on the mood and look of your render. A sunny beach HDRI will create bright, warm light with sharp shadows, perfect for a summer-themed product shot. An overcast industrial HDRI will produce soft, diffused light with muted colors, ideal for a more gritty or dramatic scene. The key is to match the lighting environment to the story you want to tell with your image. Consider the time of day, the weather, and the location depicted in the HDRI and how that complements your 3D model.
My First-Hand Experience with an HDRI 3D Rendering Tool
I recently had the chance to work with Hyper3D's HDRI 3D rendering tool within OmniCraft while working on a project that involved creating a digital product showcase. The goal was to take a 3D model of a new watch design and place it in several different virtual environments to see how it would look in various real-world scenarios, a common task in hdri 3d rendering. I had previously generated the base model using an image-to-3D workflow and refined it, but the lighting was generic.
My experience with OmniCraft's HDRI feature was quite direct. The interface allowed me to upload my own HDRI maps that I had sourced from Poly Haven, but it also came with a built-in library of environments. I started by applying a "Studio Softbox" HDRI. The result was immediate. The watch, which previously looked a bit like a cartoon, suddenly had weight. The metallic surfaces realistically reflected the soft light sources, and the shadows fell gently on the virtual floor. I could rotate the HDRI environment to change the position of the highlights on the watch face, which was great for finding the most flattering angle. I then switched to an "Outdoor Plaza" HDRI. The change was dramatic. The watch now reflected the blue sky and surrounding buildings, and the sunlight created sharp, crisp highlights on the polished steel. It felt like the watch was actually sitting on a table in that plaza.
An Objective Comparison of HDRI Workflows
When it comes to HDRI for 3D rendering, artists have a few different approaches they can take. There isn't a single "best" way; the right choice depends on your project, your software, and your personal workflow.
| Workflow | Pros | Cons | Best For |
|---|---|---|---|
| Standalone Software (e.g., Blender, Cinema 4D) | Total creative control, highly customizable, vast plugin availability. | Steeper learning curve, requires manual setup of materials and lighting. | Professional 3D artists and studios needing maximum flexibility. |
| Integrated Platforms (e.g., Hyper3D OmniCraft) | Streamlined workflow, easy to use, great for quick iterations and product visualization. | Less granular control over advanced render settings compared to standalone software. | Designers, marketers, and creators who need high-quality renders without a deep dive into 3D theory. |
| Real-time Engines (e.g., Unreal Engine, Unity) | Instant feedback, interactive experiences, excellent for games and VR. | Can be complex to set up, may require optimization for performance. | Game developers and creators of interactive or real-time applications. |
Standalone software gives you the most power, but that power comes with complexity. You can tweak every setting imaginable, but you also *have* to. Integrated platforms like Hyper3D, which also includes powerful generation tools like Rodin and format conversion with OmniCraft FormatCon, abstract away some of that complexity. They are designed to get you from model to beautiful render as quickly as possible. For many users, this is the ideal balance for their hdri 3d rendering needs. Real-time engines are a different beast altogether, focused more on interactivity than offline rendering, but they also make heavy use of HDRI for lighting.
Frequently Asked Questions about HDRI for 3D Rendering
What is the best resolution for an HDRI map?
It depends on the final output. For reflections, higher resolution is always better. A 4k or 8k HDRI is a good starting point for most renders. If the background itself will be visible in high resolution, you might want to go for 16k or even higher. For lighting only, a lower resolution map (e.g., 1k or 2k) is often sufficient and can help reduce memory usage.
Can I create my own HDRI maps?
Yes, you can! The process involves taking multiple bracketed exposures of a scene with a 360-degree camera (or a standard DSLR on a panoramic head) and then merging them into a single HDRI file using software like Photoshop or specialized tools. It requires some practice but gives you complete control over your lighting environments.
Are free HDRI maps good enough for professional work?
Absolutely. The quality of free HDRIs from top-tier sites like Poly Haven is outstanding and often indistinguishable from paid assets. The key is the CC0 license, which permits commercial use. Always check the license, but a vast amount of professional work is done using these free resources.
How does HDRI affect render times in hdri 3d rendering?
Using an HDRI for lighting is generally more efficient than setting up a complex manual lighting rig with many area lights. However, the resolution of the HDRI can play a role. Higher-resolution maps can increase memory usage and, in some render engines, slightly increase calculation times, especially for complex global illumination.
What makes hdri 3d rendering different from using a simple image background?
A regular sky texture or background image is a standard, low-dynamic-range image. It can serve as a backdrop, but it doesn't contain the light information needed to illuminate the scene realistically. An HDRI, on the other hand, is used by the render engine's lighting and reflection systems to create a physically accurate result. You can't just use a JPEG of a sky and expect it to light your scene properly.