Blender 3D Printing: How to Export STL for Printing
Blender is a fantastic free tool for all things 3D. While many know it for creating stunning animations and visual effects, it's also a powerful choice for 3D printing. If you're looking to bring your digital creations into the physical world, understanding the workflow for 3D printing in Blender is essential. While other software like Fusion 360 or SketchUp have their own user bases, Blender's flexibility and cost-free nature make it a compelling option for hobbyists and professionals alike.
Why Use Blender for 3D Printing?
So, why should you consider Blender for your 3D printing projects? There are several strong reasons. The combination of advanced features and an active community makes the experience of 3D printing with Blender quite appealing.
Cost-Effective Solution
Blender is completely free and open-source. This means you get access to a full suite of professional-grade 3D modeling tools without any subscription fees or upfront costs. For anyone starting with 3D printing or working on a budget, this is a massive advantage.
Powerful Modeling Tools
Blender offers a vast array of modeling tools that can handle almost any shape you can imagine. From precise polygonal modeling to organic sculpting, you have the creative freedom to design complex and detailed models. This versatility allows you to create everything from mechanical parts to artistic sculptures.
Active Community and Support
The Blender community is one of the most active and helpful in the 3D world. You can find countless tutorials, forums, and resources online dedicated to every aspect of the software, including 3D printing. If you run into a problem, chances are someone has already found a solution.
Preparing Your Model for Blender 3D Printing
Before you can send your model to a printer, you need to make sure it's properly prepared. A model that looks good on screen might not print correctly if it has certain issues. Proper preparation is a critical step for successful 3D printing.
Watertight Geometry
Your 3D model must be "watertight" or "manifold." This means it should be a completely enclosed volume with no holes. Imagine filling your model with water; if there are any leaks, the model is not watertight. Tools within Blender, like the 3D-Print Toolbox addon, can help you identify and fix these issues.
Wall Thickness
Every part of your model must have a minimum wall thickness to be printable. If walls are too thin, they will be fragile or might not print at all. The required thickness depends on your 3D printer and the material you are using. Always check your printer's specifications and adjust your model accordingly.
Model Scale and Units
Correct scaling is crucial. Blender's default units are meters, so a one-unit cube is one cubic meter. You need to set your scene's units to millimeters or inches to match your 3D printer's slicer software. This ensures your model prints at the intended physical size.
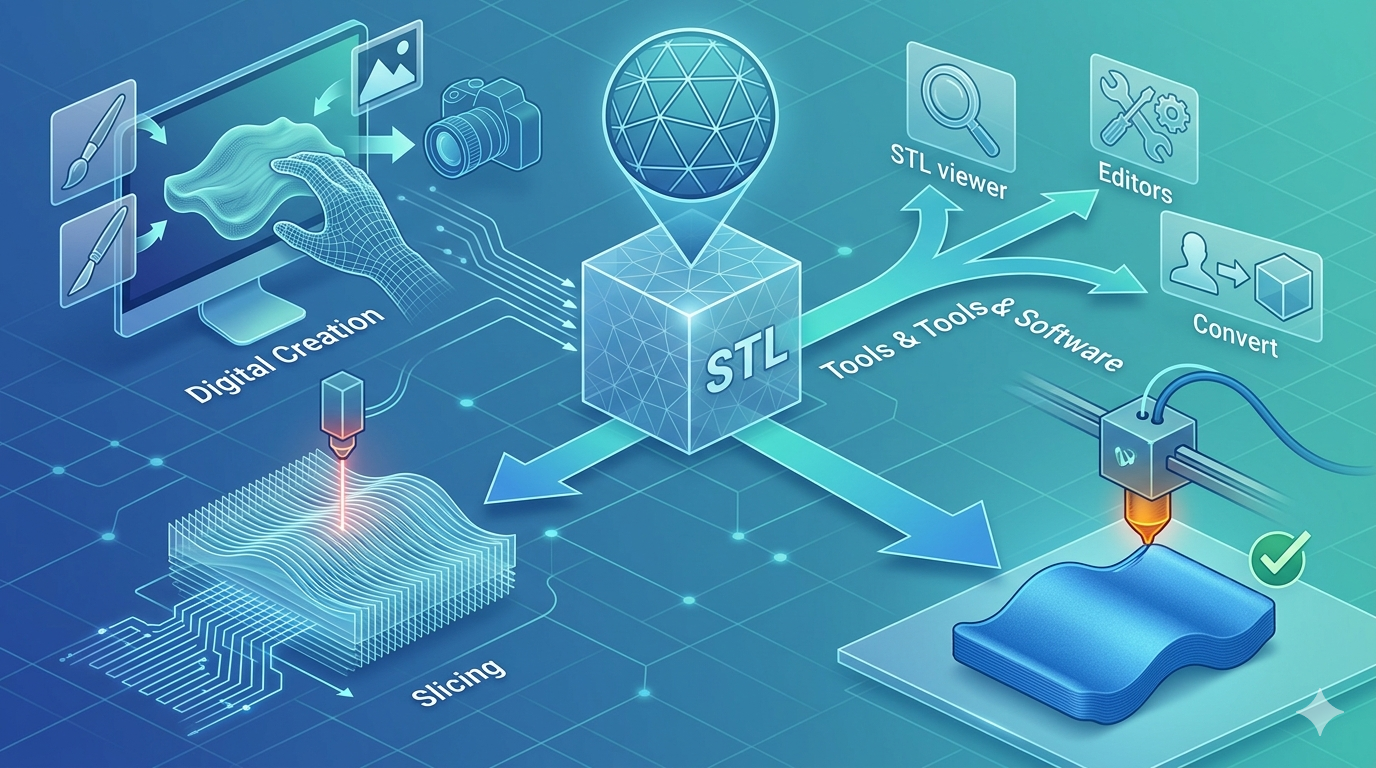
How to Export STL from Blender for 3D Printing
Once your model is prepared, the next step is to export it to a format your 3D printer's slicer can understand. The most common format is STL. The process for exporting from Blender is straightforward.
Selecting the Object
First, make sure you have selected only the object or objects you want to print. If you have other items in your scene like lights or cameras, you don't want to include them in the export.
Accessing the Export Menu
With your object selected, go to `File > Export > Stl (.stl)`. This will open the file browser and the export options panel.
Choosing the STL Format
This is the standard format for most 3D printers. It represents the surface geometry of a 3D object using a collection of triangles. If you need a more advanced solution, you can also use a Blender to STL converter for more options.
Export Settings for Blender 3D Printing
In the export options, you have a few settings to consider for Blender 3D printing. The `Scale` setting should typically be left at 1.0 if you've set your scene units correctly. The `Use Selection Only` box should be checked to export only what you've selected. Applying modifiers is also important if you've used any to generate geometry. This ensures the final exported mesh is what you see in the viewport. For anyone new to this, focusing on these settings will improve your results.
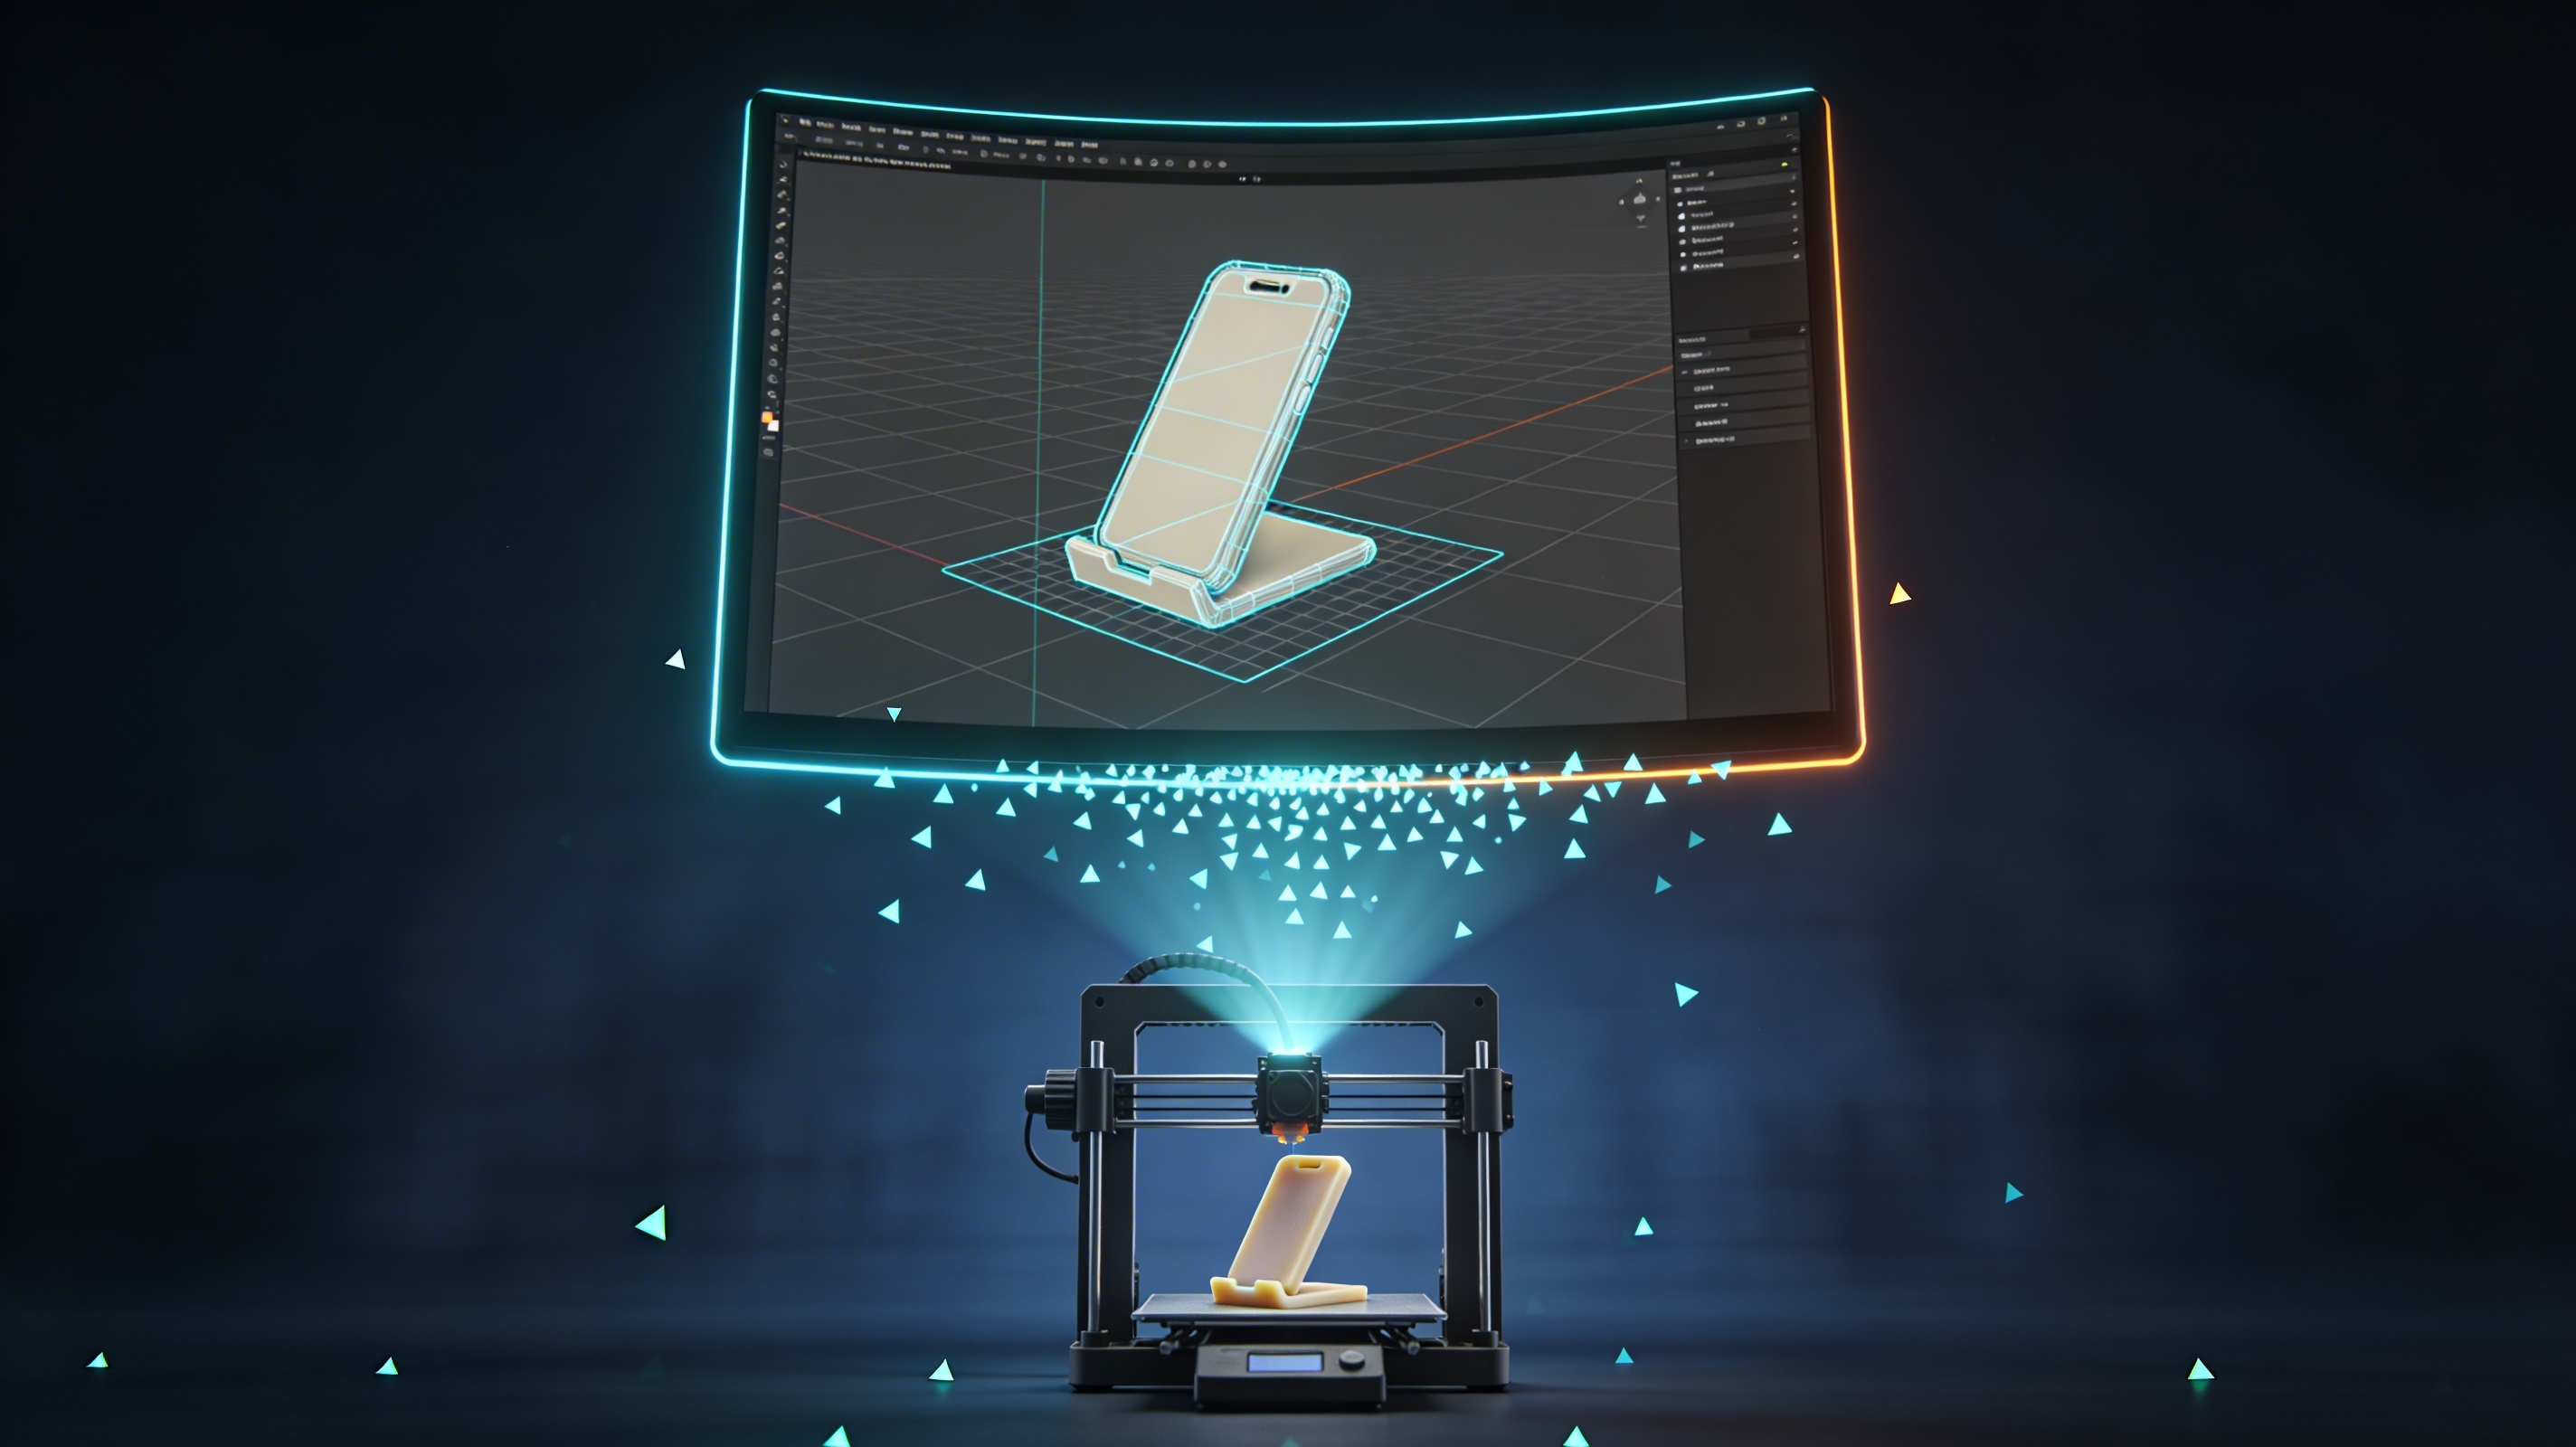
My First-Hand Experience with Blender 3D Printing
I recently decided to create a custom phone stand using Blender. The design process was fun; I used basic modeling tools to create a simple, functional shape. However, my first attempt at Blender 3D printing was not a success. The print failed because the walls were too thin in one area, and the base wasn't perfectly flat.
I went back to my model in Blender and used the measurement tools to check the wall thickness, increasing it to a safe 2mm. I also used the loop tools to flatten the bottom surface completely. After making these adjustments, I re-exported the STL file. The second print came out perfectly. This experience taught me how important the preparation phase is. A small oversight in the digital model can lead to a lot of wasted time and material in the physical world. It was a good lesson in the practical side of 3D printing with Blender.
Common Issues and Troubleshooting for Blender 3D Printing
Even with careful preparation, you might run into some common issues. Knowing how to identify and fix them is part of the learning process.
Non-Manifold Edges
This is a common problem where edges of your model are not properly connected to form a closed volume. Blender's 3D-Print Toolbox has a feature to check for non-manifold geometry, which helps you find and fix these errors quickly.
Flipped Normals
Normals are vectors that point away from the surface of a face, indicating the
outside of the model. If some normals are flipped and point inward, it can confuse the slicer. In Blender, you can recalculate normals by selecting your model in Edit Mode and pressing `Shift + N`.
Scaling Problems
If your model imports into your slicer at a completely wrong size, it's likely a scaling issue. Double-check your scene units in Blender and make sure the scale transformations have been applied (`Object > Apply > Scale`).
Optimizing Your STL Files
After exporting your STL, it's a good practice to inspect it before sending it to the printer. Using an STL file viewer allows you to check the model for any visible errors and verify its integrity. Sometimes, you might need to use other tools to repair or simplify the mesh. For more complex conversions, a 3D format converter can be very helpful. Optimizing your files is a key part of the Blender 3D printing workflow.
Beyond STL: Other Formats for 3D Printing
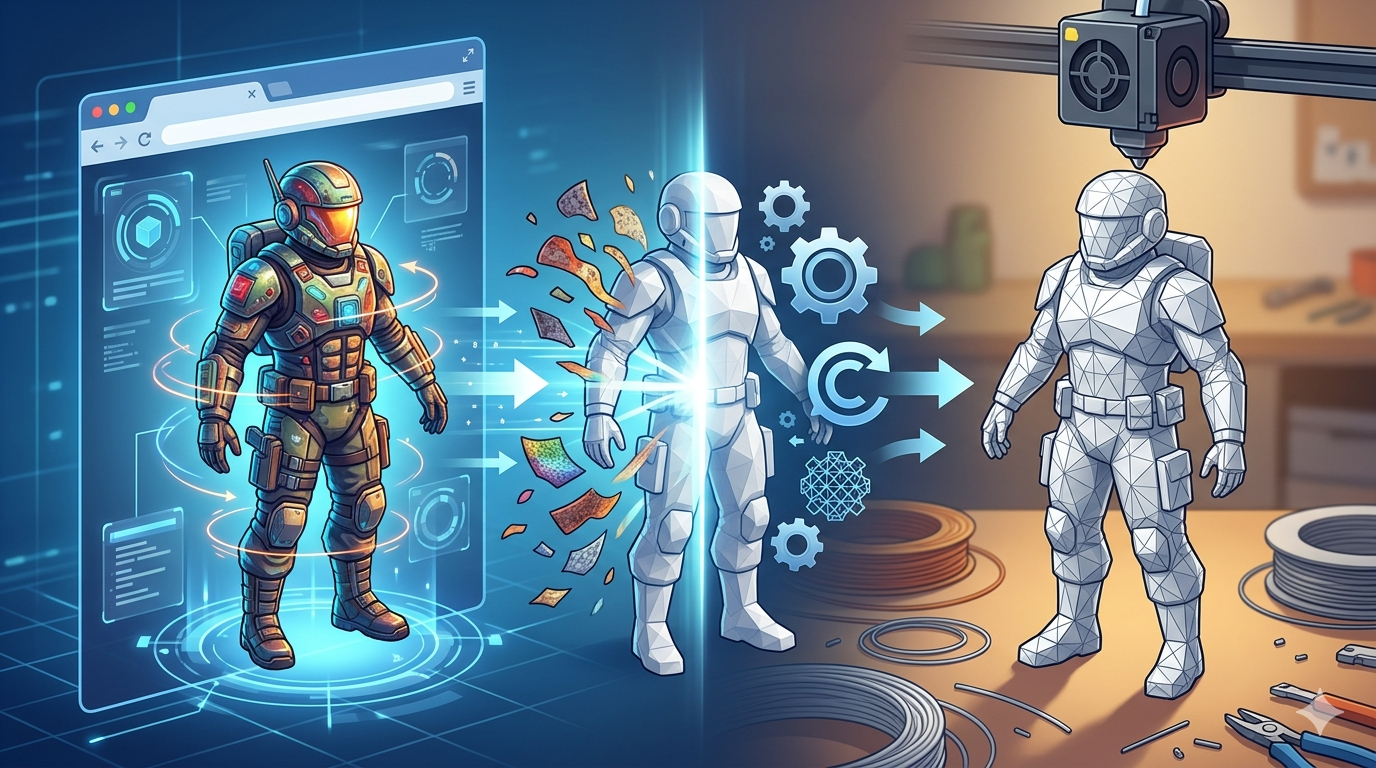
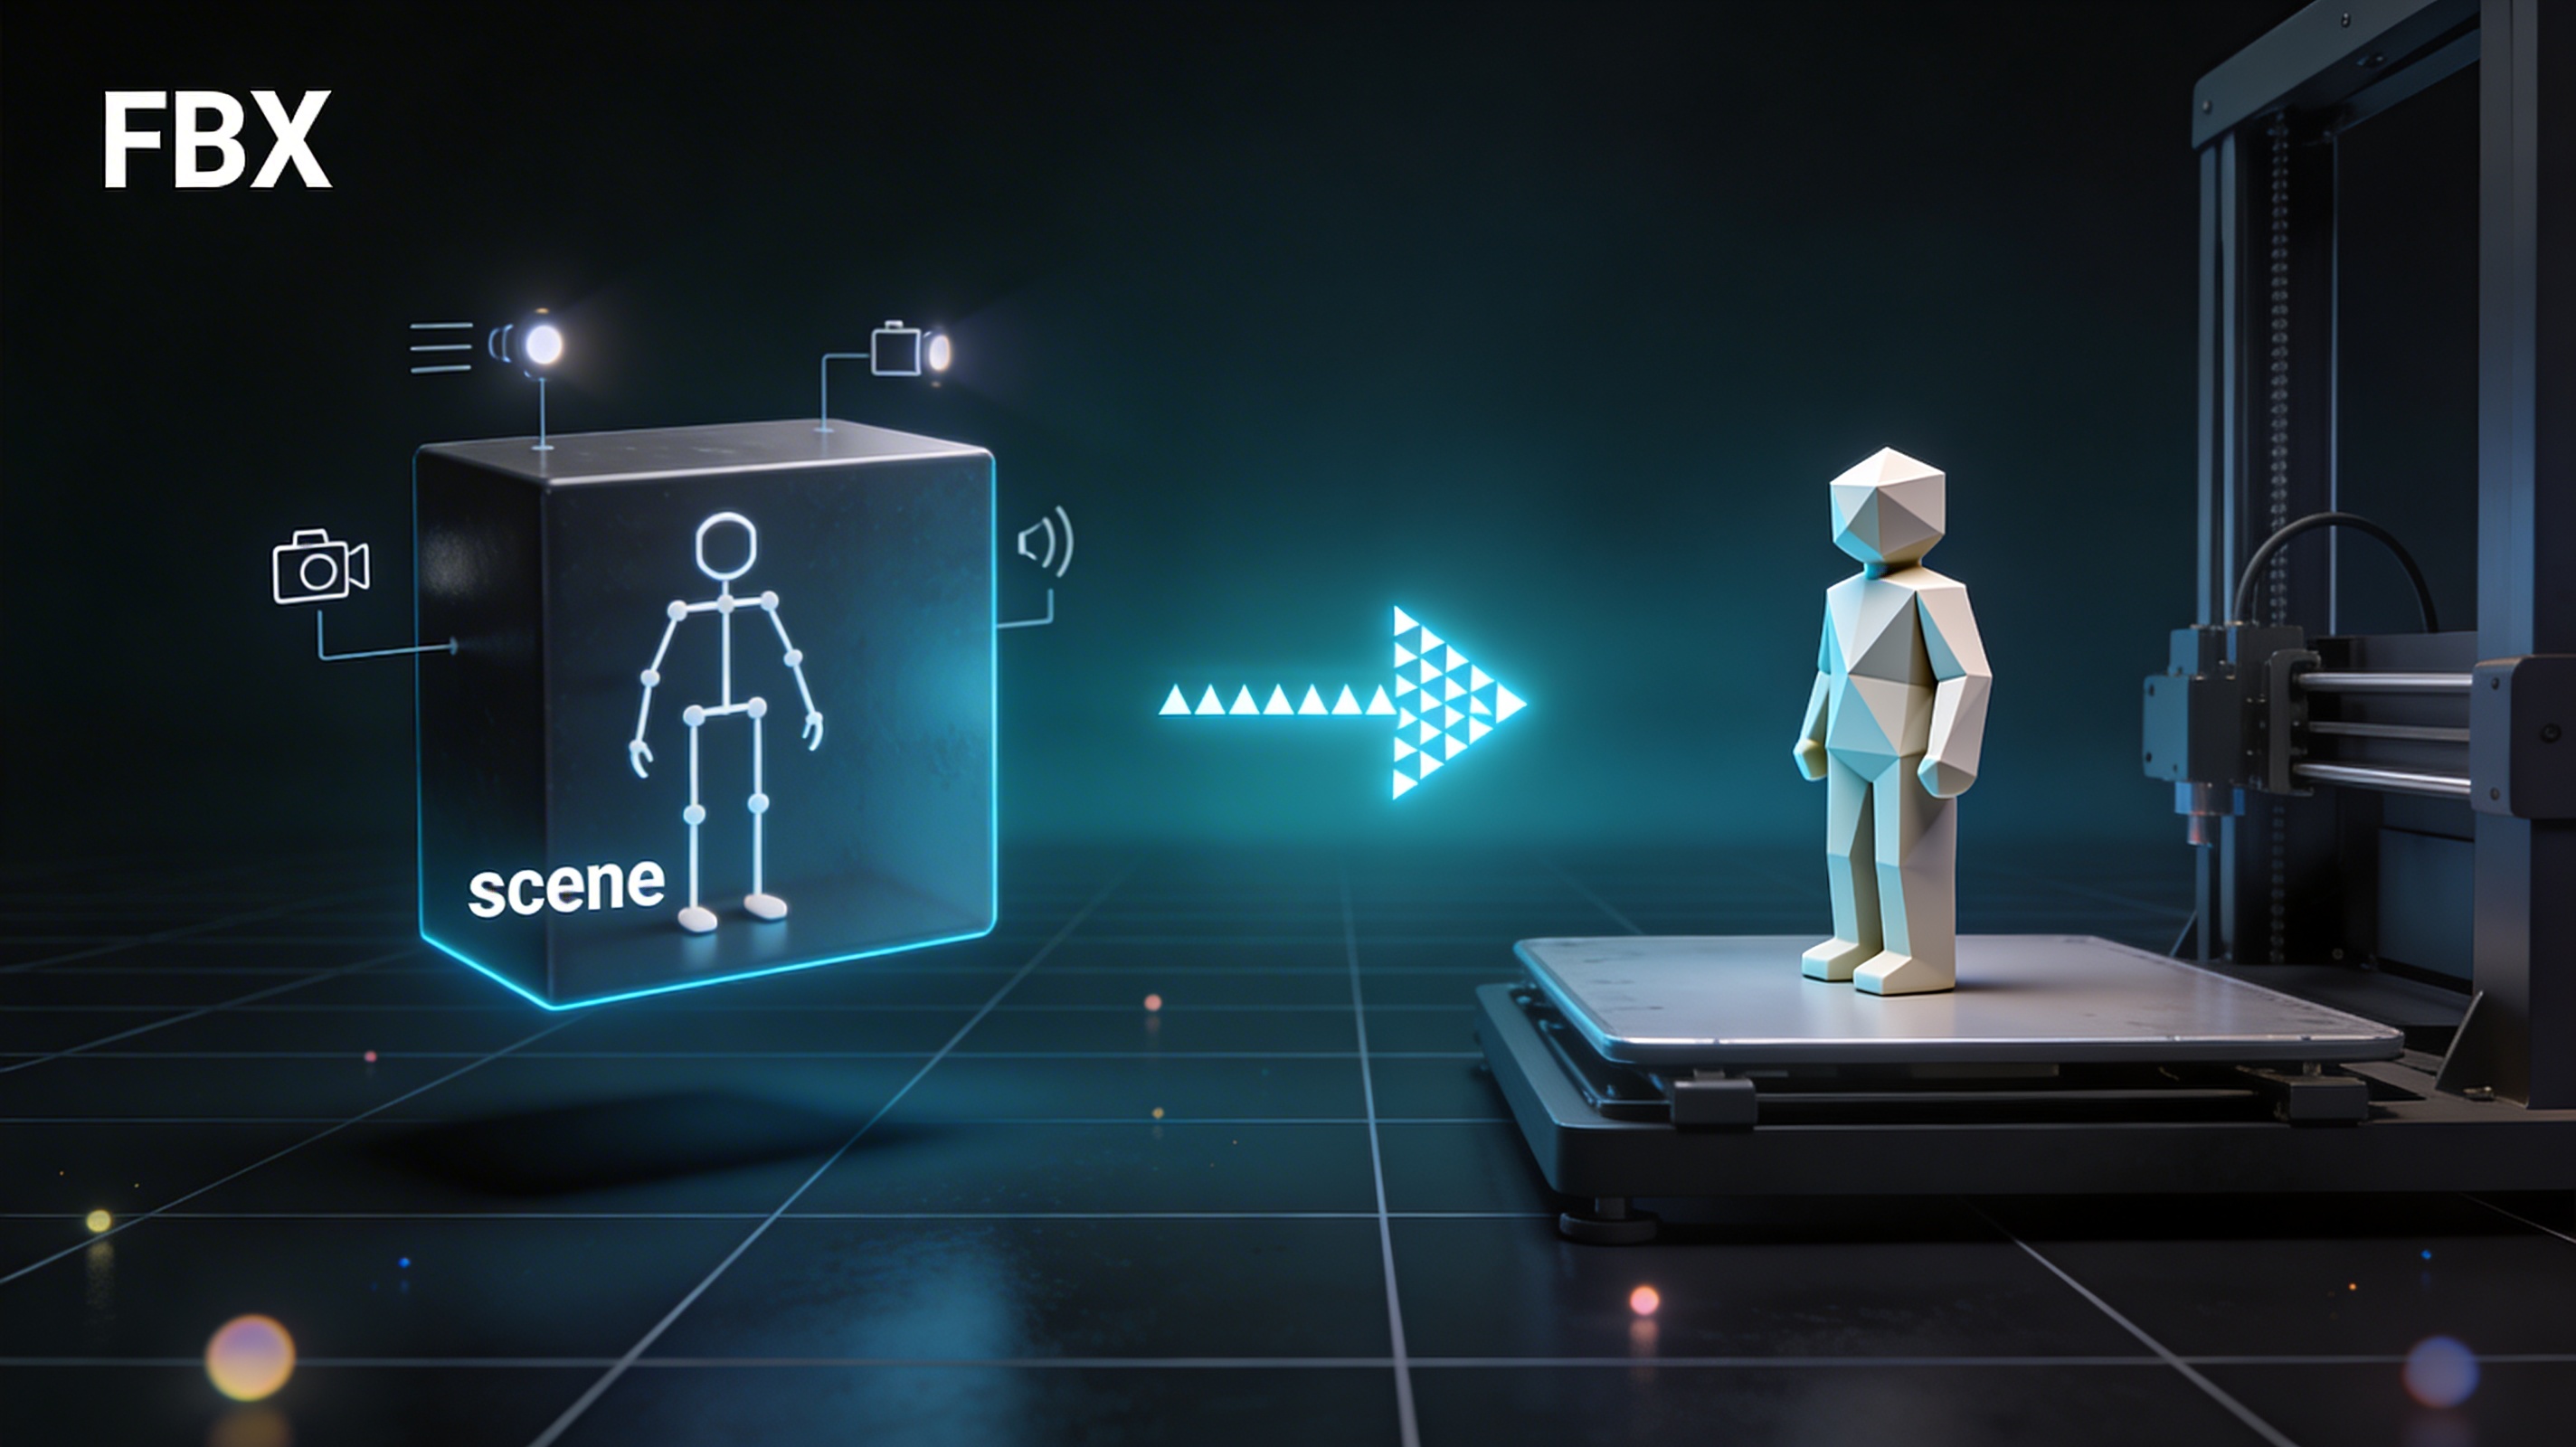
While STL is the most common format, it's not the only one. Formats like OBJ and 3MF are also used in 3D printing. 3MF, for example, is a more modern format that can store more information, including color and materials. Hyper3D's tools, like the AI 3D model generator, support a variety of formats, giving you more flexibility. You can even convert images to 3D models with an image to STL converter.
FAQ about Blender 3D Printing
Here are some frequently asked questions about Blender 3D printing.
What is the best file format for 3D printing?
STL is the most widely supported and reliable format for 3D printing. However, 3MF is gaining popularity as it offers more features like storing color and material information.
Is Blender good for 3D printing?
Yes, Blender is an excellent choice for 3D printing. It provides a powerful set of modeling tools for free, making it accessible to everyone. Its flexibility allows for the creation of a wide range of models, from simple to complex.
How do I make a 3D model printable in Blender?
To make a model printable, you need to ensure it is a watertight, manifold object with appropriate wall thickness. You also need to set the correct scale and export it in a format your slicer supports, like STL.
Can you use Blender for miniatures?
Absolutely. Blender's sculpting and modeling tools are well-suited for creating detailed miniatures for tabletop gaming or display. The key is to pay close attention to the small details and ensure they meet the minimum size requirements of your printer.
What is the best slicer for Blender?
Blender does not have a built-in slicer. You will need to use external slicer software like Cura, PrusaSlicer, or Simplify3D. The choice of slicer depends on your 3D printer and personal preference. All of them work well with STL files exported from Blender.
Conclusion
Getting started with Blender 3D printing opens up a world of creative possibilities. From designing your own custom parts to creating detailed artistic models, Blender provides all the tools you need. While there is a learning curve, the process of preparing and exporting your models becomes second nature with a bit of practice. So, why not give Blender 3D printing a try for your next project? You might be surprised at what you can create.