

Drawing to 3D Model: AI Concept Art to 3D
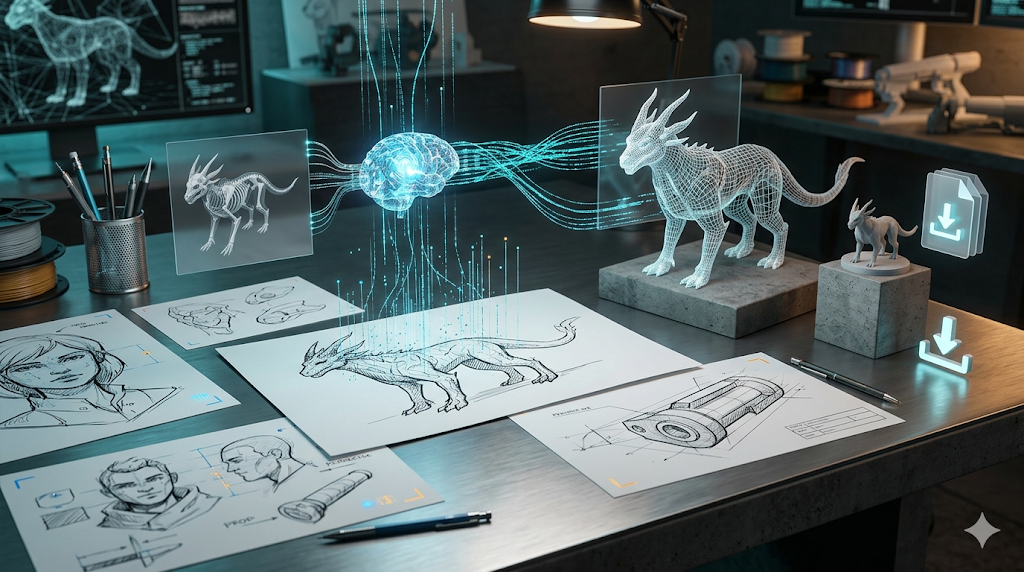
Turning a drawing into a 3D model, once a complex and time-consuming process, can now be done in minutes with AI. This has opened up new creative avenues for artists, designers, and developers.
This is where drawing to 3d model tools really show their value.
Platforms like Hyper3D, Meshy, and Tripo are leading of this shift, each offering a unique approach to the challenge of converting pixels into polygons. Whether you're a professional concept artist looking to quickly iterate on ideas or a 3D printing enthusiast wanting to bring a personal doodle to life, the barrier to entry for 3D creation has never been lower. These AI-powered systems analyze the lines, shapes, and shading of a 2D image to infer its 3D geometry, creating a textured and usable model that can be exported for use in games, animation, or digital fabrication.
For anyone exploring drawing to 3d model options, this matters.
This guide covers how the technology works, compares the top tools, offers a step-by-step walkthrough, and answers common questions.
The drawing to 3d model workflow makes this straightforward.
What is Drawing to 3D Model Technology?
AI-powered 2D-to-3D conversion uses computer vision and generative algorithms to interpret a flat image as a 3D object with depth and volume.
That's a key advantage of modern drawing to 3d model technology.
How AI Interprets a 2D Image
When you upload a drawing, the AI doesn't just 'see' a picture. It analyzes the visual data to understand the object's likely shape. Key elements the AI looks for include:
When it comes to drawing to 3d model, the details matter.
- Silhouettes and Contours: The outer edges of your drawing provide the primary information about the object's basic form.
A good drawing to 3d model tool handles this automatically.
- Shading and Highlights: The way an object is shaded (or not shaded) gives the AI clues about its volume, curves, and surface details. Darker areas suggest parts that recede, while lighter areas indicate surfaces closer to a light source.
This is one area where drawing to 3d model has improved significantly.
- Perspective and Foreshortening: Lines that converge or shapes that appear smaller in the distance help the AI infer depth and the object's orientation in space.
From Pixels to Polygons: The Generative Process
After analyzing the image, the AI uses a generative model (like diffusion models or NeRFs) to construct a 3D mesh. This mesh, a network of vertices, edges, and faces, represents the object's surface and can be further refined and exported.
Top Tools for Drawing to 3D Model Conversion Compared
Choosing the right tool depends on your specific needs. Here?? a comparison of the leading platforms:
| Tool | Best For | Top Strength | Key Limitation |
|---|---|---|---|
| Meshy AI | Texturing & UX | Best-in-class texturing engine | Geometry can be less refined |
| Tripo AI | Game Developers | Fast generation and auto-rigging | STL exports can have issues |
| Hyper3D (Rodin) | Clean Topology & Avatars | Produces the cleanest geometry | More specialized for characters |
| Hunyuan3D | Budget-Conscious Users | Generous free generation tier | Interface requires translation |
| Luma AI (Genie) | Rapid Prototyping | Extremely fast for initial ideas | Messy topology not for production |
Meshy AI
Meshy AI is known for its polished UI and powerful texturing, making it a strong choice for creating visually rich models.
- Pros: The texturing engine is arguably the best available, and the platform offers a great library of styles like voxel and low-poly. Its user experience is smooth and intuitive for beginners.
- Cons: While the textures are top-notch, the underlying geometry or mesh of the model can sometimes be less clean or "rough," potentially requiring cleanup in another program for professional use.
- Best for: Artists and designers who prioritize high-quality texturing and a user-friendly experience.
Tripo AI
Tripo AI focuses on speed and efficiency, making it a favorite for game developers needing pipeline-ready assets.
- Pros: It offers very fast model generation, a generous number of free credits, and built-in tools like auto-rigging and segmentation that are invaluable for game development.
- Cons: Some users have reported issues with the normals on exported STL files, which can cause rendering problems. Its specialization is less focused on high-fidelity character avatars.
- Best for: Game developers who need to create pipeline-ready assets quickly.
Hyper3D (Rodin)
Hyper3D's Rodin engine excels at producing models with clean topology, making it ideal for characters and avatars.
- Pros: It consistently generates the cleanest geometry among its competitors, which is crucial for animation and professional use. The integrated OmniCraft suite provides an all-in-one workflow for generating, texturing, and editing within the browser. Its multi-view input support is also a significant advantage.
- Cons: Its specialization in clean topology for organic shapes means it can sometimes be less versatile for creating highly stylized or hard-surface props compared to other tools.
- Best for: Users who need high-quality, clean geometry, especially for character models, avatars, and an integrated workflow.
Tencent Hunyuan3D
Tencent's Hunyuan3D offers high-quality free generation, making it a great entry point for budget-conscious users.
- Pros: The offer of 20 free generations per day is unmatched, and the quality of the generated models is impressive for a free tool.
- Cons: The primary interface is in Chinese, requiring the use of a browser's auto-translate feature. It currently lacks a mobile version and may struggle with complex objects unless they are broken down first.
- Best for: Hobbyists and users on a tight budget who need high-quality results without a financial commitment.
Luma AI (Genie)
Luma AI's Genie is built for speed, making it perfect for rapid ideation and concept visualization.
- Pros: It is one of the fastest tools available for generating a 3D model from a text prompt or image.
- Cons: The speed comes at a cost: the resulting model's topology is often described as "triangle soup," meaning it's a messy collection of polygons that is not suitable for production use without significant cleanup in a dedicated 3D modeling program like Blender.
- Best for: Concept artists and designers who need to rapidly prototype and visualize ideas before committing to a final design.
My First-Hand Experience with Drawing to 3D Model
I tested Hyper3D's Rodin tool by converting a sketch of a fantasy creature into a 3D model to understand the practical application of these AI tools.
Upon entering the Hyper3D workspace, I was met with a clean, dark-themed interface. The main focus is the central area where you upload your image. To the left, the OmniCraft sidebar neatly organizes all the post-generation tools. I started by uploading my sketch?? clear, black-and-white drawing on a plain background. I selected the "Default" generation mode to begin, wanting to see the baseline quality.
I hit the prominent "GENERATE" button and waited. Within about a minute, a 3D model appeared in the viewport. The initial result was impressive. The AI had successfully interpreted the main forms of my creature, capturing the overall silhouette and proportions accurately. The topology was indeed very clean, with well-defined edge loops, which I could see by switching to the wireframe view. This is a huge plus, as it means the model is immediately usable for things like animation or further sculpting without needing to be retopologized.
Curious to see the difference, I ran the generation again using the "Speedy" mode. As advertised, the model was generated faster, but the geometric detail was slightly softer. For a quick concept, "Speedy" is perfect. For a final asset, "Default" or "Focal" would be the better choice. I did not have a use case for the Zero mode in this instance. After settling on the Default model, I used the integrated AI Texture Generator from the OmniCraft sidebar to apply a basic material, and then exported the model as a GLB file to view it in a separate 3D viewer. The entire process, from sketch to a textured, downloadable 3D asset, took less than ten minutes.
A Step-by-Step Guide to Converting Your Drawing to a 3D Model
Getting started with AI 3D model generation is straightforward. Here?? a general guide:
Step 1: Create a Clear and Simple Drawing
The quality of your input image is the single most important factor for getting a good result. For best results, create a drawing that the AI can easily understand.
- Use a plain, solid background: A white, unlined piece of paper or a clean digital canvas works best.
- Draw with clear, bold lines: A black marker or a dark, thick digital brush will create strong contours that the AI can easily trace.
- Focus on a single object: Avoid cluttered scenes with multiple overlapping objects. Isolate the subject you want to model.
- Keep it simple at first: Start with a basic object to understand how the tool works before moving on to more complex designs.
Step 2: Digitize Your Drawing
If you drew your image on paper, you??l need to convert it into a digital file. You can either scan the drawing or take a high-quality photograph. Ensure the lighting is even and there are no strong shadows that could confuse the AI.
Step 3: Upload Your Image to an AI Tool
Choose one of the platforms discussed earlier, such as the image to 3D model tool on Hyper3D. Navigate to their image-to-3D feature and upload your digitized drawing. Most tools accept common image formats like JPG and PNG.
Step 4: Configure Generation Settings and Generate
Before you hit the generate button, you may have a few options to configure. Some tools allow you to select a generation mode (e.g., Speedy, High Quality) or specify a desired style. For your first attempt, the default settings are usually a good starting point. Once you??e ready, start the generation process.
Step 5: Review and Refine the 3D Model
After a short wait, the AI will present you with a 3D model. Use the tool?? built-in viewer to inspect it from all angles. Check if the geometry is clean and if the model accurately reflects your original drawing. If you??e not satisfied, many tools offer the ability to regenerate the model, sometimes with different settings, to get a better result.
Step 6: Texture and Export
Once you have a model you??e happy with, you can often apply textures directly within the platform. Some tools, like Hyper3D, have an AI Texture Generator that can create materials from a text prompt. Finally, export your model in a format suitable for your needs. Common formats include OBJ, FBX, GLB, and STL. For example, you might use an Image-to-STL converter if you plan to 3D print your model.
Use Cases and Applications
This technology has a wide range of applications:
- Concept Art and Game Development: Artists can rapidly visualize characters, props, and environments, accelerating the pre-production pipeline. A text-to-3D model generator can also be used to create assets from descriptions.
- 3D Printing and Prototyping: Hobbyists and product designers can bring their ideas to life by creating physical objects from their sketches. This is perfect for creating custom figurines, jewelry, or mechanical parts.
- Education: Students can learn the fundamentals of 3D modeling in an intuitive and engaging way, without getting bogged down by complex software.
- Marketing and Advertising: Unique 3D assets for use in promotional materials and social media can be created quickly and cost-effectively.
Frequently Asked Questions (FAQ)
What is the best AI for turning a drawing into a 3D model?
There is no single "best" AI, as the ideal tool depends on your specific needs. For the cleanest geometry and character models, Hyper3D is a top choice. For the best texturing, Meshy AI excels. For rapid game asset creation, Tripo AI is hard to beat. For free, high-quality generations, Hunyuan3D is an excellent option.
Can I use a complex, colored drawing?
Yes, you can, but for the initial generation, a simple, high-contrast, black-and-white drawing often yields the best results for capturing the basic form. You can always use a more detailed or colored image for texturing the model after the initial geometry has been created.
How much detail can the AI capture from my drawing?
The level of detail depends on the complexity of your drawing and the sophistication of the AI model. Modern tools can capture fine details, but they work best when the forms are clear and well-defined. Very intricate or messy sketches may result in a less accurate model.
What file formats can I export my 3D model in?
Most platforms support a range of standard 3D file formats. Hyper3D, for example, allows you to export in STL, FBX, OBJ, GLB, and USDZ. This ensures compatibility with most 3D software, game engines, and 3D printers.
Do I need 3D modeling experience to use these tools?
No, and that is their biggest advantage. These tools are designed to be accessible to everyone, regardless of their technical background. While 3D modeling experience can be helpful for refining the final model, it is not a prerequisite for creating the initial asset from a drawing.
Can I use the generated models for commercial projects?
This depends on the terms of service of the specific platform you use. Most platforms have different licensing tiers for personal and commercial use. Always check the platform's policy before using a generated model in a commercial project. For example, you can use a GLB-to-USDZ converter to prepare your model for AR applications on Apple devices.