

STL File for 3D Printing: Everything You Need to Know
So, you've got a 3D printer, and you're ready to start making things. You keep hearing about "STL files," and you know they're important, but what exactly are they? Think of an STL file as the universal language for 3D printing. It's the bridge that takes a 3D model from your computer screen and prepares it for its journey into the physical world. Whether you're downloading a cool design from a site like Thingiverse or creating your own masterpiece in a program like Blender or Hyper3D, you'll be working with STL files. In this guide, we'll cover everything you need to know about the STL file format, from how it works to how you can create and use your own for 3D printing. We'll also touch on some great 3D modeling software options, which is relevant when working with stl file for 3d printing.
How Do STL Files Work?: Stl File For 3D Printing
fundamentally, the STL format is surprisingly simple. It describes the surface geometry of a 3D object using a collection of interconnected triangles. This process is called tessellation. Imagine taking a complex, curved object and covering its entire surface with tiny, flat triangles. The more triangles you use, and the smaller they are, the more detailed and smooth the final surface will be, which is relevant when working with stl file for 3d printing.
Stl File For 3D Printing: The Magic of Triangles (Tessellation)
This triangular mesh is the heart of the STL file. Each triangle is defined by the coordinates of its three vertices and a "normal vector" that indicates which side of the triangle is the outside of the model. This is crucial information for the 3D printer. The simplicity of this format is why it has become the standard; it contains just the essential surface information, making the files relatively small and easy to process, which is relevant when working with stl file for 3d printing.
There are two types of STL files: ASCII and binary. ASCII files are human-readable, meaning you could open one in a text editor and see the coordinates for each triangle. This makes them good for debugging but results in larger file sizes. Binary files, on the other hand, store the data more compactly, leading to smaller files that are faster to read and write. For most 3D printing applications, the binary format is the preferred choice.
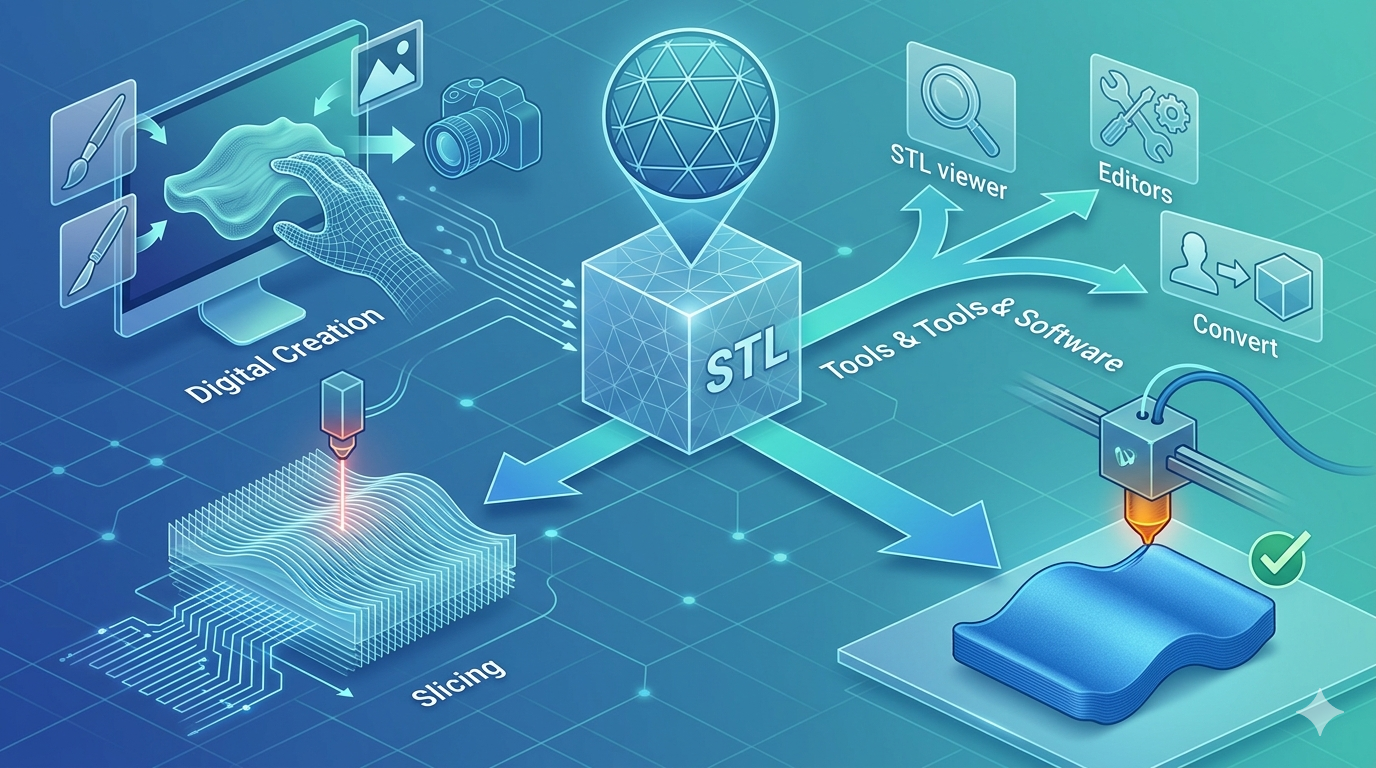
From Digital to Physical: The Slicing Process
An STL file is a blueprint, not the final set of instructions. You can't just send an STL file directly to your 3D printer. First, it needs to be processed by a piece of software called a "slicer." Popular slicers include Cura, PrusaSlicer, and Simplify3D.
The slicer takes your STL model and, as the name suggests, slices it into hundreds or thousands of thin horizontal layers. It then generates a file called G-code, which contains the specific, step-by-step instructions your printer's hardware understands. This includes everything from the path the print head will take to the temperature of the nozzle and the speed of the filament extrusion. Every single layer of your print is meticulously planned out in the G-code.
Top Tools for Creating and Editing STL Files
You have a wide array of options when it comes to creating your own STL files, from traditional, hands-on modeling software to the exciting new world of AI generation.
Traditional CAD and Modeling Software
| Tool | Pros | Cons |
|---|---|---|
| Blender | Free, incredibly powerful, great for artistic and organic models | Has a notoriously steep learning curve for new users |
| Fusion 360 | Excellent for precise mechanical parts, history-based modeling | Subscription-based, can be overly complex for simple projects |
| Tinkercad | Very beginner-friendly, web-based and free | Limited functionality for highly complex or detailed designs |
The New Wave: AI-Powered 3D Model Generation
AI is changing the game in 3D modeling, allowing you to create complex models from simple text prompts or images. This is where a tool like Hyper3D shines.
With Hyper3D, you can use the image to STL converter to turn a 2D drawing or photograph into a 3D model. Or, you can use its 3D printing model generator to create models from text descriptions. It offers multiple generation modes (like Gen-2 for high detail or Speedy for quick iterations) and allows you to export in several formats, including STL, OBJ, FBX, GLB, and USDZ. This makes it a flexible tool for a variety of creative workflows. You can even use it as a 3D scanner app to capture objects from the real world and turn them into 3D models.
My First-Hand Experience: From Idea to Print
I recently wanted to create a custom-designed soap dish for my bathroom. I had a specific, wavy pattern in mind that I thought would be difficult to model by hand. I decided to put Hyper3D to the test.
I started by sketching my wavy design on a piece of paper. I took a clear photo and uploaded it to the Hyper3D image to STL tool. Within a minute, the AI had generated a 3D model based on my sketch. The initial result was a bit thicker than I wanted, so I took the model into Hyper3D's OmniCraft editor. There, I was able to easily adjust the thickness and smooth out some of the edges. The whole process, from sketch to a print-ready STL file, took less than 10 minutes. I then sliced the STL in Cura and sent it to my printer. A few hours later, I had a perfectly functional, custom-designed soap dish. It was a fantastic example of how these new tools can speed up the creative process.
Step-by-Step Guide: Your First Print from an STL File
1. Find or Create Your Model: Download an STL file from a site like Printables.com or create your own using software like Tinkercad or Hyper3D.
2. Open in Slicer: Launch your slicer software (e.g., Cura) and import the STL file.
3. Adjust Print Settings: This is the most critical step. You'll need to set your layer height (0.2mm is a good standard), print speed, and infill percentage (15-20% is usually sufficient). You may also need to add supports for models with significant overhangs.
4. Slice the Model: Click the "Slice" button. The software will generate the G-code file, which often has a .gcode extension.
5. Transfer to Printer: Save the G-code file to an SD card or USB drive and insert it into your 3D printer. Some printers also support wireless transfer.
6. Start the Print: Select your file from the printer's menu and begin the printing process. Make sure your first layer adheres well to the print bed! For more complex models, you might consider using a 3D text generator to add labels or instructions directly onto the model itself.
Advanced Tips for Working with STL Files
- Repairing Meshes: Sometimes, STL files can have errors like holes or non-manifold edges. Tools like Meshmixer or 3D Builder can be used to repair these issues and ensure a watertight model.
- Optimizing Resolution: When exporting an STL from a CAD program, you'll often have options to control the resolution. A higher resolution means more triangles and a smoother finish, but also a larger file size. Find a balance that works for your printer and the level of detail you need.
- Understanding Manifold vs. Non-Manifold: A "manifold" model is one that is fully enclosed, with a clear inside and outside. This is essential for 3D printing. A non-manifold model has holes or extra faces that can confuse the slicer. This is a common issue when converting models from other formats, and it's a good idea to run your files through a repair tool before printing. You can also find more information on how to work with different file formats in our guide to FBX to GLB conversion.
FAQ
What is the best software to open an STL file?
To simply view an STL file, you can use the default 3D viewers in Windows or macOS. To edit or prepare it for printing, you'll need a slicer like Cura or a 3D modeling program like Blender or Meshmixer.
Can I convert a JPG or PNG to an STL?
Yes, you can convert a 2D image like a JPG or PNG to a 3D STL file. This is often done by creating a lithophane or by using AI-powered tools like the image to STL feature on Hyper3D, which interprets the image to generate a 3D shape.
How do I know if my STL file is good for printing?
A good STL file should be "watertight" or "manifold," meaning it has no holes in its surface mesh. Most slicer programs will warn you if a model has issues, and many have built-in tools to repair simple errors.
Why are my prints failing even with a good STL file?
If your STL file is fine, the problem likely lies in your slicer settings or the printer itself. Common issues include incorrect temperature, poor bed leveling, or the need for better support structures for your model.
What's the difference between STL and OBJ files?
Both are 3D model formats, but OBJ files can contain more complex information, such as color and texture maps. STL files, in contrast, only describe the surface geometry. For single-color 3D printing, STL is the most common and efficient format.